Mounting / installation – ABUS TVAC711x0 User Manual
Page 23
23
English
There is a photo sensor on the underside of the illuminator that switches the illuminator on and off.
When light intensity falls below 3 lux, the illuminator turns on automatically.
On the back of the illuminator, there is a 1/4" thread for installing the illuminator with a mount.
5. Mounting / installation
IMPORTANT!
The illuminator must be disconnected from the mains power during installation.
The polarity is unimportant.
For ceiling or wall installation, use the ceiling/wall bracket supplied as an optional accessory. Proceed as follows:
1.
First fix the wall/ceiling bracket in the position required using the screws supplied.
2.
Connect the illuminator to a stabilised 12
–24 VDC/VAC power source with sufficient power (up to 12 Watt, depending on the
model).
3.
Mount the infrared/white light illuminator on the wall/ceiling bracket.
4.
Adjust the direction of the illuminator and fix the position.
Please note:
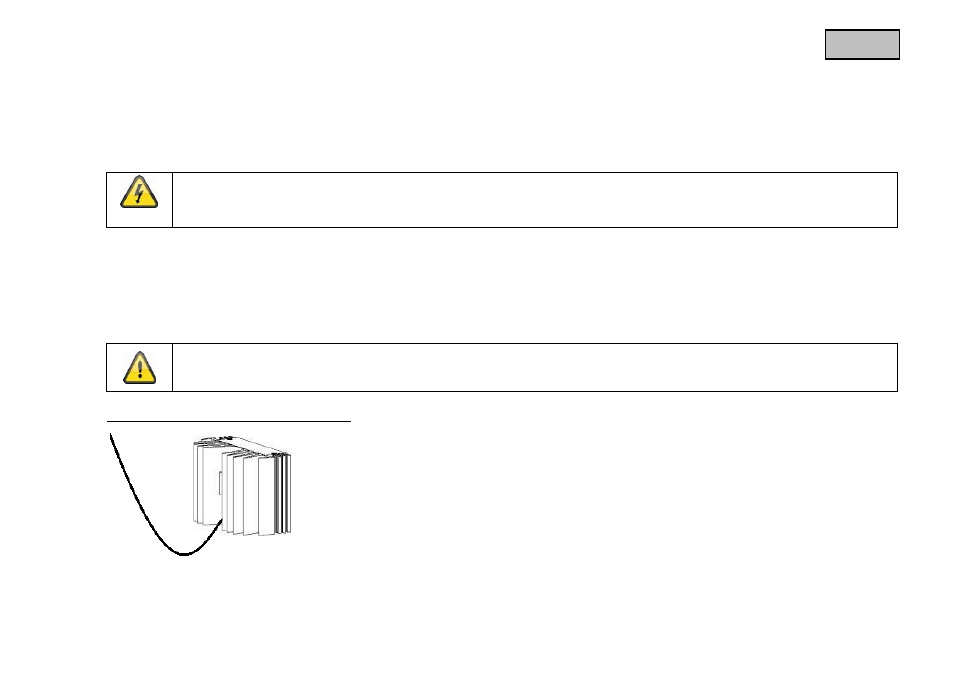
Ensure that the cable remains taut during installation.
Installation example for installing the cable