Chapter 2 installation, H-4271 – Xylem H-4271 User Manual
Page 11
Chapter 2
Installation
2.1 General Installation Recommendations
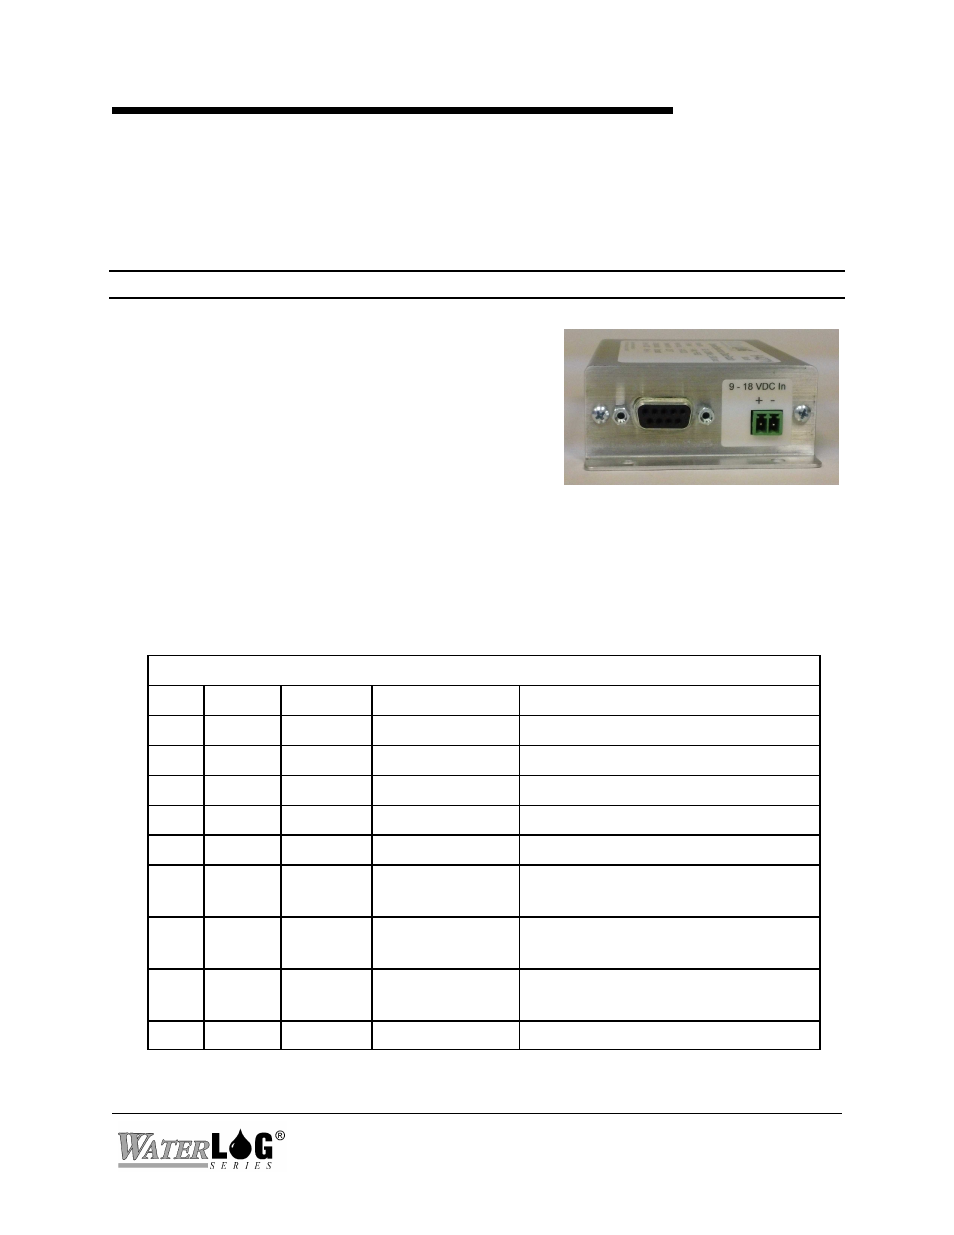
The enclosure and connectors are not weather tight. The H-4271 must be installed in a protected
location or a weather tight enclosure. The housing has a 2-terminal connector for making power
connections and a 9-terminal DB-9 connector for the RS-232 port.
Caution:
Remove all power from the unit before making any connections.
2.2 Power Connection
Connect the +12V and GND terminals to a 12V power
source. Even though the H-4271 normally operates in a
low power mode, the transmitter requires 500mA for short
bursts. Make certain your wiring and battery is capable of
supplying sufficient current.
2.3 Data Connector
The H-4271 has a standard 9-pin RS-232 connector and is a DCE (modem) device. Connect the
RS-232 port to the serial port of your personal computer or other host device with a standard 9-
pin RS-232 cable. No gender changes or null-modem adapters are needed.
Program your host device for 9600 baud, 8-bit, no parity, full-duplex communication.
RS-232 Connector
Pin
Name
Direction
Description
Function
1
nc
not used
2
TxD
Output
Transmit Data
Transmit data to host device
3
RxD
Input
Receive Data
Receive data from host device
4
DSR
Input
Data Set Ready
Awakens the H-4271 when asserted.
5
GND
Ground
Ground
6
DTR
Data Terminal
Ready
Internally connected to Pin-4
7
CTS
Input
Clear To Send
Connected to the GPI1/RTS
pin of the 9Xstream module
8
RTS
Output
Request To Send
Connected to the GPO1/CTS output
pin of the 9Xstream module
9
nc
not used
H-4271
Installation And Maintenance 2-1