3B Scientific SEK Optics User Manual
Page 51
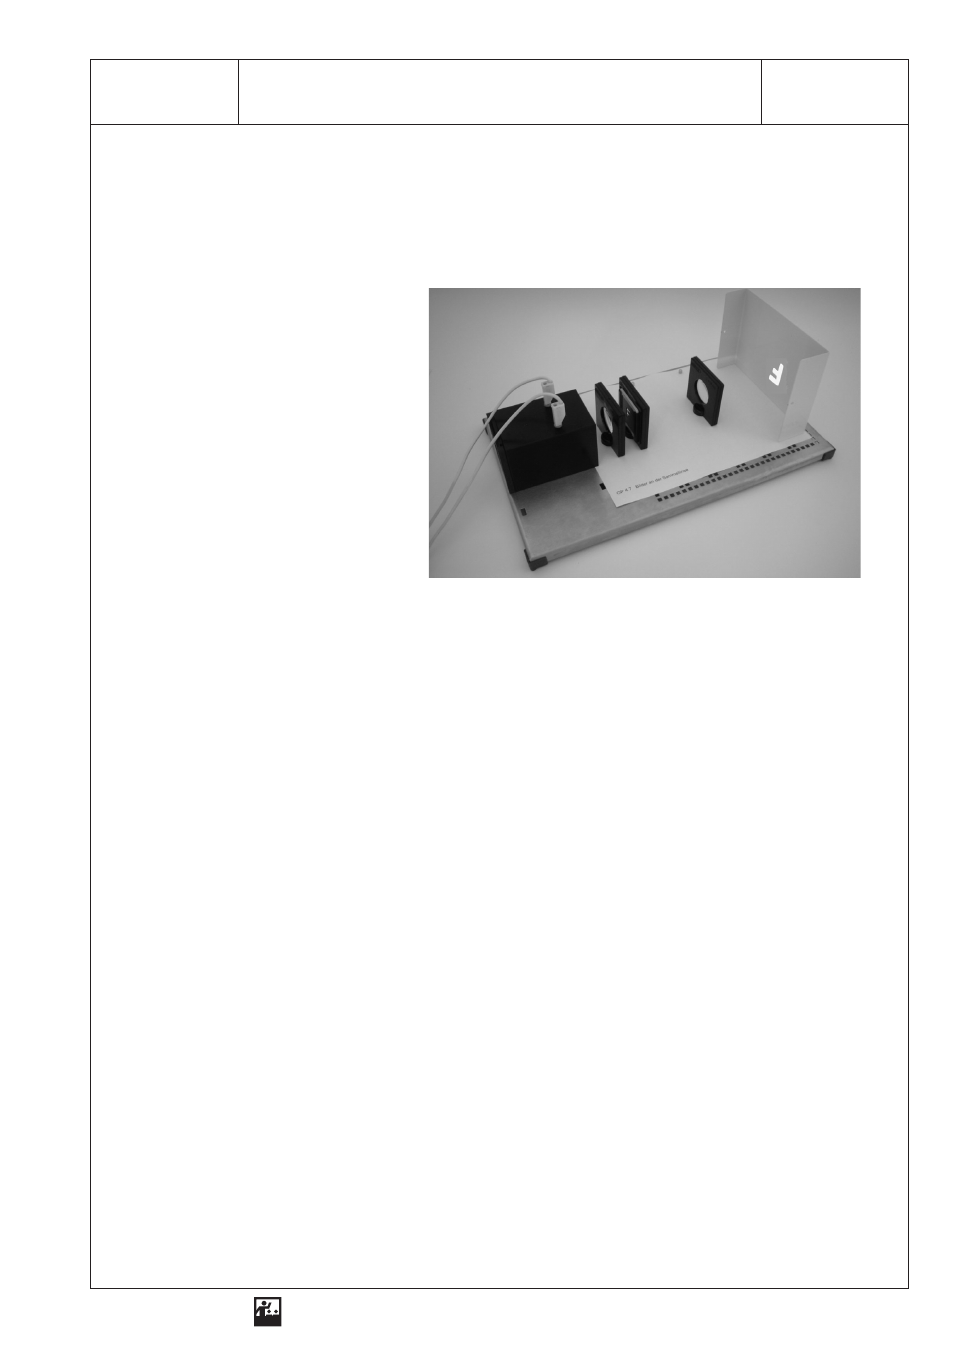
Exercise
Examine the features of images which are projected through focusing lenses!
What do we need?
1
Optical lamp
with power supply unit
1
Base plate
1
Screen
1
Aperture holder
1
F aperture
1
Focusing lens “+100”
1
Focusing lens “+50”
1
Mask
additionally required:
1
Ruler
Conducting the experiment
1.
Attach the mask to the base plate!
2.
Place the optical lamp on the left side of the base plate, so that the light emerges conically to the
right! Place the screen on the right side outside the base plate!
3.
Put the “+50” lens in front of the optical lamp!
4.
Insert the F aperture into the aperture holder and insert them both in front of the optical lamp as
marked on the mask!
5.
Place the “+100” lens between the screen and the F aperture! The position of the lens on the opti-
cal axis remains the same for all the experiments!
6.
Measure the set object distance and project the object by moving the screen until you can see a
sharp image on the screen! Determine the image distance! Enter the values in the table!
7.
Enter the values for the object size and the image size in the table!
8.
Now move the F aperture 1 cm to 2 cm towards the projection lens and again project the object
sharply! Measure the object distance, the image distance and the image size! Enter the values in
the table!
9.
Compare the object distances, the image distances and the image sizes in both experiments! De-
scribe the changes!
ELWE
Physical experiments for education in natural science and engineering
Repr
odu
c
ti
o
n
is
a
llo
w
ed
onl
y
fo
r
u
s
e
w
it
h
E
L
W
E
-e
qui
p
m
en
t.
1 SEG - OP 4.7
Development of Images on Focusing Lenses