Advice regarding the first wash cycle, Transportation – Hotpoint Ariston LFT7 H204 HX User Manual
Page 15
EN
15
Electrical connection
Before inserting the plug into the electrical socket, make
sure that:
The socket is earthed and complies with current
regulations.
The socket can withstand the maximum load of the
appliance, which is indicated on the data plate
located on the inside of the door (see chapter entitled
Description of the appliance).
The power supply voltage falls within the values
indicated on the data plate on the inside of the door.
The socket is compatible with the plug of the
appliance. If this is not the case, ask an authorised
technician to replace the plug (see Assistance); do
not use extension cables or multiple sockets.
Once the appliance has been installed, the power
supply cable and the electrical socket should be easily
accessible.
The cable should not be bent or compressed.
If the power supply cable is damaged, it must be re-
placed by the manufacturer or its Technical Assistance
Service in order to prevent all potential hazards. (See As-
sistance)
The Company shall not be held responsible for any
incidents that occur if these regulations are not
observed.
Anti-condensation strip
*
After installing the dishwasher, open the door and stick
the adhesive transparent strip under the wooden shelf in
order to protect it from any condensation which may
form.
Advice regarding the first wash cycle
After the appliance has been installed, immediately
before running the first wash cycle, completely fill the
salt dispenser with water and add only then
approximately 1 kg of salt (see chapter entitled Rinse aid
and refined salt). The water may overflow: this is normal
and is not a cause for concern. Select the water
hardness value (see chapter entitled Rinse aid and
refined salt). - After the salt has been poured into the
machine, the LOW SALT indicator light
*
switches off.
If the salt container is not filled, the water softener
and the heating element may be damaged as a result.
*
Only available in selected models.
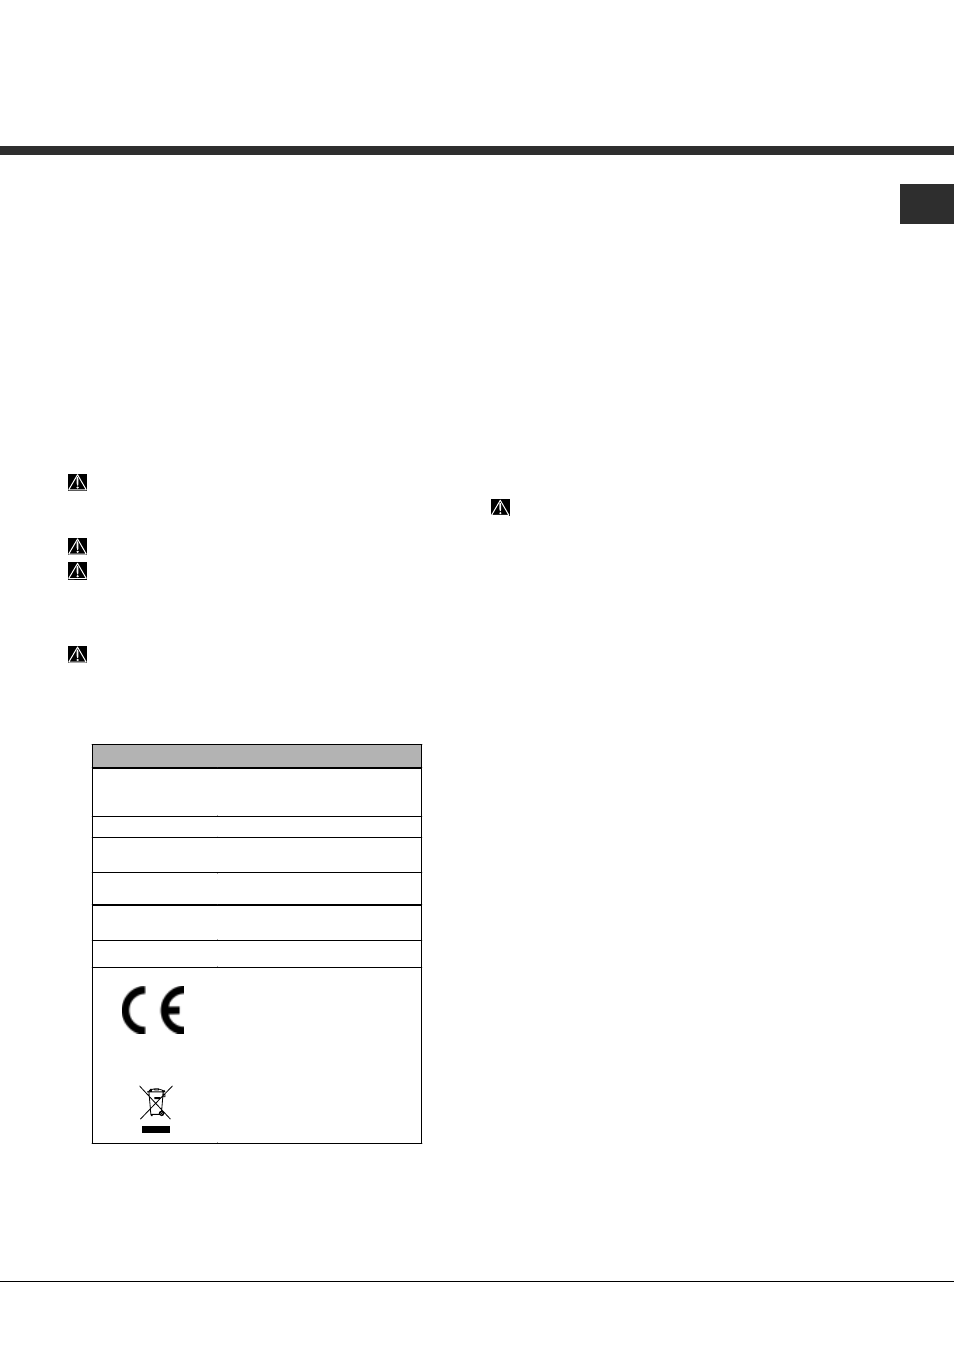
Technical data
Dimensions
width 59.5 cm
height 82 cm
depth 57 cm
Capacity
14 standard place-settings
Water supply
pressure
0,05 ÷ 1MPa (0.5 ÷ 10 bar)
7,25 – 145 psi
Power supply
voltage
See appliance data plate
Total absorbed
power
See appliance data plate
Fuse
See appliance data plate
This dishwasher conforms to
the following European
Community Directives:
-2006/95/EC (Low Voltage)
-2004/108/EC (Electromagnetic
Compatibility)
-2005/32/EC (Comm. Reg.
1275/2008) (Ecodesign)
-97/17/EC (Labelling)
-2002/96/EC (WEEE)
Transportation
Unload all crockery from the dishwasher and secure
moving parts.
All water remaining inside the appliance should be
drained as follows:
make sure that the water tap is open and select the ECO
cycle. The cycle will begin. After 5 minutes, end the
cycle by pressing the ON/OFF button until you hear a
beep and the indicator lights switch off. Wait for
approximately 5 minutes before uninstalling the
appliance. Shut off the tap and disconnect the inlet and
drain hose.
The appliance should only be moved in an upright
position, in order to prevent any water remaining inside
the appliance from damaging dishwasher components.
Leaving the machine unused for extended
periods/Freezing protection
If the appliance is situated in a location which is at risk of
freezing, or if you intend to be away for extended periods
of time (e.g. holiday home), empty the appliance
completely.
- Carry out the process used to drain all water remaining
inside the appliance (see Transportation)
- Disconnect the appliance from the electricity supply
and shut off the water tap.
- Leave the appliance door ajar.
- When you return, run a cycle while the dishwasher is
empty.