Banks Power GM Motorhomes: (Gas ’01 - 10 8.1L Workhorse) PowerPack & Stinger systems '05 & Later Class-A MH, W-24 chassis User Manual
Page 10
the factory muffler rubber hanger
muffler and install it on the Banks
hanger bracket.
26.
Slide a 3-inch clamp onto the
crossover pipe and muffler inlet pipe.
With the muffler heat-shielded portion
facing the frame rail, insert the muffler
hanger into the rubber hanger. Make
sure the two inlets to the muffler are
vertical. Install the muffler inlets onto
the Banks inlet and crossover pipes.
Make sure the muffler is fully seated
and tighten the 3- inch clamps. Slide a
3
1
⁄
2
” clamp onto the muffler outlet.
27.
For right exit exhaust systems:
Remove the factory right-side frame
mounted hanger used to support
muffler. Reinstall the factory hanger
bracket inside of the frame rail through
the holes approximately 3 inches in
front of the frame cross member.
Install the Banks tailpipe hanger
bracket (with stud) outside the right
frame rail using the same the inside
factory hanger studs and hardware.
Tighten the factory nuts.
28.
Install the upper tailpipe into the
muffler outlet. For right side exits,
route the tailpipe over the drive shaft
and hanger into the relocated rubber
hanger.
29.
Slide the lower tailpipe extension
onto the installed upper tailpipe. Level
the tailpipe extension to the vehicle.
The tailpipe extension should be 1
to 2 inches below the bottom of the
motorhome body. If the pipe is more
than 2 inches below the body, remove
and trim the upper tailpipe to raise the
tailpipe extension. Make sure to trim
the upper tailpipe and not the lower
tailpipe extension. Also, be sure to
leave at least 3.5 inches of straight on
the tailpipe at the slip joint so it can be
correctly inserted into the slip of the
extension.
30.
With the proper height
established, install the 4-inch clamp
over the tailpipe extension slip joint
and snug up the clamp. Do not tighten
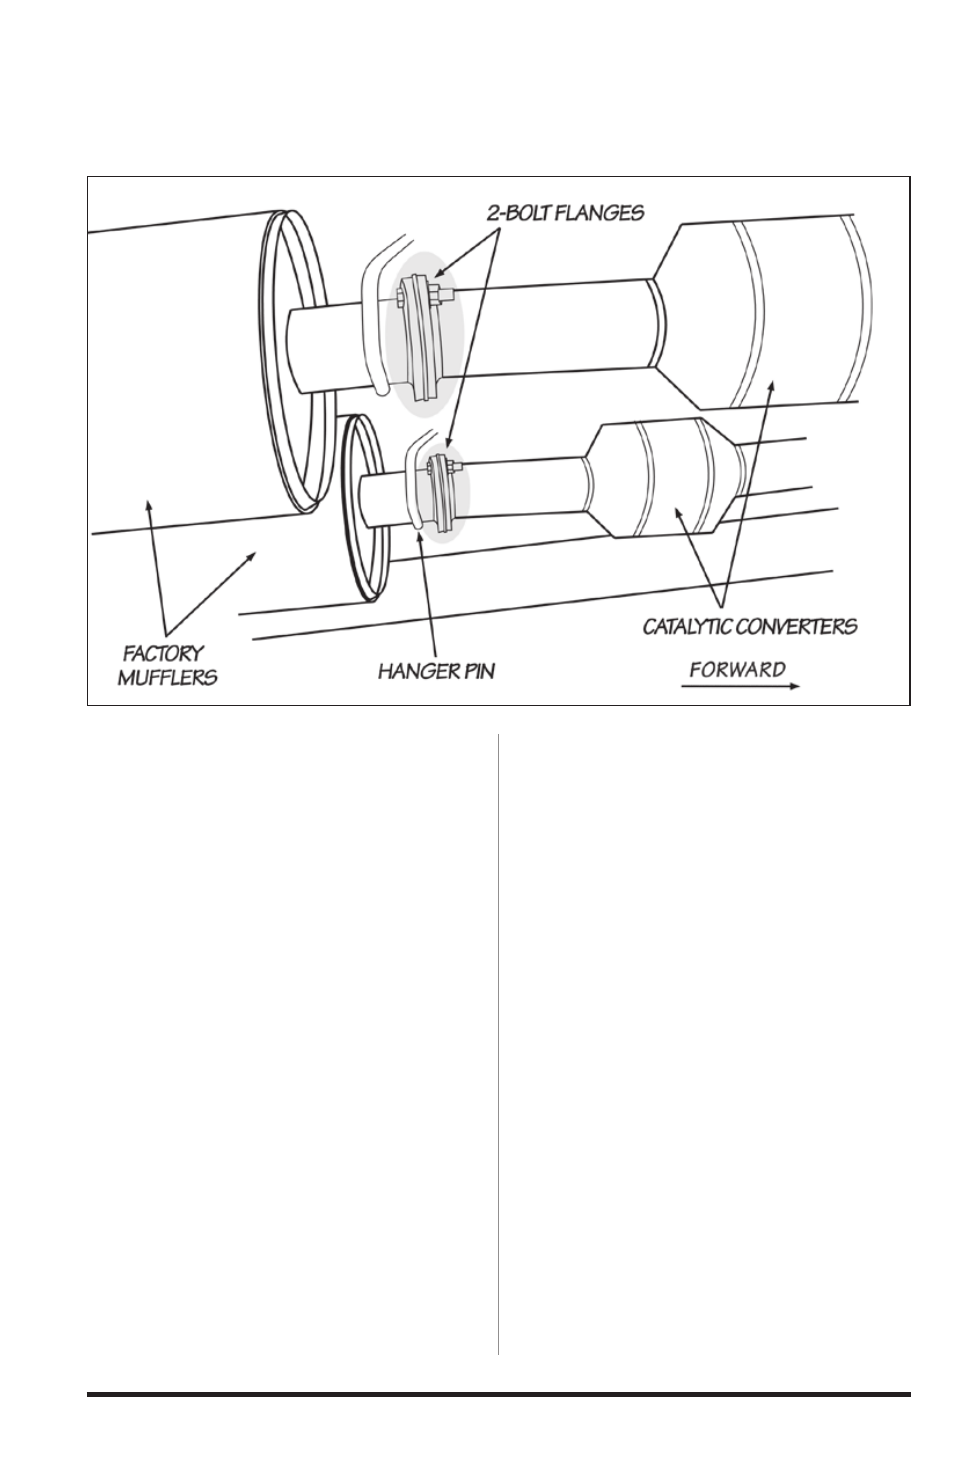
Figure 7
10
96438 v.2.0