Velleman WS1080 User Manual
Page 6
WS1080
V. 13 – 12/12/2013
6
©Velleman nv
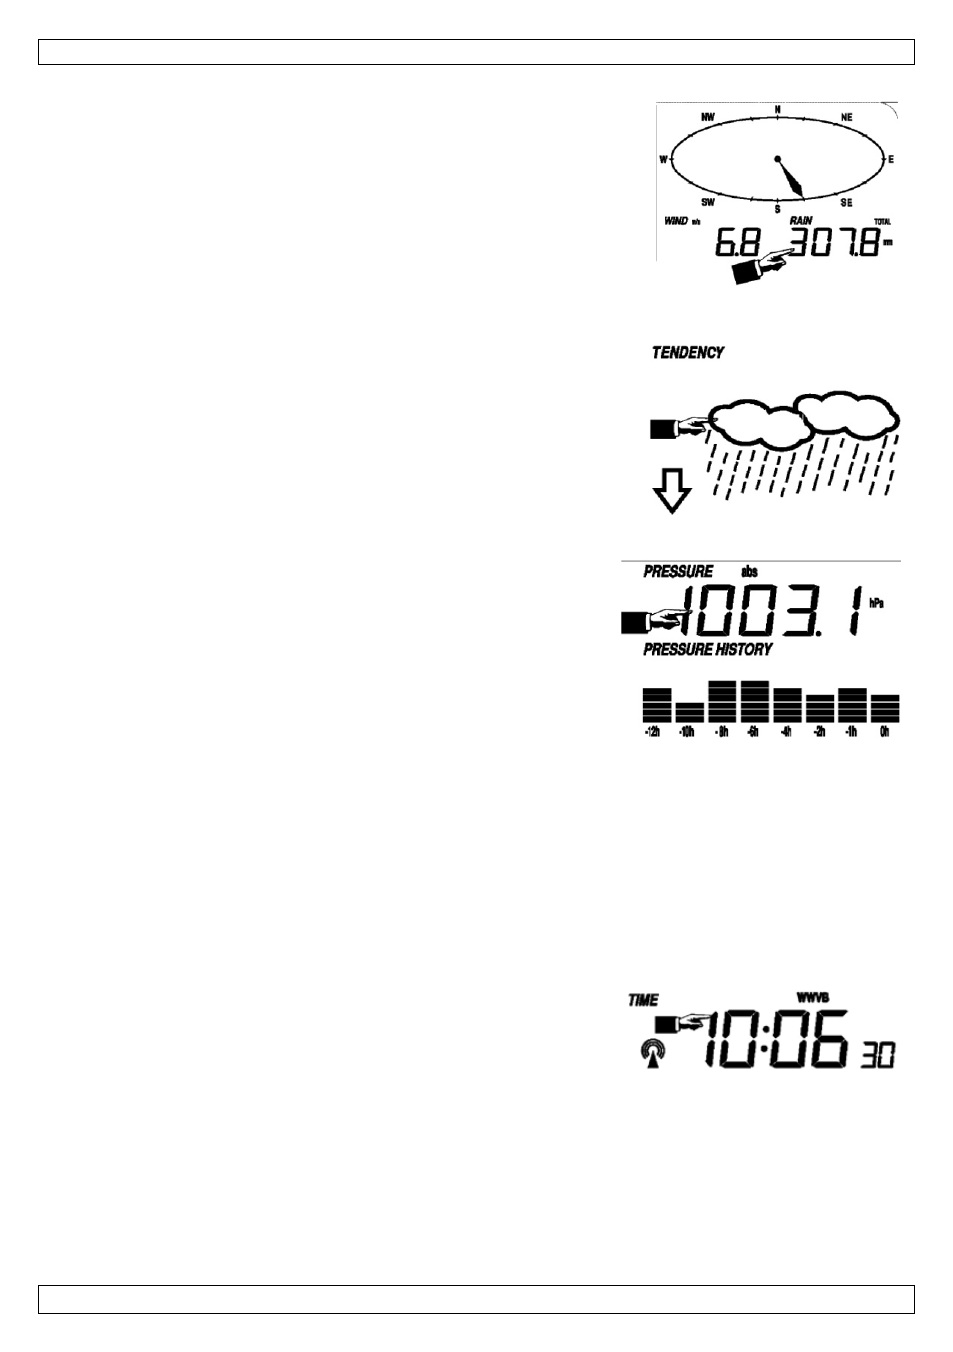
Rain
1. Touch the rain section once and press + or – to switch between
1h, 24h, week, month, and total rainfall display.
2. Touch the rain section a second time and press + or – to switch
between the rainfall display in mm or inches.
3. Touch the rain section a third time and press + or – to set the
high rainfall alarm (HI AL), or press ON/OFF to switch the alarm
on or off.
4. Touch the rain section a fourth time to display the maximum
rainfall reading. Hold the value pressed to reset the value.
5. Touch the rain section a fifth time and press CLEAR to reset all
rainfall values.
Weather Forecast
1. Touch the weather forecast section once and press + or – to
switch between sunny, partly cloudy, cloudy, and rainy display.
2. Touch the weather forecast section a second time and press +
or – to set the pressure threshold from 2-4 hPa.
3. Touch the weather forecast section a third time and press + or
– to set the storm threshold from 3-9 hPa.
Pressure
1. Touch the pressure section once and press + or – to switch
between absolute pressure and relative pressure display.
2. Touch the pressure section a second time and press + or – to
switch between pressure display in hPa, inHg, or mmHg.
3. Touch the pressure section a third time and press + or – to set
the relative pressure value.
4. Touch the pressure section a fourth time and press + or – to
set the high pressure alarm (HI AL), or press ON/OFF to switch
the alarm on or off.
5. Touch the pressure section a fifth time and press + or – to set the low pressure alarm (LO AL), or
press ON/OFF to switch the alarm on or off.
6. Touch the pressure section a sixth time to display the maximum pressure reading. Hold the value
pressed to reset the value.
7. Touch the pressure section a seventh time to display the minimum pressure reading. Hold the value
pressed to reset the value.
Note: When the absolute pressure is selected, step 3 will be skipped.
Pressure Bar Graph
Touch the pressure bar graph once and press + or – to switch between the 12h and 24h pressure
history.
Time
Note: The DCF function will only work if the outdoor sensor
receives the signal.
1. Touch the time section once and press + or – to adjust the
contrast level (from 0 – 8, default 5).
2. Touch the time section a second time and press + or – to select the time zone.
3. Touch the time section a third time and press + or – to select the 12h or 24h time display.
4. Touch the time section a fourth time and press + or – to set the hour.
5. Touch the time section a fifth time and press + or – to set the minutes.