3 storage and transport, 3 mounting, 1 general instructions – VEGA VEGAWAVE S 61 User Manual
Page 14: 2 installation instructions, 3 m ounting
If one of the stated malfunctions is detected or in
case of power failure, the electronics takes on a
defined switching condition, i.e. the relay deener-
gises (safe condition).
Functional principle
The tuning fork is piezoelectrically energised and
vibrates at its mechanical resonance frequency of
approx. 150 Hz. When the tuning fork is sub-
merged in the product, the vibration amplitude
changes. This change is detected by the integrated
oscillator and converted into a switching command.
2
.3
Storage and transport
Packaging
Your instrument was protected by packaging
during transport. Its capacity to handle normal
loads during transport is assured by a test
according to DIN EN 24180.
The packaging consists of environment-friendly,
recyclable cardboard. In addition, the sensor is
provided with a protective cover of cardboard.
Dispose of the packaging material via specialised
recycling companies.
3 M
ounting
3
.1
General instructions
Switching point
In general, VEGAWAVE S 61 can be installed in
any position. The instrument simply has be
mounted in such a way that the vibrating element is
at the height of the desired switching point.
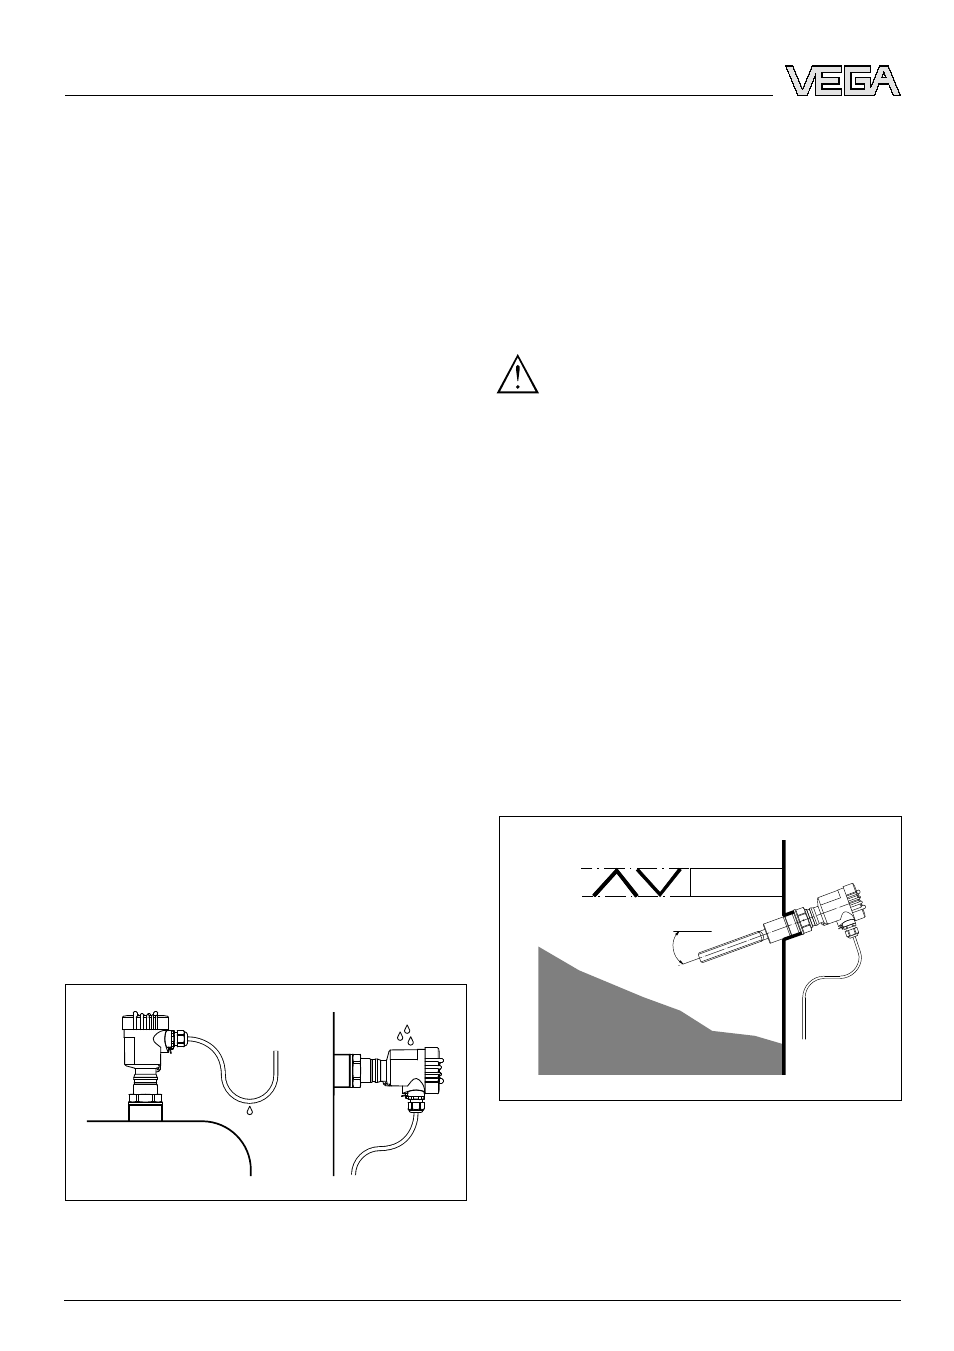
Moisture
Fig. 8: Measures against moisture penetration
Transport
Do not hold VEGAWAVE S 61 on the vibrating
element. Remove the protective cover just before
installation.
Handling
The vibrating level switch is a measuring instru-
ment and must be treated accordingly. Bending the
vibrating element will destroy the instrument.
Warning:
The housing must not be used to screw the
instrument in! Applying tightening force can
damage internal parts of the housing.
Use the hexagon above the thread for
screwing in.
3
.2
Installation instructions
Socket
The vibrating element should protrude into the
vessel to avoid buildup.
Filling opening
Mount the instrument in such a way that the tuning
fork does not protrude directly into the filling
stream.
Horizontal mounting
20°
a.
b.
Fig. 9: Horizontal mounting
a
Convex mounting
b
Concave mounting
14
VEGAWAVE S 61
Mounting
32949
-01
-080108