Bosch GLM 50 Professional User Manual
Page 15

English | 15
Bosch Power Tools
2 609 140 773 | (4.12.12)
individual measurements; their values can then be calculated
separately and then summarized.
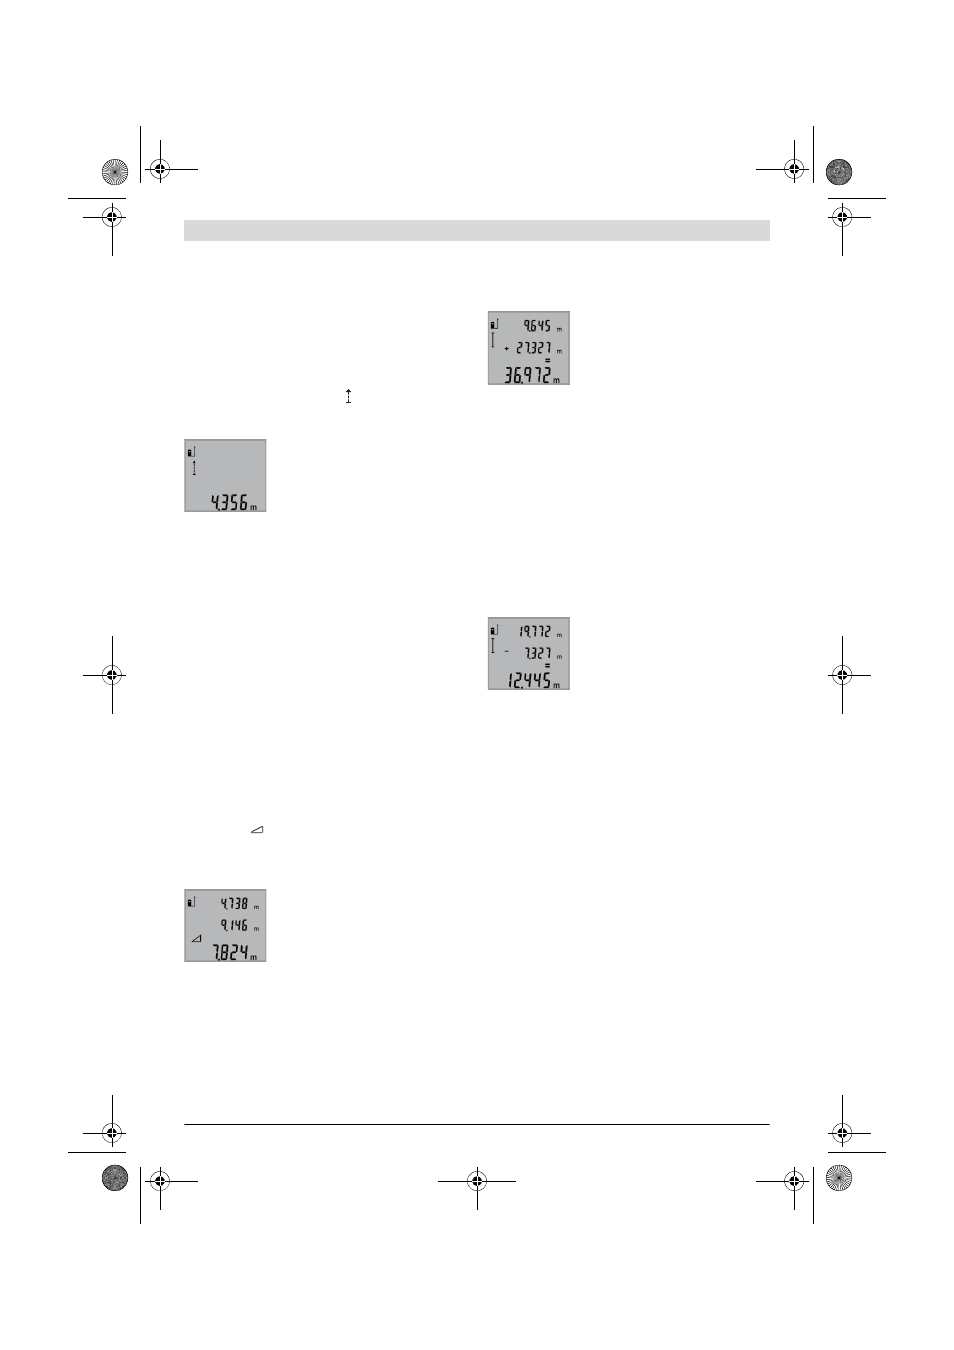
Continuous Measurement (Tracking) (see figure E)
For continuous measurements, the measuring tool can be
moved relative to the target, whereby the measuring value is
updated approx. every 0.5 seconds. In this manner, as an ex-
ample, you can move a certain distance away from a wall,
while the actual distance can always be read.
For continuous measurements, press button 9 until the indi-
cator for continuous measurement appears on the display.
To start the continuous measurement, press the measuring
button 2.
The current measured value is displayed
in the result line b.
Pressing the measuring button 2 ends the
continuous measurement. The last meas-
ured value is displayed in the result line b.
Pressing the measuring button 2 again re-
starts a continuous measuring run.
Continuous measurement automatically switches off after
5 min. The last measured value remains indicated in the result
line b.
Indirect height measurement / Simple Pythagoras Meas-
urement (see figure F)
The indirect height measurement is used to measure distanc-
es that cannot be measured directly because an obstacle
would obstruct the laser beam or no target surface is available
as a reflector. Correct results are achieved only when the right
angles required for the respective measurement are exactly
adhered to (Pythagorean Theorem).
Pay attention that the reference plane of the measurement
(e.g. the rear edge of the measuring tool) remains exactly at
the same location for all individual measurements within a
measuring sequence.
The laser beam remains switched on between the individual
measurements.
Press button 3 until the indication for simple Pythagoras
measurement
appears on the display.
Measure distances “1” and “2” in this sequence as for a
length measurement. Pay attention that a right angle exists
between distance “1” and the sought distance “X”.
Upon completion of the last measure-
ment, the result for the sought distance
“X” is displayed in the result line b. The in-
dividual measured values are displayed in
the measured-value lines a.
Deleting Measured Values
Briefly pressing button 4 deletes the last individual measuring
value determined in all measuring functions. Briefly pressing
the button repeatedly deletes the individual measured values
in reverse order.
Adding Measured Values
To add measuring values, firstly carry out a measurement.
Then press the plus button 8. For confirmation, “+” appears
on the display.
To add volumes or areas/surfaces, press the plus button 8 af-
ter the first completed measuring process. For confirmation,
“+” appears on the display left of the volume/area symbol.
Then carry out a second measurement.
To call up the sum of both measurements,
press the plus button 8 again. The calcula-
tion is indicated in the measured-value
lines a, and the sum in the result line b.
After calculation of the sum, further
measured values can be added to this re-
sult when pressing the plus button 8 prior to each measure-
ment.
Notes on the addition:
– Mixed length, area/surface and volume values cannot be
added together. For example, when a length and area val-
ue are added, “ERROR” briefly appears on the display af-
ter pressing the plus button 8. Afterwards, the measuring
tool switches back to the last active measuring mode.
– For each calculation, the result of one measurement is
added (e.g. the volume value); for continuous measure-
ments, this would be the displayed measured value in re-
sult line b. The addition of individual measured values from
the measured-value lines a is not possible.
Subtracting Measured Values
To subtract measuring values, press mi-
nus button 5; For confirmation, “–” is in-
dicated on the display. The further proce-
dure is analog to “Adding Measured
Values”.
Working Advice
General Information
The reception lens 12 and the laser beam outlet 11 must not
be covered when taking a measurement.
The measuring tool must not be moved while taking a meas-
urement (with the exception of the continuous measurement
function). Therefore, place the measuring tool, as far as this is
possible, against or on a firm stop or supporting surface.
Influence Effects on the Measuring Range
The measuring range depends upon the light conditions and
the reflection properties of the target surface. For improved
visibility of the laser beam when working outdoors and when
the sunlight is intense, use the laser viewing glasses 19 (ac-
cessory) and the laser target plate 20 (accessory), or shade
off the target surface.
Influence Effects on the Measuring Result
Due to physical effects, faulty measurements cannot be ex-
cluded when measuring on different surfaces. Included here
are:
– Transparent surfaces (e.g., glass, water),
– Reflecting surfaces (e.g., polished metal, glass),
– Porous surfaces (e.g. insulation materials),
– Structured surfaces (e.g., roughcast, natural stone).
If required, use the laser target plate 20 (accessory) on these
surfaces.
OBJ_BUCH-1444-004.book Page 15 Tuesday, December 4, 2012 1:47 PM
