Operation – Bosch GTA 60 W Professional User Manual
Page 16
16 | English
1 609 929 S18 | (29/1/09)
Bosch Power Tools
Preparing the Saw Stand
Setting Up the Saw Stand
(see figure F)
Before fastening the power tool, the stand base
must be pulled apart.
– To relieve the limit bolts 4, lightly pull the
saw stand upward by the handle 3.
– Release lock 2.
This pulls back the limit bolts that lock the
wheels in place.
– Position one foot on the foot lever 10 and
push the handle 3 downward with both
hands until the limit bolts engage again.
– Close the lock 2.
The height-adjustable legs 5 are used for level-
ling the saw stand.
– Loosen lock nut 12 and screw the legs in or
out until the saw stand is aligned level.
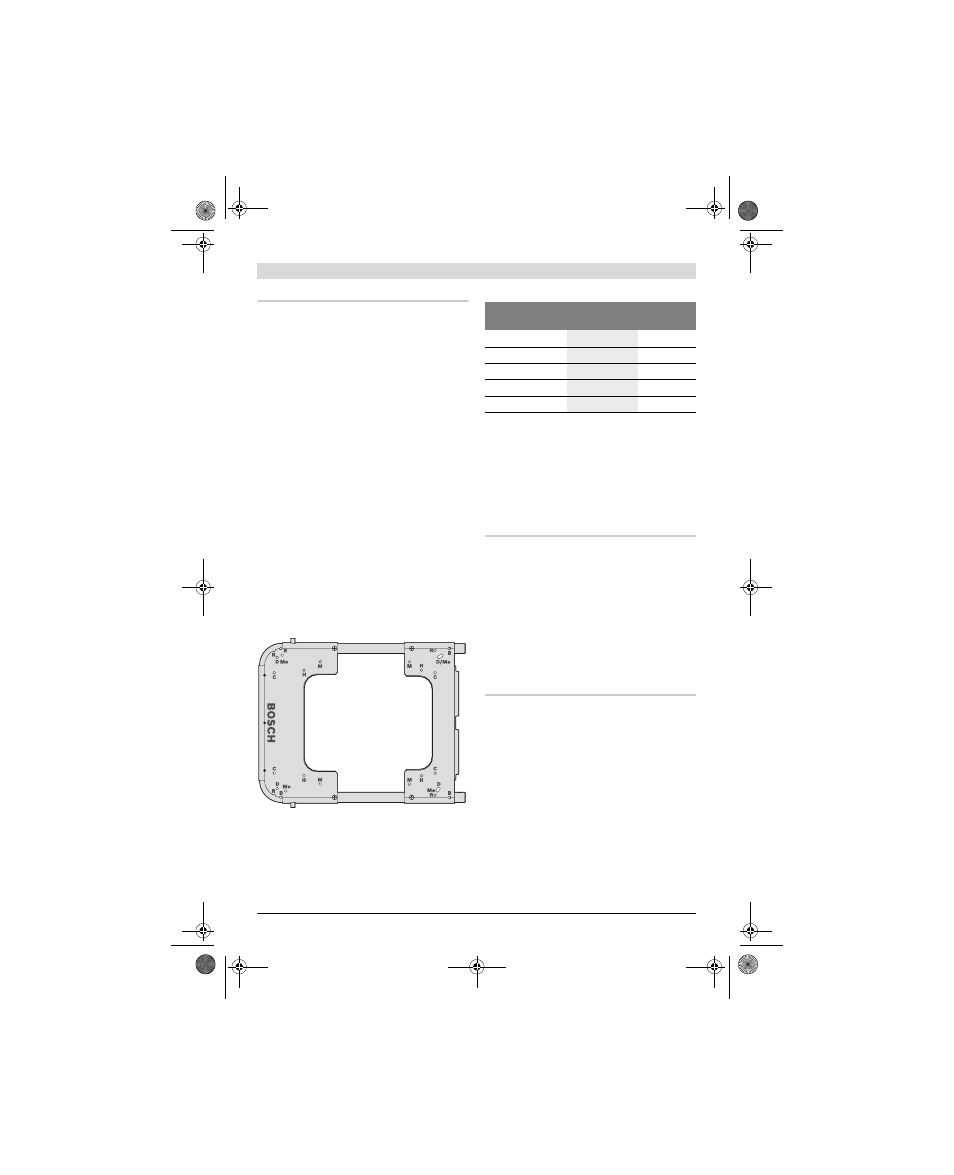
Fastening the Power Tool to the Mounting
Plate (see figure G)
The mounting plate 1 is universally usable. With
the varying mounting holes, both Bosch power
tools as well as other brands can be mounted to
the saw stand.
– Position the power tool onto the matching
mounting holes.
– Screw the mounting plate and the power tool
together with the fitting bolts, washers and
nuts.
Operation
Working Advice
Do not overload the saw stand. Always observe
the maximum carrying capacity of the saw
stand.
Before working, always make sure that the lock
2 is closed.
Always hold the workpiece firmly, especially the
longer and more heavy section. After cutting
through the workpiece, the centre of gravity
may become dislocated in such an unfavourable
manner that the saw stand tips over.
Transport
The stand base must be folded together for
transport. (see figure H)
– To relieve the limit bolts 4, lightly push the
saw stand downward by the handle 3.
– Release lock 2.
This pulls back the limit bolts that lock the
wheels in place.
– Position one foot on the foot lever 10 and
push the handle 3 upward with both hands
until the limit bolts can engage again.
– Close the lock 2.
Brand
Model
Mounting
hole
Bosch
GTS 10
B
DeWALT
DW744XP
D
Metabo
TS 250
Me
Makita
2703
M
Hitachi
C 10 R A 2
H
OBJ_BUCH-857-003.book Page 16 Thursday, January 29, 2009 10:22 AM