Caution – Festool DWC 18 User Manual
Page 17
17
Removing the auto feed attachment
Use power to carefully pull the attachment
from the gear box.
Setting the screw length
Press button [9-1] to remove and insert the
depth stopper [9-2] and set the required screw
length.
Read the set screw length on the stopper sides
[9-3].
Inserting collated screw strips
Pull the collated screws [10-3] through the
bottom guiding of the attachment, then push
the strip through the second guiding until it
engages in the working position.
Pull the belt slightly to make sure that it is
safely fi tted.
Make sure that the fi rst screw is in the screw-
ing axes – see fi gure [10].
Use the wheel [10-1] to set the required screw-
ing depth. Turn to the right for inserting the
screws deeper, and to the left to screw to lower
depth. The actual setting position is visible on
the presetting indicator [10-2].
Upon setting, set some screws for testing and use
the wheel [10-1] to adjust the depth, if required.
Each setting change complies with the stopper
shift o ± 0.1 mm.
We recommend to screw in automatic mode –
see point 9.1 b).
Removing the collated screws
Pull upwards to remove the belt (fi gure [11]
) or press the transport lever and concurrently
pull the belt downwards (fi gure [11] ).
10 Working
instructions
- The auto feed attachment must not be held in
the depth stopper area as there are moving
parts!
- Each screw adjustment must be completed. In-
terrupted fastening or releasing of the pressure
during adjustment can result in unsatisfactory
machine function.
- The collated screws and the auto feed attach-
ment can only be replaced when the power tool
is turned off.
- Never use the auto feed attachment in any other
way than specifi ed in this instruction manual.
- Use only original screwing bits.
- Use only original collated screws.
- Always store the collated screws in original
packaging.
- Always work in right angle against the attached
board.
Maintenance of the auto feed attachment
The attachment generally does not require any
maintenance. After long period use, we recom-
mend to clean with pressurized air.
The auto feed attachment may be lubricated in
the area of the carriage guide (see picture [12 b]).
Prior to cleaning, dismantle the attachment, as
specifi ed above.
Prior to cleaning, remove the collated screws
from the attachment, as specifi ed in the point
Removing the collated screws.
Pull the auto feed attachment from the drywall
screwdriver.
Disassembly of the slides
1. Push the depth stopper [9-2] into the housing
until the arresting button [12-1] is at the level
of the sign for dismantling the slides [12-2] –
see fi gure [12 a].
2. Press the arresting button [12-1] and concur-
rently remove the slides from the holder – see
fi gure [12 b].
3. Press the button [9-1] and concurrently re-
lease the depth stopper – see fi gure [12 c].
Transport lever disassembly
1. Press the button [13-1] and concurrently pull
it out– see fi gure [13 a].
2. Remove the released button [13-1] (figure
[13 b]) with the transport lever [13-2] and the
spring [13-3] from the slides (fi gure [13 c]).
Clean individual parts, replace defective or worn
parts, and assemble in the opposite sequence.
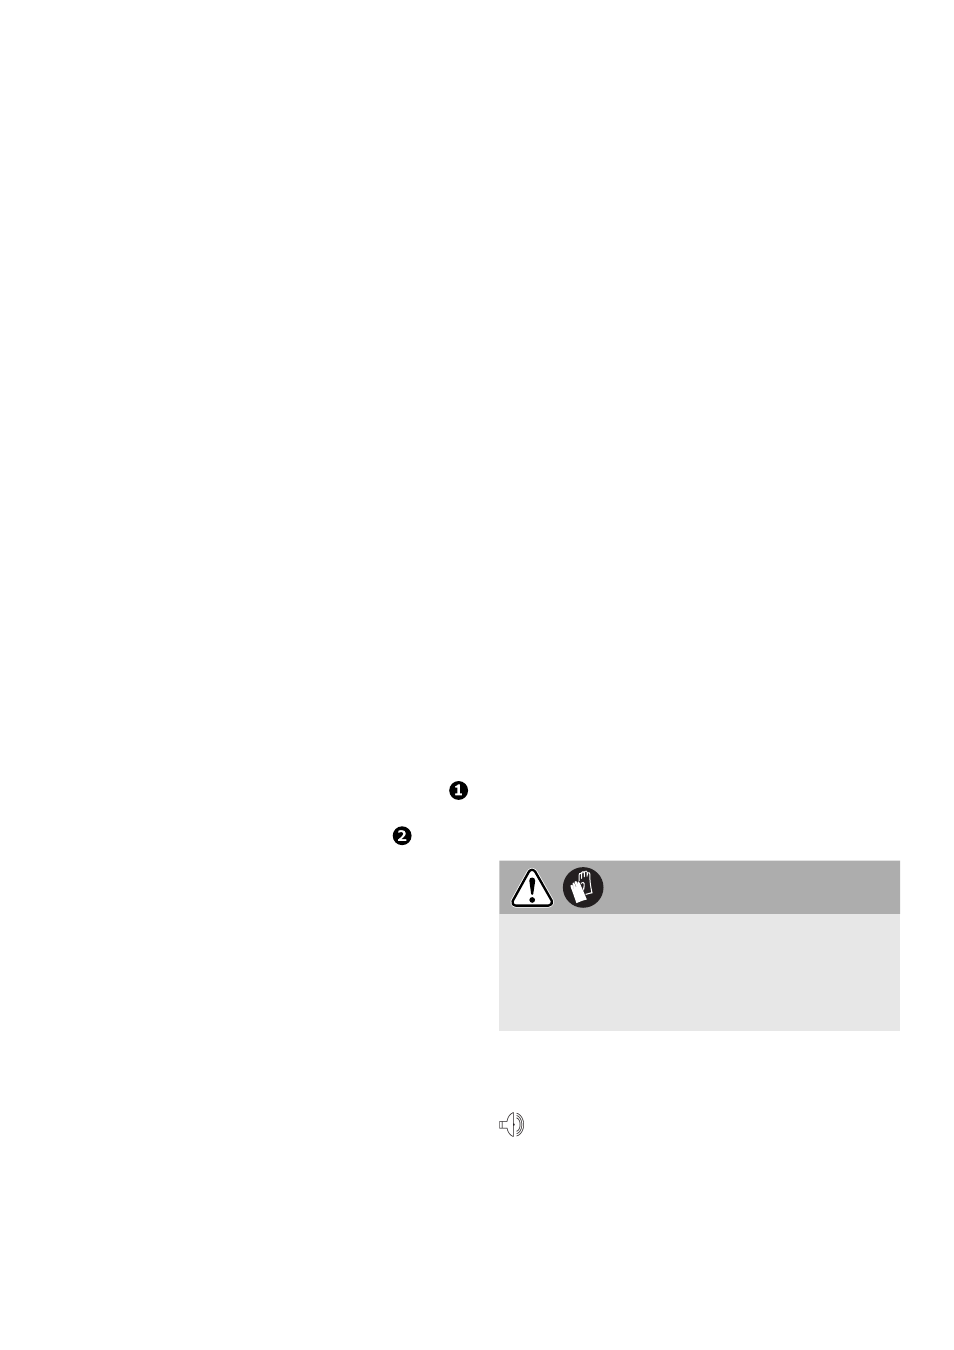
CAUTION
During reassembly of the transport lever into
the slides, pay due care to correct fi tting of the
spring [13-3] in the transport lever. Incorrect
assembly may result in dysfunction of the belt
transport.
Acoustic warning signal
Acoustic warning signals sound and the machine
switches off in the following operating states:
peep
- Battery
fl at or machine
overloaded
• Change the battery pack.
• Place the machine under
reduced stress.