Recording to tape Ⅵ auto-edit recording, Follow steps 1–6 on the previous page, Press prog – Yamaha GX-900 User Manual
Page 32: Press r. time . “auto a, Will light up during programming for side b, Press edit . (“edit, Lights up on the display.) the recording starts
24
1
1
A B C
D E F
G H I
J K L
M N O
P Q R
S T U
V W X
Y Z
/
2
2
3
3
4
4
5
5
6
6
7
7
8
8
R. TIME
C
EDIT
D
+
I0
E
MODE
REPEAT
RANDOM
SPACE
TUNER
DISC SKIP
POWER
SLEEP
INPUT
VOLUME
9
0
PRESET
TIME
A
PROG
B
CD
/I
YMERSION
BASS BOOST
MUSIC
INPUT MODE
M–MARK
SCROLL
TAPE
MD
REC/PAUSE
ENTER
DELETE
REC/PAUSE
DIRECTION
MD EDIT
DISC
1
DISC
2
DISC
3
DOWN
UP
VOLUME
STANDBY/ON
MINIDISC RECORDER
MD
TAPE
DIRECTION
YMERSION
B.BOOST
MUSIC
INPUT
INPUT
MIN
PRESET/ TUNING/ BAND
A/B/C/D/E
DISC CHANGE
OPEN / CLOSE
AUTO/MANUAL
TIMER
MEMORY
TIME ADJ
DOLBY NR
HOUR
RANDOM
REPEAT
TIME
DISPLAY
MODE
MD EDIT
DELETE
PAUSE/ENTER
MD
CHARACTER
SET
REC/PAUSE
TAPE
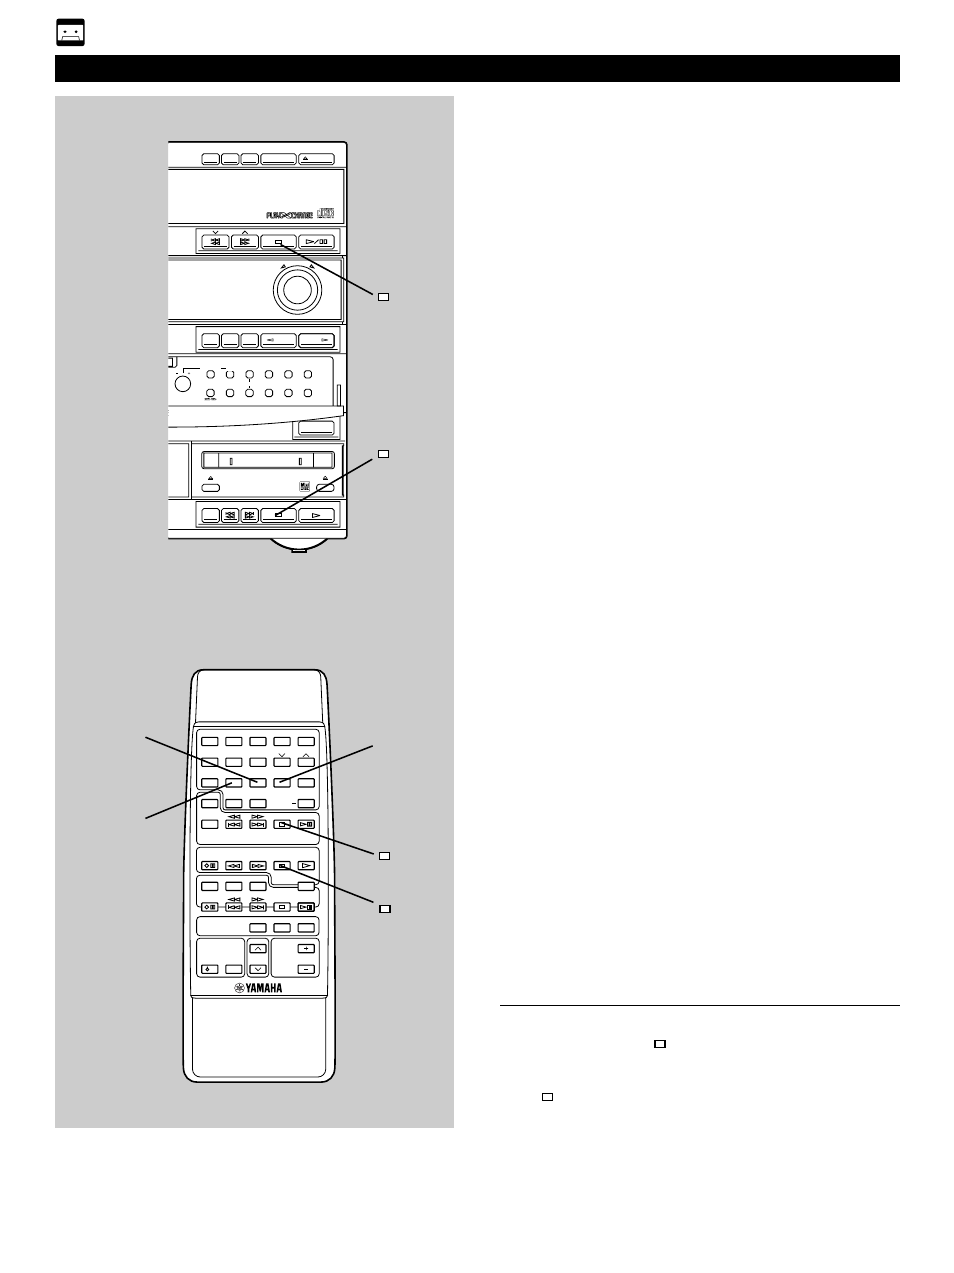
Recording to tape
Ⅵ
Auto-EDIT recording
This recording automatically changes the order of tracks so
that the unrecorded space of side A is minimized.
1
Follow steps 1–6 on the previous page.
2
Press PROG.
3
Press R. TIME.
“Auto A
>>>
” will light up during programming for side A,
and “Auto B
>>>
” will light up during programming for side
B.
4
Press EDIT. (“EDIT” (
8
) lights up on the display.)
The recording starts.
3
4
2
To cancel the EDIT function
Before recording, press of the CD player or the tape deck.
To stop recording
Press of the tape deck.
(At this time, CD play automatically stops.)