D)center geq, E)lfe level, F)dynamic range – Yamaha HTR-5760 User Manual
Page 60: G)audio set
56
SET MENU
■
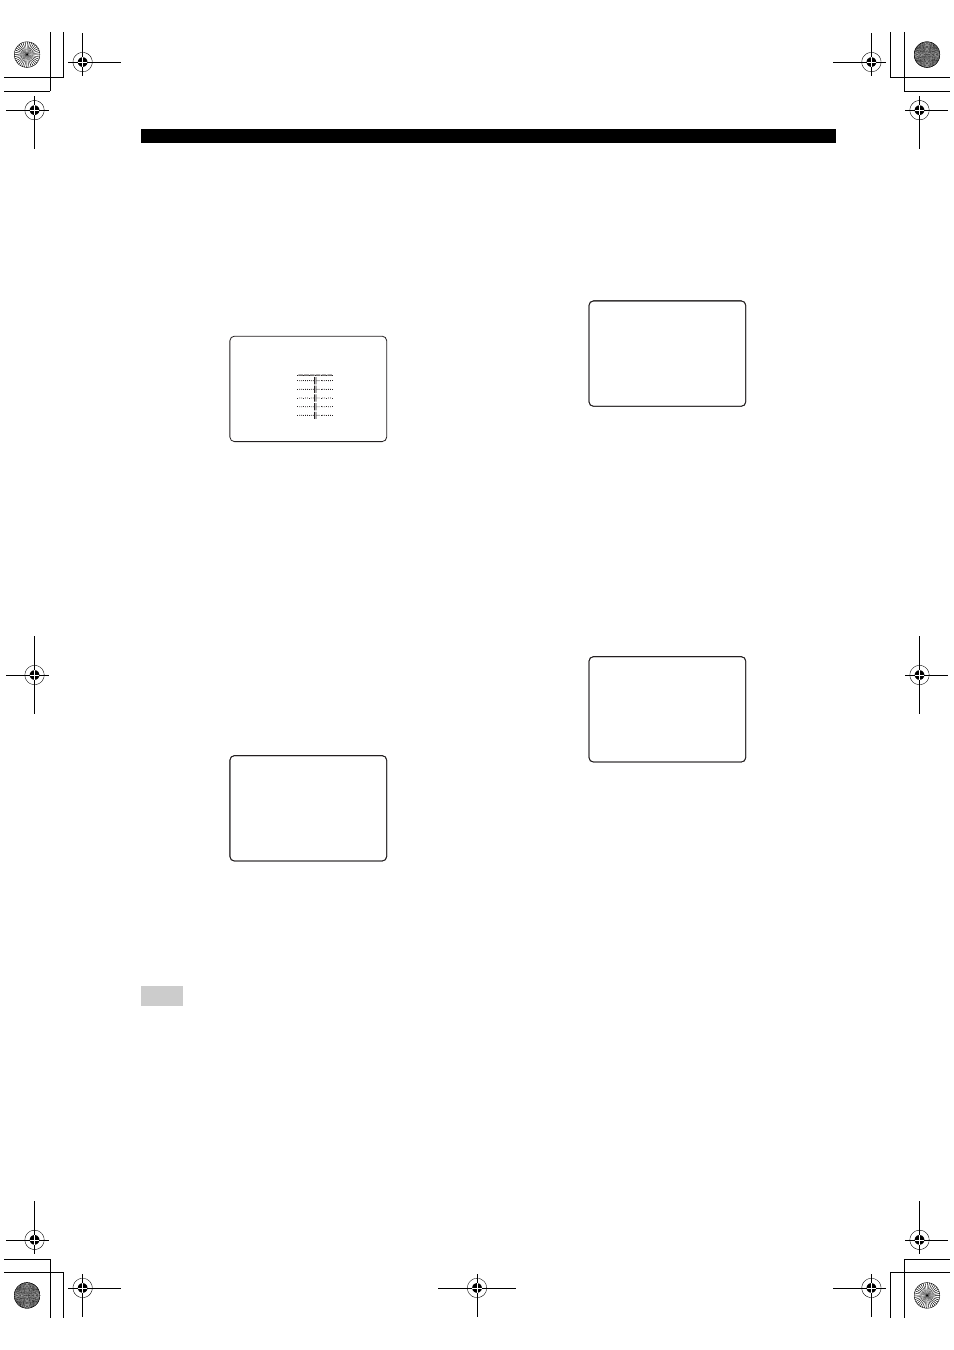
Center graphic equalizer
D)CENTER GEQ
Use this feature to adjust the built-in 5-band graphic
equalizer for the center channel so that the tonal quality of
the center speaker matches that of the front speakers.
You can make adjustments listening to the currently
selected source component or a test tone.
You can adjust 5 frequency bands: 100Hz, 300Hz, 1kHz,
3kHz, 10kHz
Choices: –6 to +6 dB
• Select ON to output test tones from the front left and
center speakers, and adjust the tonal quality of the
center speaker.
• Select OFF to stop the test tone and output the
currently selected source component.
• Press u / d to select a frequency band.
• Press j / i to adjust the selected frequency band.
■
Low-frequency effect level
E)LFE LEVEL
Use to adjust the output level of the LFE (low-frequency
effect) channel according to the capacity of your
subwoofer or headphones. The LFE channel carries low-
frequency special effects which are only added to certain
scenes. This setting is effective only when this unit
decodes Dolby Digital or DTS signals.
Choices: –20 to
0
dB
Speaker
SPEAKER
Select to adjust the speaker LFE level.
Headphone
HEADPHONE
Select to adjust the headphone LFE level.
Depending on the settings of “LFE LEVEL”, some signals may
not be output from the SUB WOOFER OUTPUT jack.
■
Dynamic range
F)D.RANGE
Use to select the amount of dynamic range compression to
be applied to your speakers or headphones. This setting is
effective only when the unit is decoding Dolby Digital and
DTS signals.
Choices: MIN (minimum), STD (standard),
MAX
(maximum)
Speaker
SP
Select to adjust the speaker compression.
Headphone
HP
Select to adjust the headphone compression.
• Select MIN if you regularly listen at low volume levels.
• Select STD for general use.
• Select MAX to preserve the greatest amount of
dynamic range.
■
Audio set
G)AUDIO SET
Use to customize this units overall audio settings.
Audio mute
AUDIO MUTE
Use to adjust how much the mute function reduces the
output volume.
Choices:
MUTE
, –20 dB
• Select MUTE to completely halt all output of sound.
• Select –20 dB to reduce the current volume by 20 dB.
Audio delay
AUDIO DELAY
Use to delay the sound output and synchronize it with the
video image. This may be necessary when using certain
LCD monitors or projectors.
Choices:
0
to 160 mS
Note
. TEST )OFF ON
-
+
100Hz
0dB
300Hz
0dB
1kHz
0dB
3kHz
0dB
10kHz
0dB
[ ]/[ ]:Up/Down
[<]/[>]:Adjust
D)CENTER GEQ
p
p
. SPEAKER;;;;;;0dB
HEADPHONE
;;;;0dB
[ ]/[ ]:Up/Down
[<]/[>]:Adjust
p
p
E)LFE LEVEL
. SP: MIN STD)MAX
HP: MIN STD
)MAX
[ ]/[ ]:Up/Down
[<]/[>]:Select
p
p
F)DYNAMIC RANGE
. AUDIO MUTE;;MUTE
AUDIO DELAY
;;0ms
DIALG.LIFT
;;;OFF
[ ]/[ ]:Up/Down
[<]/[>]:Selet
p
p
G)AUDIO SET
00_HTR-5760_U_EN.book Page 56 Tuesday, February 17, 2004 10:47 AM