Weed Eater 2600 Series User Manual
Page 6
6
NOTE: Make sure the velcro strap is lo-
cated on the blower outlet as shown be-
low. Also, make sure the zipper on the
bag is completely closed.
Velcro Strap
Collection
Bag
Blower Outlet
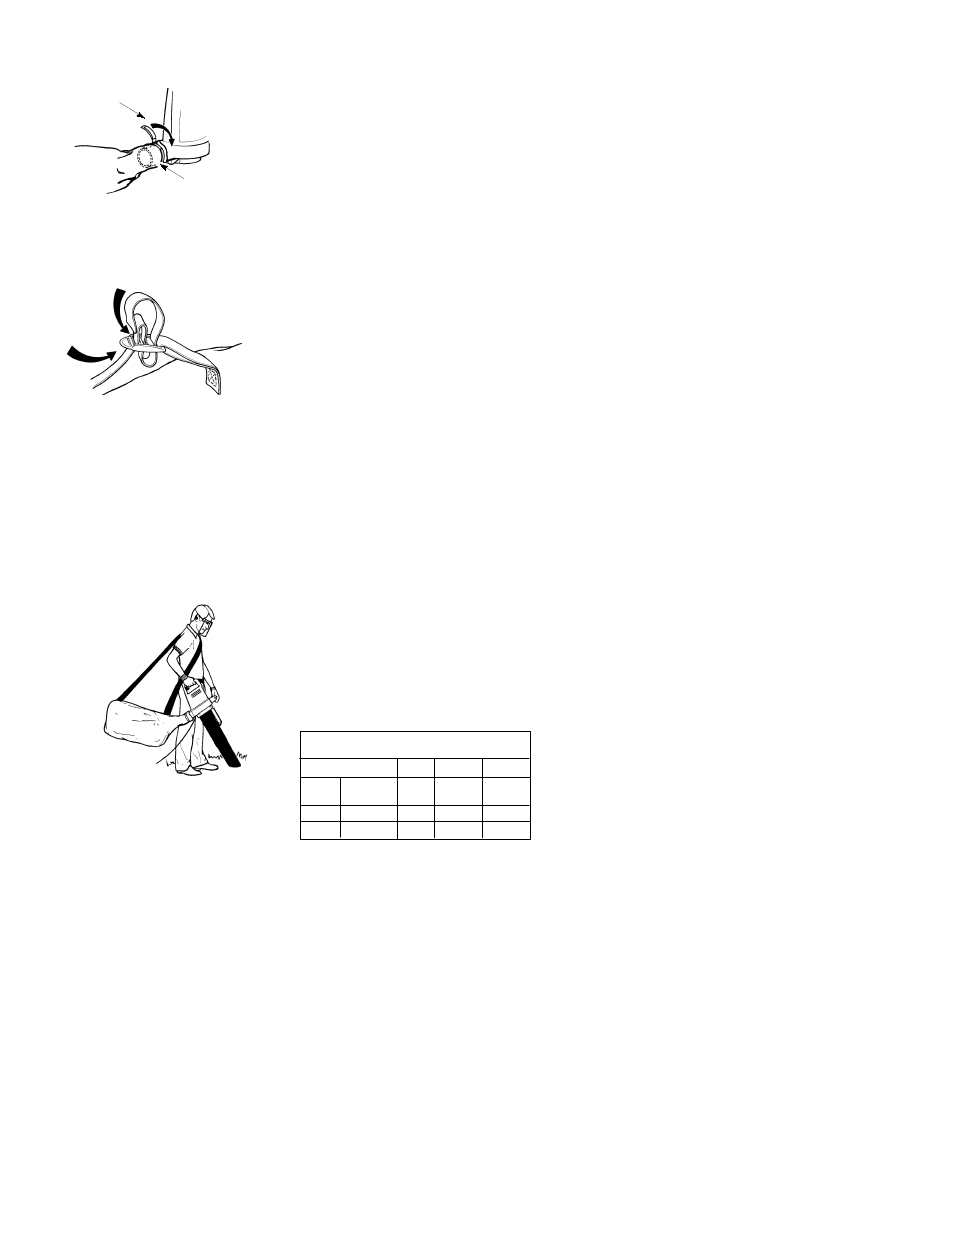
ADJUSTING THE SHOULDER STRAP
ON THE COLLECTION BAG
1. Carefully loop the shoulder strap
through the buckle as shown in the il-
lustration below.
First In
Last In
2. Position the unit on your right-hand
side, blower outlet and bag pointing
toward the rear. Hold the unit in an up-
right position with the lower vacuum
tube on the ground to support it.
3. Place the shoulder strap over your
head and onto your left shoulder.
4. Adjust the strap to allow a free flow of
air from the blower. If the collection
bag is kinked, the unit will not operate
properly.
NOTE: The strap is designed to position
the collection bag on your shoulder without
kinks. The strap is not intended to support
the weight of the unit.
Shoulder strap
on left shoulder
No kinks in bag
allows free air flow
HOW TO CONVERT UNIT FROM
VACUUM USE TO BLOWER USE
1. Stop unit and unplug the extension
cord.
2. Remove the vacuum tubes and
collection bag.
3. Install the inlet restrictor that was re-
moved when assembling for vacuum
use.
NOTE: If you are unable to locate the inlet
restrictor, the unit will still operate. This re-
strictor improves the blower function.
4. Close the inlet cover and make sure it
is latched closed.
5. Re-install the blower tubes. Refer to
the section
ATTACHING THE BLOWER
TUBE AND NOZZLE
for instructions on
how to attach these items.
SELECT AN EXTENSION CORD
Use only a 120 A.C. voltage supply as
shown on the nameplate of the unit.
S
To reduce the risk of electrical shock, this
equipment has a polarized plug (one
blade is wider than the other) and will re-
quire the use of a polarized extension
cord. The appliance plug will fit into a po-
larized extension cord only one way. If
the plug does not fit fully into the exten-
sion cord, reverse the plug. If the plug still
does not fit, obtain a correct polarized ex-
tension cord. A polarized extension cord
will require the use of a polarized wall out-
let. This plug will fit into the polarized wall
outlet only one way. If plug does not fit ful-
ly into the wall outlet, reverse the plug. If it
still does not fit, contact a qualified electri-
cian to install the proper wall outlet. Do
not change the equipment plug, exten-
sion cord receptacle, or extension cord
plug in any way.
The extension cord used to reach the pow-
er source must be:
D
Specifically marked as suitable for out-
door use. The cord must be marked with
the suffix “W-A” (in Canada “W”).
D
Heavy enough to carry full current from
the power source to the unit. Otherwise,
loss of power and overheating can occur
causing damage to unit. Refer to table for
minimum wire gauge recommendations.
The cord must be marked with the proper
wire gauge. (Appropriate extension cords
are available.) Do not use multiple cords.
D
In good condition. Cord insulation must
be intact with no cracks or deterioration.
Plug connectors must be undamaged.
DO NOT
use multiple cords.
Volts
25 ft.
120
18
50 ft.
16
Amp Rating
120
16
16
10
MINIMUM A.W.G. WIRE GAUGE
RECOMMENDATIONS
6
More
Than
A.W.G. A.W.G.
10
12
Not More
Than