Vivitar V69379M User Manual
Page 10
9
Compression
/
There are 2 photo compressions to select from:
High density -
or Low density -
1. Press the MODE button for the
or
icons to appear on the LCD screen
2. If the LCD displays
, this means the present compression is Low density
and in
order to change to High density
click the Shutter button.
3. If the LCD displays
, this means the present compression is High density
and in
order to change to Low density
click the Shutter button.
4. All photos taken after changing compression will be at the new compression.
5. The compression setting can be changed at any time.
Note: Photos taken at lower compres
sion take up more of the camera‟s memory and therefore
fewer photos can be taken at lower compression than with high compression.
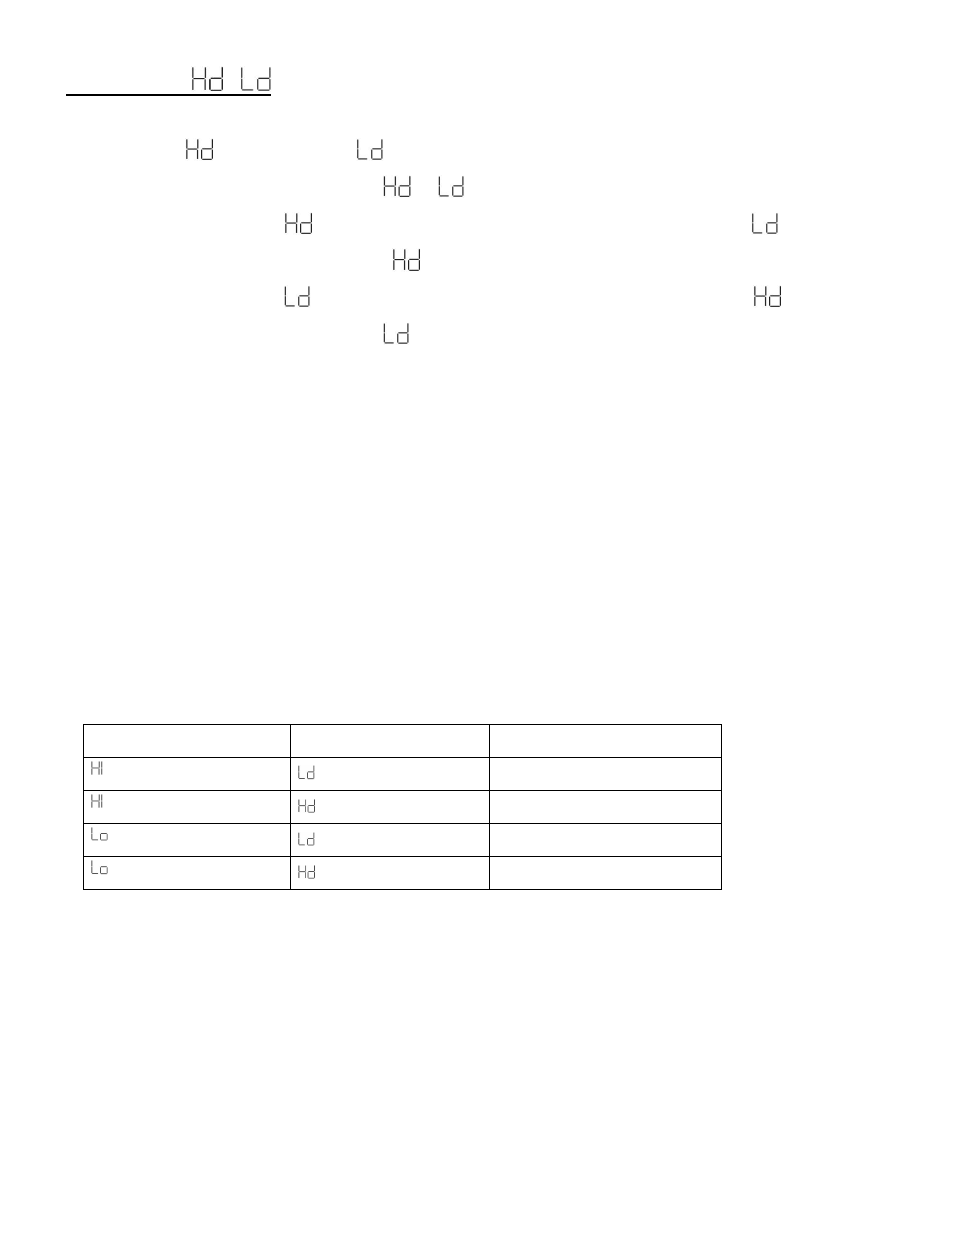
The photo resolution and compression settings determine the number of photos that can be
taken and the amount of memory required for each photo.
The following table tells you how many photos can be taken based on the image resolution and
compression:
Resolution
Compression
VGA (640 x 480)
26 photos
VGA (640 x 480)
52 photos
QVGA (320 x 240)
104 photos
QVGA (320 x 240)
208 photos
– approx.