The Speaker Company Home Theater Speaker User Manual
Page 6
The Speaker Company Home Theater Speaker System
Page 6
Next, connect your other speakers (Left, Center, Right, Left Surround,
and Right Surround) directly to your receiver.
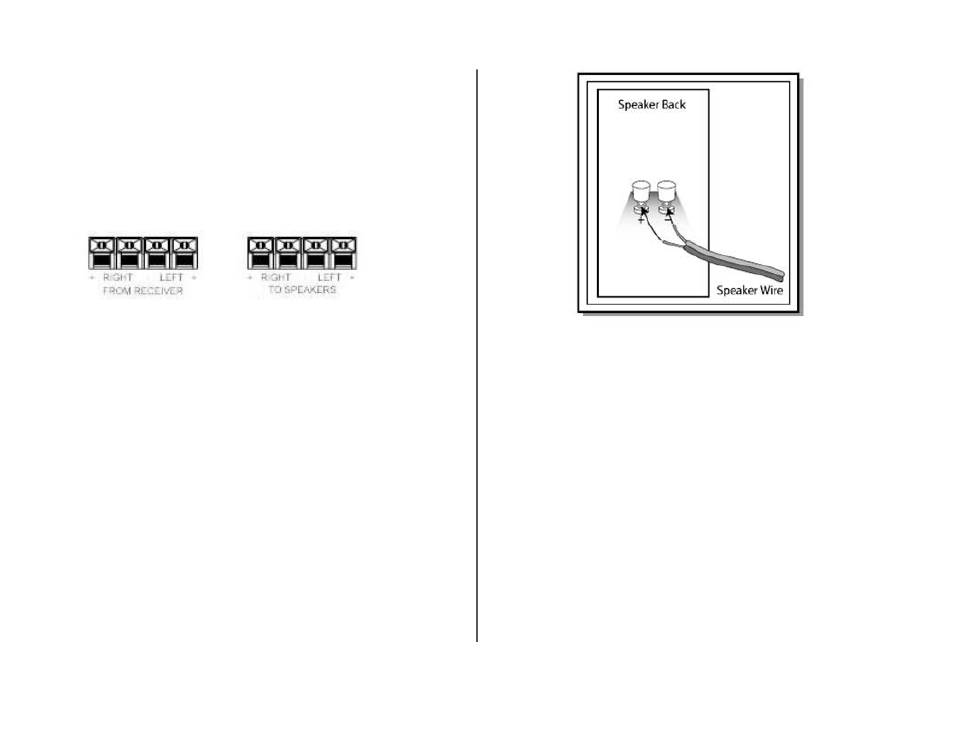
Note that your receiver’s speaker connections are paired. One
terminals in each pair is red (positive or “+”), the other black (negative or
““).
You’ll notice a pair of springloaded terminals on each speaker. They
are also red and black, respectively.
Speaker wire, in turn, has two conductors separated by insulation and
identified by color (if the insulation is clear) or by differences in the
insulation itself (ridged vs. plain is the most common). Choose one
conductor to carry the “+” signal and the other for the negative signal. It
makes no difference which one you pick – just maintain that choice
for all your connections.
Prepare the wire by exposing about 3/8” of each conductor by removing
the insulation with a wire stripper or sharp knife. Twist all the individual
strands of each conductor together.
Polarity and Proper Phasing
Don’t let these words scare you. They both refer to making sure you get
all the sound your speakers are capable of giving you.
Here are stepbystep instructions for connecting the Left front output
from your receiver or amplifier to the Left front speaker.
1) Locate the Left front speaker output on the receiver or amplifier.
Note the two connectors – one marked “+” (the positive terminal
– usually red) and one marked ““ (the negative terminal –
usually black).
2) Connect the “+” conductor of the speaker wire to the receiver’s
“+” terminal.
3) Connect the ”“ conductor of the speaker wire to the receiver’s “
“ terminal.
4) At the speaker end of the same wire, connect the “+” conductor
to the “+’ terminal on the speaker by pressing the springloaded
tab to reveal a hole in the connector. Insert the stripped end of