Vii) camera mode selection – Oregon Scientific Camera ATC-1000 User Manual
Page 8
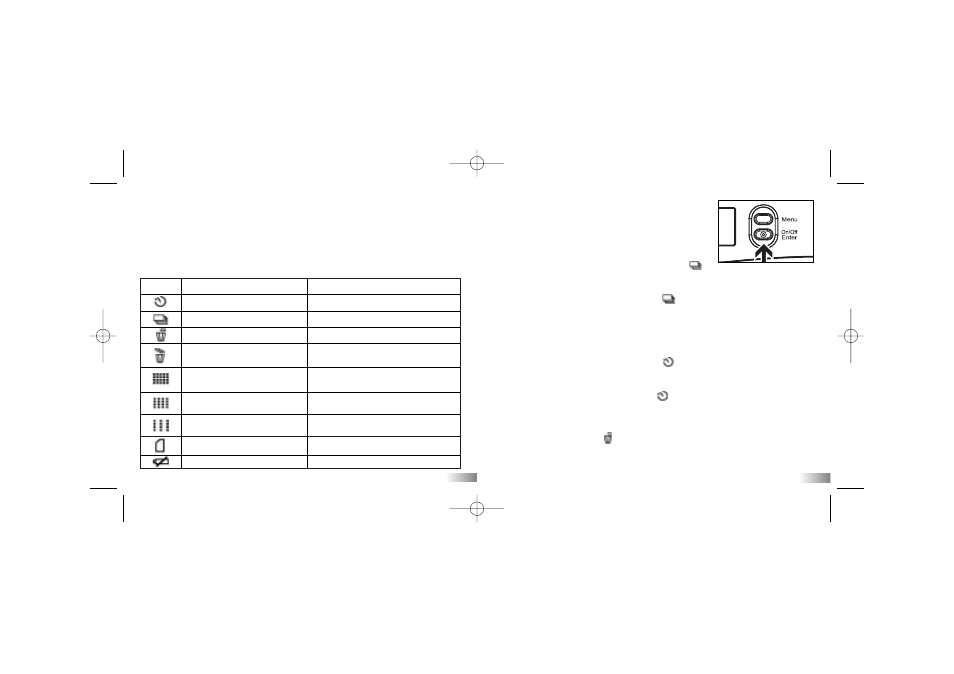
Icon
Title
Description
Self timer
10 Second timer
Continuous shutter
Takes 3 consecutive photos.
Delete the last picture/clip
Erases the last picture/clip taken
Delete all photos/footage Erases all pictures/footage
stored in the camera
High resolution
Large photo format/less
(640 x 480 pixels)
storage capability
Medium resolution
Medium photo format
(320 x 240 pixels)
Low resolution
Smallest photo format/
(160 x 120 pixels)
more storage capability
SD card
Shows SD card is being inserted
Low battery
Battery is low when this icon appears
VII) Camera Mode Selection
1. You can cycle through different shooting modes by pressing the ‘Menu’
button repeatedly. The LCD will display each mode as you press
the ‘Menu’ button.
2. Press the ‘Enter’ button to confirm the selection.
3. When you want to quit the Camera Mode Selection, cycle through the icons by
pressing the ‘Menu’ button repeatedly until the selected icon stops flashing.
4. The different mode icons are shown in the table below.
11
a) Default 640 x 480 pixels resolution
To change the resolution, press the ‘Menu’ button until
the desired resolution icon shows on the LCD display.
Press the ‘Enter’ button to confirm your selection.
b) Continuous Shutter Mode
Continuous shutter mode is activated by selecting
and confirmed by pressing the ‘Enter’ button. Press the ‘Photo shutter’ button
once to start. The
ATC-1000
will take three consecutive photos accompanied by
three ‘beeps’. To cancel this mode reselect
and press the ‘Enter’ button.
Note:
1. It doesn’t work for taking video footage.
2. This function supports photos (640x480 VGA) only.
c) Self-Timer Mode
Self-timer mode is activated by selecting
and confirmed by pressing the
‘Enter’ button. Press ‘Movie shutter button’ or ‘Photo shutter button’ once to
start the countdown. The
ATC-1000
will count down 10 ‘beeps’ and then start
recording. To cancel this mode reselect
and press the ‘Enter’ button.
d) Delete the Last Photo/Movie Clip
To delete the last photo/movie clip you shot, press the ‘Menu’ button until
the ‘Status LCD’ displays
. Press the ‘Enter’ button to confirm.
Repeat these two steps to individually delete your files.
Note: After file deletion the LCD display will adjust the remaining number
of files accordingly.
12
HC18_manual_1_sep 9/2/05 16:50 Page 8