Alternate step 7—for 10" woofers – Orion HCCA G27902 User Manual
Page 7
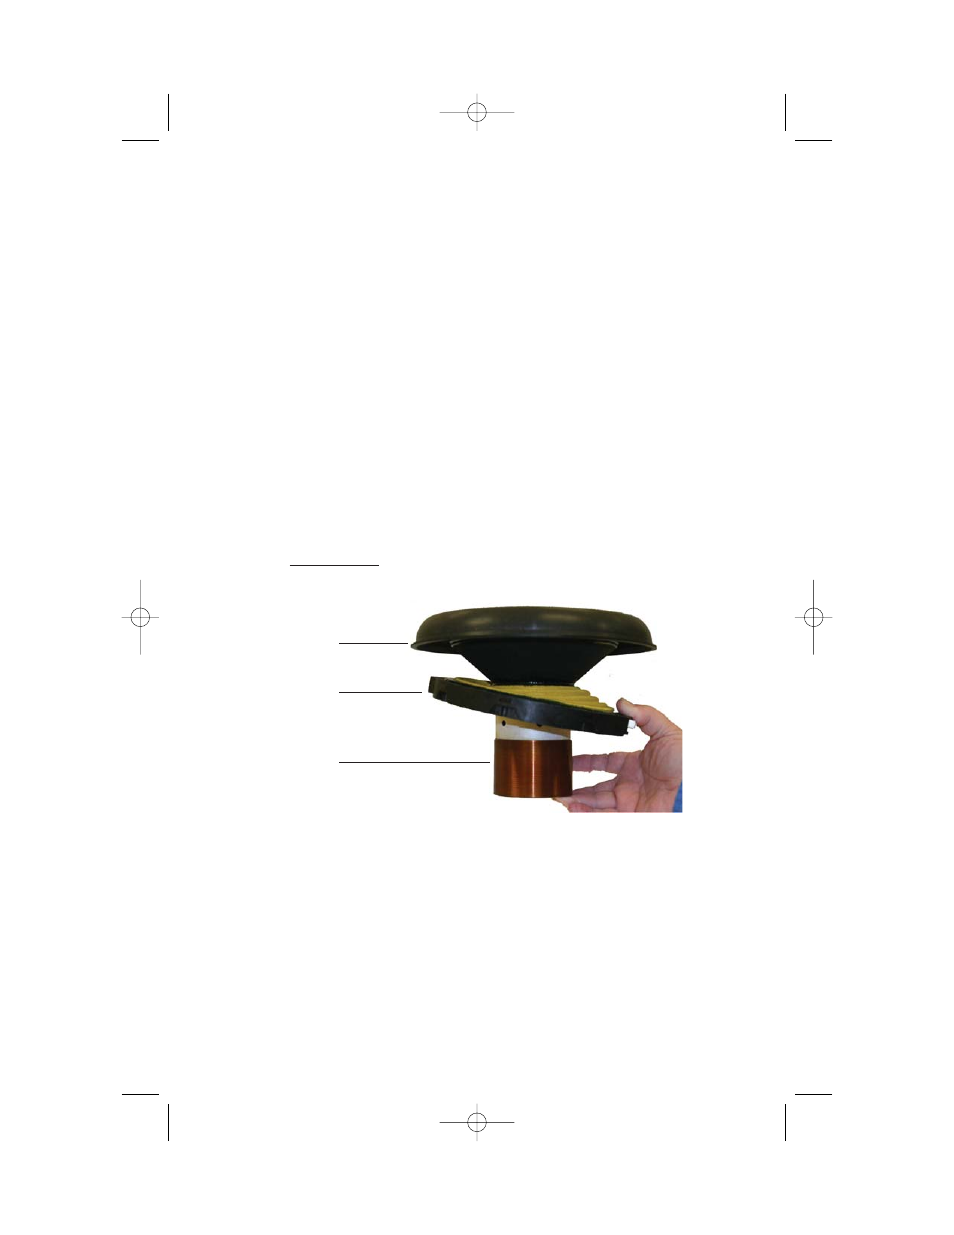
ALTERNATE STEP 7—FOR 10" WOOFERS
Note: Only the step for the 10” Woofers is given.
7. CAREFULLY lower the new re-cone assembly (moving parts) into the basket by
tilting the voice coil (shown below) while making sure that all of the pins are
inside the voice coil former (refer to the illustration at step 7 previously shown).
Pressure can be put on the spider ring assembly to angle the spider, but be
careful not to bend the cone as this will cause permanent damage.
Note: Ensure that the cone is not damaged during this process.
Align terminals, logo, and screw holes before pushing the re-cone assembly in
place into the basket. The terminal block tilted down should end up near the top
of one of the basket openings as shown in the second illustration. A closer view
of the position of this terminal block is shown in the third illustration. This will
allow the clearance for the opposite terminal block to drop down into the
basket.
The re-cone assembly can now be released to a horizontal position. Refer to the
fourth illustration The assembly should slide smoothly into place with just a
small bit for friction between the pins and the voice coil. Do not push down any
further than is needed for the surround and spider ring to touch their mounting
locations. Do Not Force. If the fit is tight, start over and make sure there is no
foreign object in the gap or alignment pin out of place.
Spider
Ring
Voice
Coil
Surround
Edge
6
G27902.04.07.09.12.14 01-07.qxd 1/31/2007 11:22 AM Page 6