7panel descriptions – Roland Musical Instrument Amplifier User Manual
Page 7
Es
p
a
ño
l
Ita
li
ano
Fra
nça
is
D
e
u
ts
ch
Englis
h
Portuguê
s
Ne
der
lands
7
Panel Descriptions
5.
GAIN Knob
Adjusts the input level. Adjust the input level to suit the signal level
of musical instruments connected to the INPUT jack.
TIP
Using a high GAIN setting allows you to get an overdrive sound.
TIP
Set the GAIN knob to as high a value as possible before the sound
distorts to get the clearest sound.
6.
VOLUME Knob
Adjusts the volume of the bass guitar (microphone).
7.
Power Indicator
This indicator lights when the unit is turned on.
* When operating on battery power only, the unit's indicator
will become dim during play when battery power gets too low.
Replace the batteries as soon as possible.
8.
POWER Switch
Turns the power on and off.
→ Switching the Power On and Off (p. 5)
9.
EQUALIZER
This is a three-band equalizer. Three knobs allow you to adjust the
tone of the bass guitar.
BASS Knob:
Adjusts the tone quality of the lower range.
MIDDLE Knob: Adjusts the tone quality of the midrange.
TREBLE Knob: Adjusts the tone quality of the upper range.
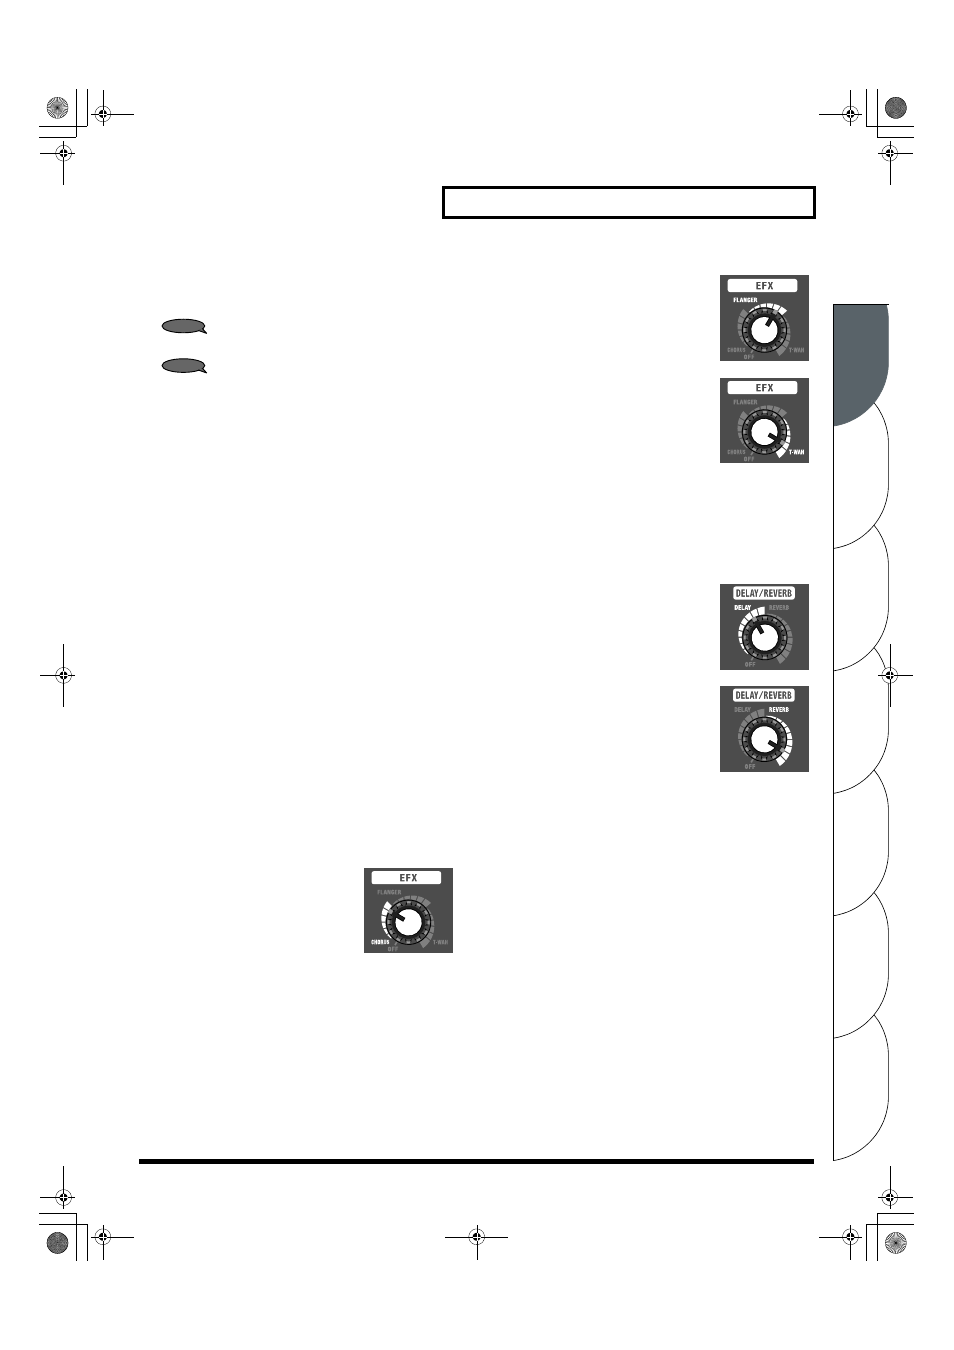
10.
EFX (Effects) Knob
Turn this knob to chorus, flanger, or T-Wah to select the
corresponding effect. You can also adjust the amount of effect
applied by turning the knob to the desired position.
* Graduations for CHORUS, FLANGER and T-WAH on the panel are
for reference. Be sure to check the sound as you adjust the effects.
CHORUS (spacially synthesized chorus)
This is a spacially synthesized chorus.
With spacially synthesized chorus,
a method available only in stereo, the
chorus effect is created by taking the
sound from the right speaker (from which
the effect sound is output), and the sound
from the left speaker (which outputs the direct sound),
and then mixing them in the actual space. This creates a greater
lateral spread than that produced when the sounds are mixed
electronically, providing a more natural sense of breadth.
* The chorus effects are designed so they exhibit the greatest
effectiveness when you use the unit's built-in speakers.
Effectiveness may differ when REC OUT/PHONE are used
instead of the built-in speakers.
FLANGER
This creates a flanging effect that creates
a sort of spinning sensation with the sound.
This effect is characterized by a cool,
metallic spinning sensation.
T-WAH
The filter responds to the volume level of
the connected instrument. This creates
a distinctive effect whereby the filter
responds to the performance.
11.
DELAY/REVERB Knob
Turn this knob to DELAY or REVERB
to switch to that effect. You can also adjust the amount of effect
applied by turning the knob to the desired position.
* Graduations for DELAY and REVERB on the panel are for
reference. Be sure to check the sound as you adjust the effects.
DELAY
Turn the knob to adjust the delay effect.
REVERB (Stereo reverb)
Turn the knob to adjust the reverb effect.
12.
RHYTHM GUIDE
The unit is equipped with drum/percussion-based rhythm patterns
that are useful for solo practicing. In addition to practicing with your
desired beat, you can also use it as a metronome.
→ Using the RHYTHM GUIDE (p. 9)
PATTERN Knob
Selects the genre of rhythm pattern.
START/STOP Button
Starts/stops the RHYTHM GUIDE. When you start the RHYTHM
GUIDE, its indicator flashes in tempo with the music.
TAP TEMPO Button
Sets the tempo of the RHYTHM GUIDE. Tap this button two or more times
at the desired tempo and the RHYTHM GUIDE will play at that tempo.
VARIATION Button
Selects the variation of the rhythm pattern. Each genre contains three
types of rhythm variations. Pressing the VARIATION button cycles you
through the available variations; the VARIATION indicator will be unlit,
will light green, or will light red to indicate the change in variation.
VOLUME Knob
Adjusts the volume of the RHYTHM GUIDE.
MCB-RX_r_e.book Page 7 Thursday, January 10, 2008 1:00 PM