ritetemp 5051 User Manual
Page 6
RiteTemp Internal Document
Page 6
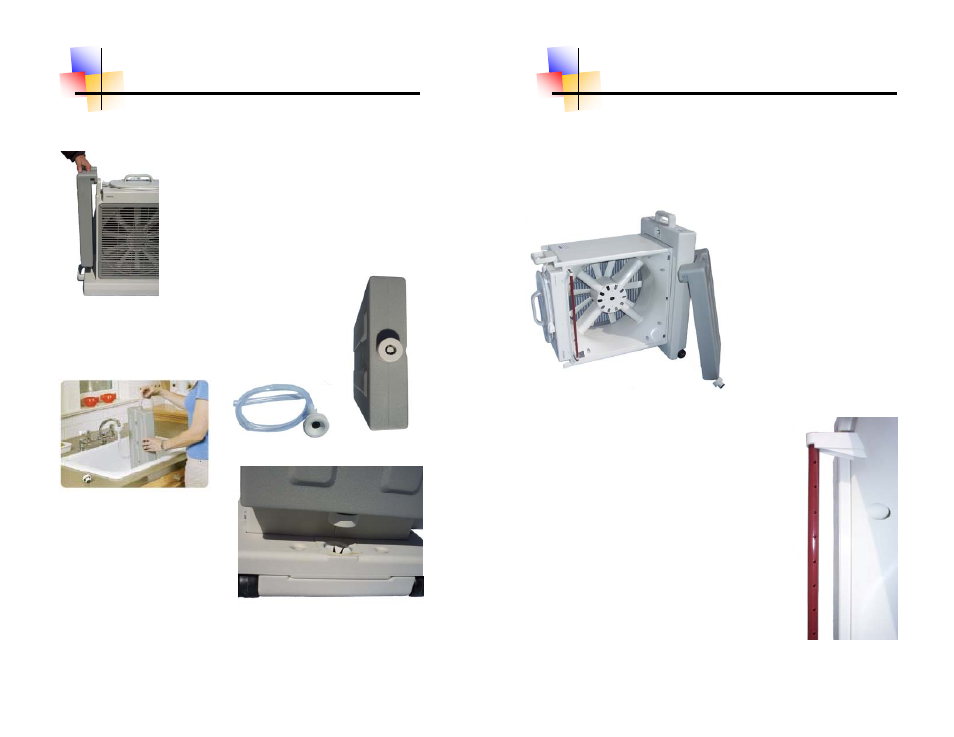
Removing Side Tanks
Make sure unit is unplugged from wall. Remove
the side water tanks by lifting up and then
away from the cooler. Take tanks and faucet
attachment hose to sink or other water source.
Stand tanks upside down on stable surface.
Reconnecting tanks to main unit
Remove filler hose from faucet
and take water tank back to
main unit. Replace each side
tank. Making sure that the
water nozzle sets directly into
the cooler base and the top
lip aligns securely with the
notches at the top of the unit.
(*Please note it may take up to 5 minutes for the water to
transfer to the main tank on the first fill)
Fill Tanks
With the water turned off, connect the
white funnel end of the attachment hose to faucet.
Remove the tank’s cap and insert the clear tube. Fill
tank with cold water then replace the cap making
sure it is seated correctly and is tight to avoid any
leakage. Repeat process for other tank.
Filling the Cooler
Page 11
R i t e T e m p
End of Season Maintenance and Storage continued
Getting Cooler Ready for Storage continued
Next put base unit on its side wheels down and allow wa-
ter to drain out. Leave base
unit in this position until it is
completely dried out.
This is a good time to clean out the drip
tub. This can be done by using a paper
clip and inserting it in the holes to make
sure they are not clogged.
Once all of the pieces are dried out you
can reassemble the unit.
Store unit indoor in a dry environment till
needed.