Operation – RIDGID R2600 User Manual
Page 11
11
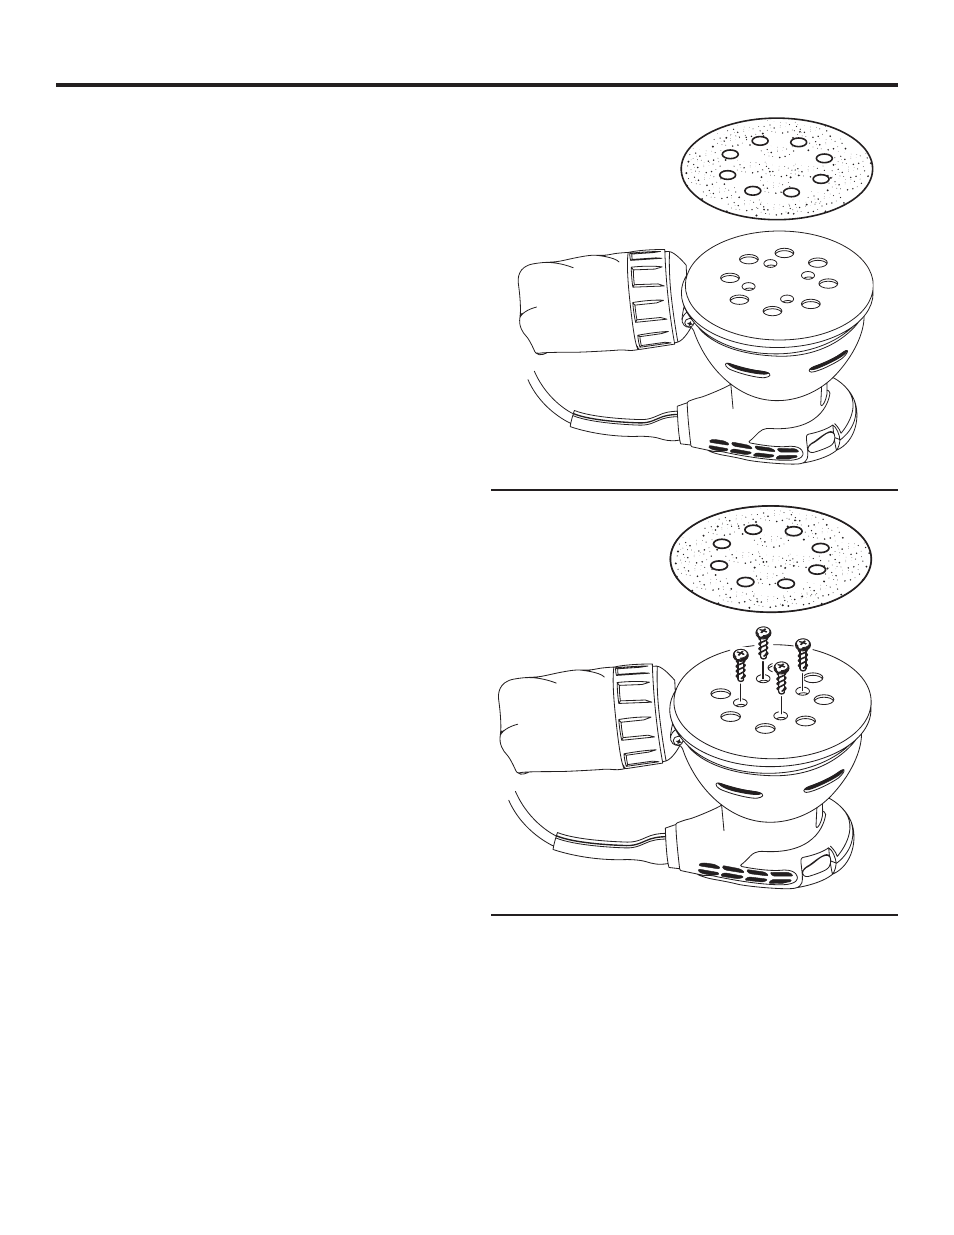
ATTACHING HOOK AND LOOP SANDING
DISCS
See Figure 2.
n
Unplug the sander.
n
. Align holes in hook and loop type sanding disc with
holes in pad, then carefully press fuzzy side of sanding
disc against pad as tightly as possible.
NOTE: Hook and loop type sanding discs can be
reused for the life of the sanding abrasive. It is recom-
mended that you keep the sanding disc backing pad
clean to provide for best adhesion. Clean occasionally
by brushing lightly with a small brush.
REPLACING THE PRESSURE SENSITIVE
ADHESIVE (PSA) SANDING PAD AND DISC
ATTACHMENT
See Figure 3.
The sander comes assembled with the Micro-Fiber™
hook and loop pad. To attach the pressure sensitive adhe-
sive (PSA) pad, you must first remove the hook and loop
pad.
Inspect sanding disc before installing. Do not use if bro-
ken or defective.
n
Unplug the sander.
n
Remove the four screws that hold the hook and loop
pad in place.
n
Remove the hook and loop pad.
n
Clean dust particles from the pad brake.
n
Apply a thin layer of lightweight grease to the back of
the pad.
n
Align the holes in the pressure sensitive adhesive (PSA)
pad with the four screw holes in the sander.
n
Replace the four screws securely.
n
Carefully peel paper backing from the pressure sen-
sitive adhesive type sanding disc.
n
Align holes in sanding disc with holes in backing pad,
then carefully press sticky side of disc against pad as
tightly as possible.
NOTE: Holes in sanding disc must line up with holes in
the backing pad in order for the dustless feature of the
sander to function properly.
NOTE: It is recommended that you clean backing pad
occasionally by brushing lightly with a small brush.
Dust buildup on backing pad could cause sanding disc
not to stick properly.
REMOVE PSA SANDING DISC BEFORE
STORAGE
Do not store the sander with the sanding disc installed.
Heat generated from sanding causes the pressure sen-
sitive adhesive to flow and form a tight bond between the
backing pad and sanding disc.
OPERATION
Fig. 2
Fig. 3
Removing the sanding disc soon after you have finished a
sanding operation avoids letting the adhesive set up. If the
sanding disc is left on the backing pad for an extended
period of time after use, the adhesive will set up and
cause the sanding disc to become difficult to remove.
It may also tear when removing. When this situation oc-
curs, it becomes difficult to clean the backing pad for the
next sanding disc.
NOTE: If you forget to remove the sanding disc after a
sanding operation, sand for a few minutes to soften the
adhesive backing before attempting to remove sanding
disc.