Naming the channels, Using advanced features – RCA M20303BL User Manual
Page 12
10
Using Advanced Features
Naming the Channels
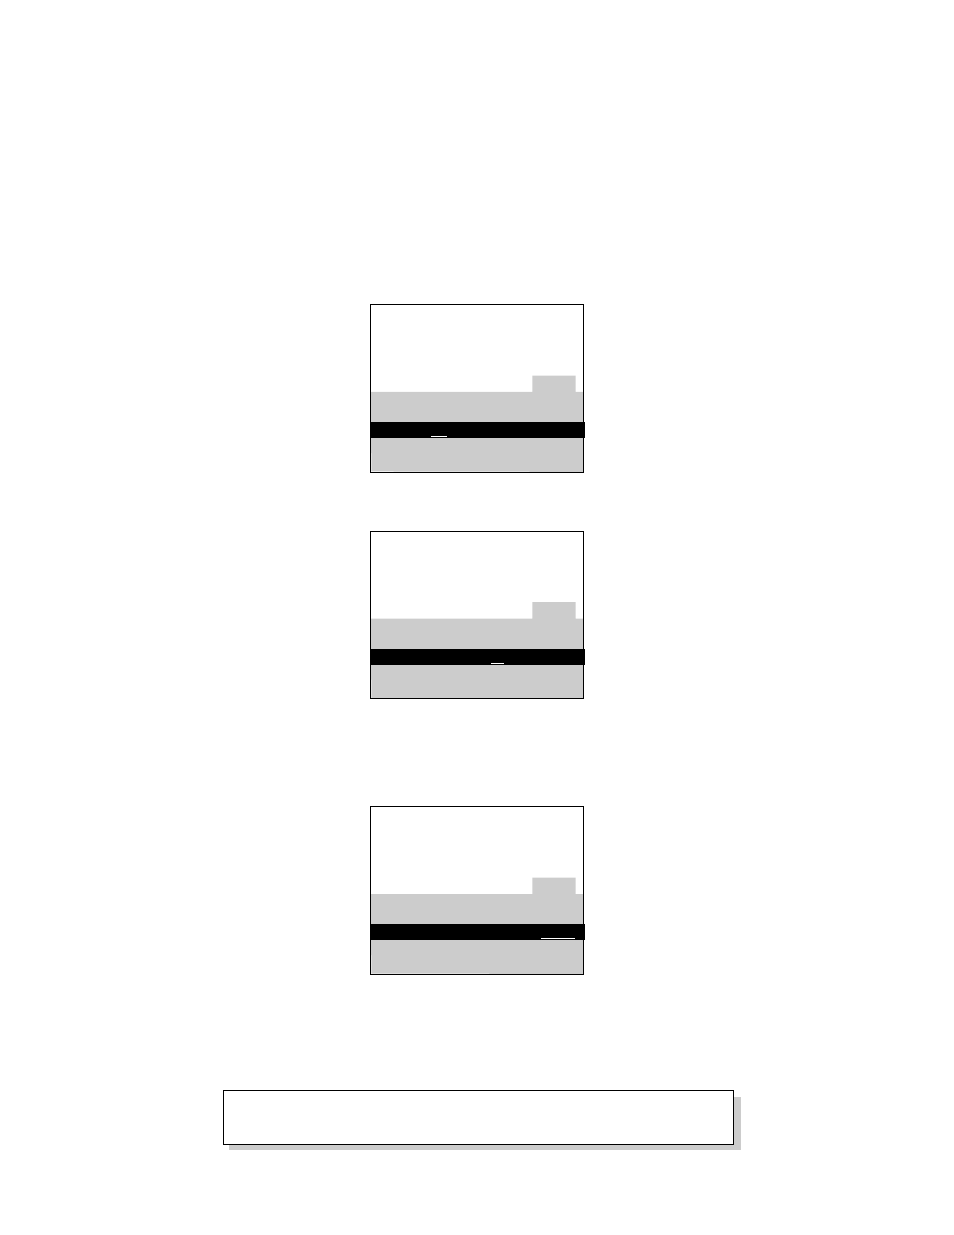
A. Press MENU repeatedly to select
the Setup menu.
B. Press CHANNEL down to
highlight Label.
C. Press
+
to underline the channel
number.
D. Select the channel number with
the number buttons.
E. Press
+
to underline the first
character of the name.
F. Choose the character using
CHANNEL
up or down.
G. Repeat E–F to complete the
name.
H. Press
–
to move backward if
you want to change an item.
I. Repeat steps C-G to add other
labels.
A. Follow A and B above.
B. Press
+
until clear is underlined.
C. Press CHANNEL up or down to
clear the name.
1.
Name a channel
2.
Erase a name
A B C D E F G H I J K L M N O P Q R S T U V W X Y Z &
’ ( ) á + , – . / 0 1 2 3 4 5 6 7 8 9 : ; < = > ? @ blank space
Character List
12
Controls Alarm Adjust Setup
English Français Español
Autoprogram
Label: 12
Clear
Channel Memory: 12 Stored
Cable/Air: Cable
XET 12
Controls Alarm Adjust Setup
English Français Español
Autoprogram
Label: 12 X E T
Clear
Channel Memory: 13 Stored
Cable/Air: Cable
12
Controls Alarm Adjust Setup
English Français Español
Autoprogram
Label: 12
Clear
Channel Memory: 13 Stored
Cable/Air: Cable
You can name at least 20 channels with four characters in each name.
Full
appears beside Label when the memory is used up. Fixed appears
when a channel number cannot be named. Below are the characters
that can be used in a name.