Mounting – RCA 40-5041 User Manual
Page 2
2
Color-coded wires have stripes running
down one side of the conductor’s insulation,
marked wires have ridges running along one
side of the conductor’s insulation.
Cautions:
• Do not exceed the speaker’s maximum
power rating of 80 watts.
• To avoid damage to the speaker or
amplifier/receiver, turn off the amplifier/
receiver before making the connections.
1. Select a mounting location for the
speaker that can withstand the speaker’s
weight and vibration.
2. Measure the distance from the speaker
to the amplifier/receiver. For distances
of 25 feet or less, use 18-gauge speaker
wire or ordinary lamp cord. For
distances greater than 25 feet, use
heavier 16-gauge wire.
3. With the speaker near the selected
location, run speaker wire from the
speaker to the receiver/amplifier.
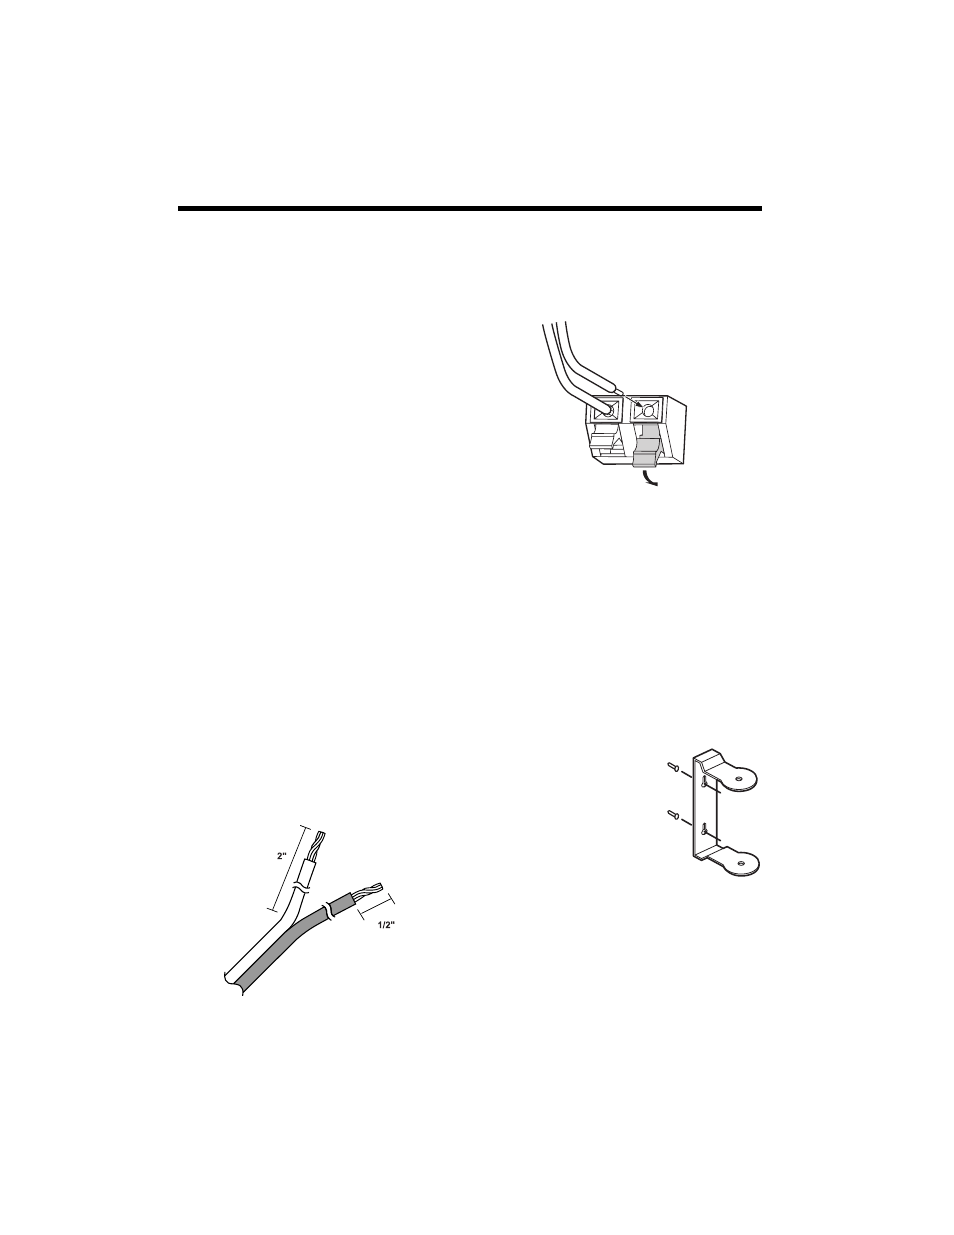
4. Separate the conductors for a length of
about two inches on the end of each
wire, then strip
1
/
2
inch of insulation
from the end of each conductor and
twist the wire ends.
5. Push the black (negative) and red
(positive) terminal on the speaker.
6. Insert the stripped wire ends into the
holes in the terminals.
7. Connect the other ends of the wires to
the matching terminals (negative and
positive) on the receiver/amplifier.
Mounting
You can mount your speaker on a wall or
the ceiling using the supplied mounting
brackets and two screws (not supplied). Use
screws with heads at least
1
/
4
inch in
diameter for the speaker.
1. Use the brackets to
mark the locations of
the bracket’s keyhole
slots on the mounting
surface.
2. Drive two screws into
the mounting surface
at the marked
locations, leaving about
3
/
16
inch of the
screw’s threads exposed.
Note: Plaster, concrete, and very thin
surfaces require expansion anchors or bolts
for secure mounting.