How to use your electric skillet, Assembling side handles/legs, How to assemble your electric skillet – Rival S12 G User Manual
Page 4: Before first use
-4-
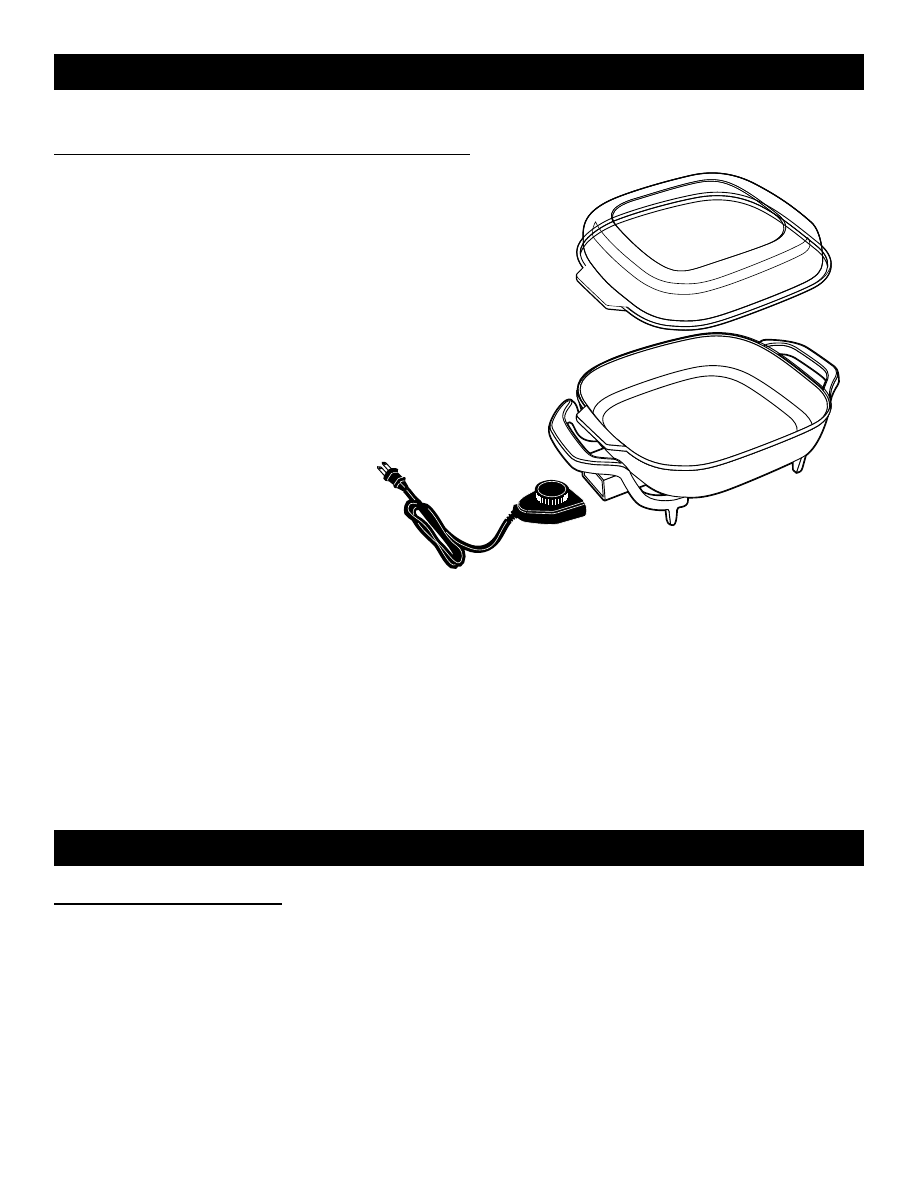
HOW TO USE YOUR ELECTRIC SKILLET
Remove all parts from the packaging.
ASSEMBLING SIDE HANDLES/LEGS
1. Place pan upside down on
table.
2. Align handle screw holes
over the screw posts on
pan (2 places per handle).
3. Insert screws (2 per handle)
through holes in bottom of
side handles/legs and align
screws in holes in the pan.
4. Tighten screws with a
screwdriver until snug.
Screws should be seated
flush against handle.
5. Repeat steps 3 through 5
with the non-probe side
handle.
6. Once both handles are tightened securely, place skillet upright onto its legs.
Assembly is complete.
7. Check the handles/legs periodically for looseness. If needed, re-tighten with a
screwdriver. CAUTION: Overtightening can result in stripping of screws or
cracking of handles and base.
CAUTION: Do not operate skillet prior to assembly of SIDE HANDLES/LEGS and
LID HANDLE.
HOW TO ASSEMBLE YOUR ELECTRIC SKILLET
RIVAL
Electric Skillet
BEFORE FIRST USE
• Wash the BASE and LID in warm soapy water. Rinse and dry thoroughly.
CAUTION: Do not wash or immerse TEMPERATURE CONTROL PROBE.
• Before using the skillet for the first time, condition the non-stick cooking
surface by lightly brushing the cooking surface with vegetable oil. Heat,
uncovered, to 300° F. Turn to “OFF” and cool completely. Wipe away
excess oil.