Newcon Optik NVS 7 User Manual
Page 6
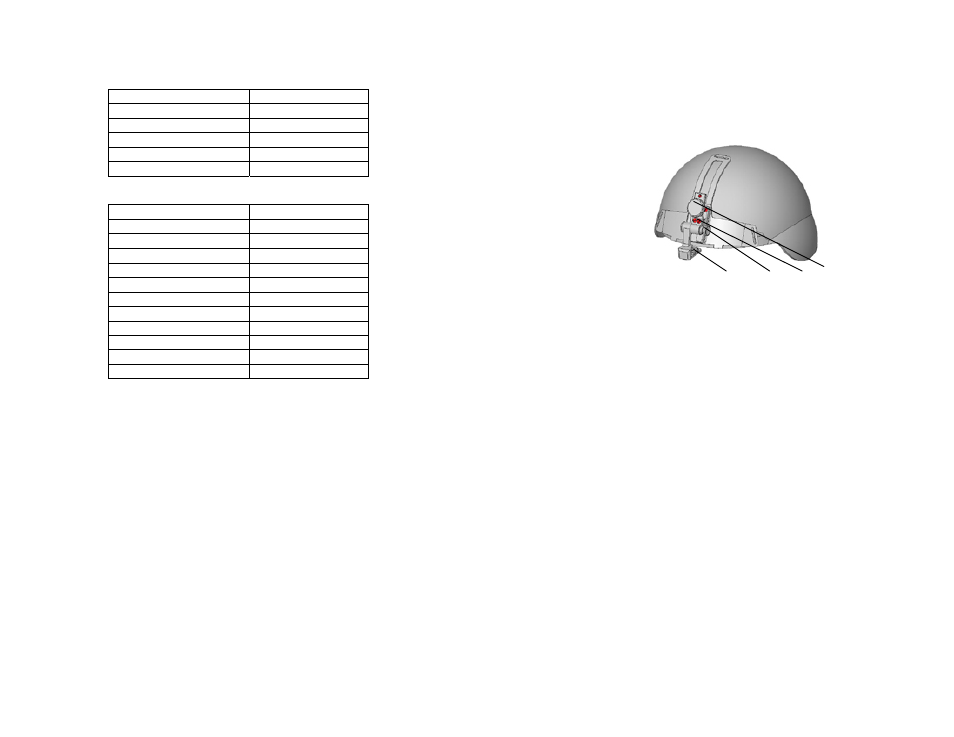
Figure 7
1 – locking screw; 2 – flip/flop
button; 3 – flip-flop adjusting
screws; 4 – mount binding screw
1
2
3 4
2. COMPONENTS
NVS 7 is supplied with the following components
:
PART QUANTITY
NVS 7 unit with 1x lens *
1
Head gear*
1
Lens caps
1
Manual 1
Warranty registration card
1
Optional parts **
PART QUANTITY
3x add-on lens
1
4
× lens
1
8x lens
1
Sacrificial lens
1
Demist shields
2
Soft case
1
Hard case
1
Neck strap
1
Lens brush
1
Lens cloth
1
AA batteries
2
* In a binocular configuration the unit is supplied with 4x or 8x lens
without head gear, and without 1x lens
** Exact delivery set and accessories included are
subject to the terms of specific sales contract.
5.5
Using the helmet mount (optional)
NVS 7 can be equipped with an optional helmet mount. This
mount is customized for a particular type within the wide variety
of existing helmet models. The mount is attached to a helmet
with stripes. The goggles are fixed to the mount by a locking
screw (1). Adjust the goggles position on your eye level with the
screw (4).Then adjust the
eye-relief (the distance
between your eyes and the
eyepieces), which should be
about 25 mm. In order to
achieve this, loosen locking
screw (1) and set a
comfortable distance
between the eyes and the
eyepieces; then tighten the
locking screw back.
You can fixate the unit in
three predetermined
positions: vertical,
horizontal, and 15-20
degrees above horizontal.
The angles between these
positions cannot be changed,
but the starting point is adjusted by screws (3). If you loosen
them, you can rotate the flip-flop mechanism to find the most
suitable starting fixating point. Don’t forget to tighten the screws
(3) after adjustment.