Finishing the installation – Niles Audio IW2770LCR User Manual
Page 10
8
FINISHING THE INSTALLATION
CONNECTING & INSTALLING THE LOUDSPEAKER
1. Remove the magnetic grille by starting at a corner and gently pulling the grille
outwards as you work around the edges.
2. At each loudspeaker, route the wire through the provided channel to the input
connectors, then separate the loudspeaker wire so that at least 2 inches of each
conductor are free. Strip away 1/4 inch of insulation from each loudspeaker wire.
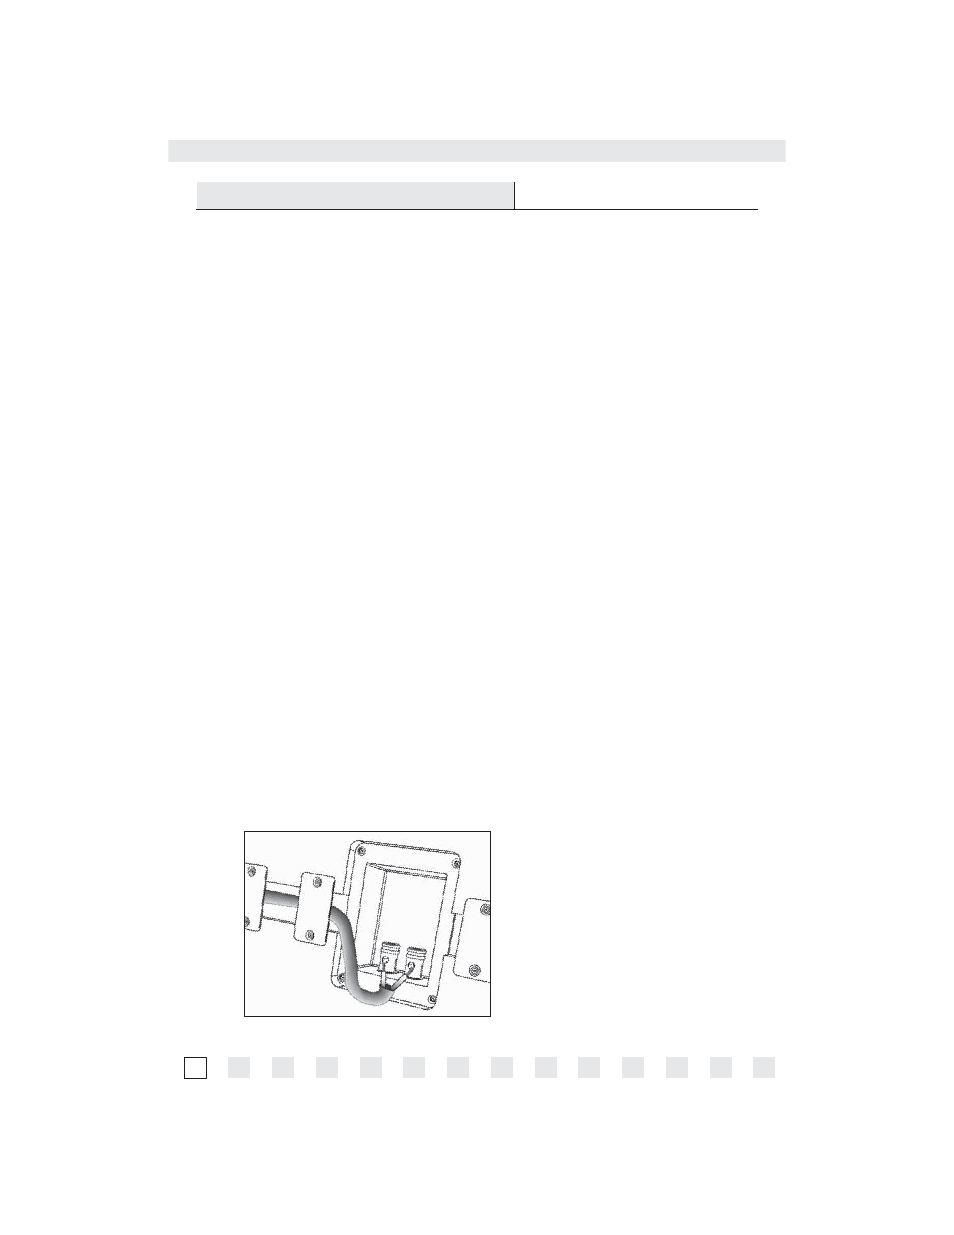
3. On each set of loudspeaker connectors, press down the spring-loaded connector,
insert the appropriate conductor, and then release the connector, as shown in
Figure 5. Gently tug on the loudspeaker wire to make sure it is held in place.
If not, repeat this procedure until it is.
NOTE: OBSERVE CORRECT POLARITY: POSITIVE (+) GOES TO THE RED POST AND NEGATIVE
(–) GOES TO THE BLACK POST. IF YOU ARE UNSURE OF WIRE POLARITY, SEE THE SECTION,
CHECKING LOUDSPEAKER PHASE ON PAGE 9.
4. Connect the other end of each loudspeaker wire to the receiver (or amplifier) in
the same way. If you are unsure of wire polarity, see the next section, CHECKING
LOUDSPEAKER PHASE on page 9.
5. Check that loudspeaker is level and then tighten the eight large screws using a #2
Phillips bit. This should pull the frame and mounting dog together (sandwiching the
drywall) so that the frame is absolutely flush with the wall surface. There should be
no gaps between the wall and the frame. See Figure 6.
6. Remove cardboard paint mask / template from the box and keep for future
potential use.
7. Turn on the home theater receiver and calibrate all loudspeakers in the system
according to the receiver manufacturer’s instructions.
IMPORTANT: DO NOT OVER TIGHTEN THE SCREWS! OVER TIGHTENING THEM MAY MAKE
THE GRILLE DIFFICULT TO INSTALL.
Figure 5. Connecting a loudspeaker
wire to the terminals.