Maintenance, Service and adjustments – Poulan 530164258 User Manual
Page 6
6
5. Once the ground has been broken, contin-
ue at a moderatepace until you are familiar
with the controls and the handling of the
cultivator.
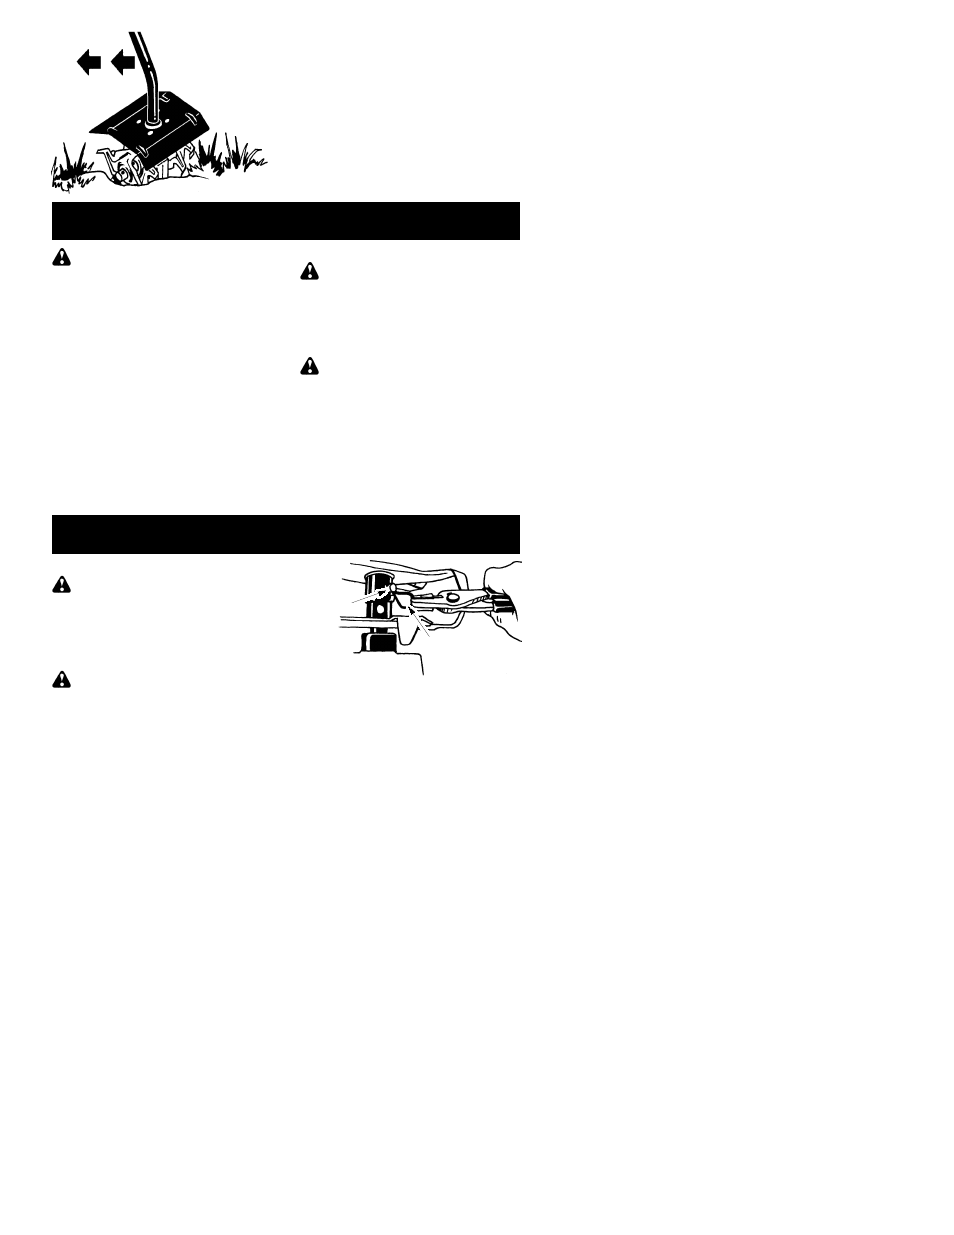
6. Pull the cultivator backwards to improve
the depth of cultivation and reduce your ef-
fort.
7. To cultivate in confined areas or narrow
rows, remove the left and right outer tines
(see TINE REPLACEMENT).
MAINTENANCE
WARNING:
Always stop unit and dis-
connect spark plug wire (or disconnect pow-
erheadfrom power source) before performing
maintenance.
CHECK FOR DAMAGED OR
WORN PARTS
Contact an authorized service center for re-
placement of damaged or worn parts.
S
Tine Cover -- Discontinue use of cultivator if
tine cover is damaged.
CHECK FOR LOOSE
FASTENERS AND PARTS
S
Clevis pins
S
Hitch pin clips
INSPECT AND CLEAN UNIT AND
DECALS
S
After each use, inspect complete unit for
loose or damaged parts. Clean the unit and
decals using a damp cloth with a mild deter-
gent.
S
Wipe off unit with a clean dry cloth.
TINE MAINTENANCE
WARNING:
The tines will continue to
spin after the engine stops or after the throttle
trigger has been released. To avoid serious
injury, make sure the tines have stopped
coasting and disconnect the spark plug (or
disconnect powerhead from power source)
before performing work on the tines.
WARNING:
Always replace tines
that are bent, warped, cracked, broken, or
damaged in any other way. Never attempt to
straighten and reuse a damaged tine. Use
only specified replacement tines. Wear pro-
tective gloves when handling or performing
maintenance on the tines to help avoid injury.
SERVICE AND ADJUSTMENTS
TINE REPLACEMENT
WARNING:
The tines will continue to
spin after the engine stops or after the throttle
trigger has been released. To avoid serious
injury, make sure the tines have stopped
coasting and disconnect the spark plug (or
disconnect powerhead from power source)
before performing work on the tines.
WARNING:
Wear protective gloves
when handling or performing maintenance on
the tines to avoid
injury. The tines become very sharp from use.
1. Remove the hitch pin clips and clevis pins.
Hitch Pin Clip
Clevis Pin
2. Remove the tines and felt cushions from
the shaft.
3. Clean and oil the shaft.
4. Replace the tines and the felt cushions.