Philips 9170XLCC User Manual
Page 10
ENGLISH
19
ENGLISH
18
2
First time charging and recharging after
non-use for 1 month or more requires a
full 4 hours. After initial charge, recharging
requires 1 hour. A fully charged razor has a
cordless shaving time of up to 30 days.
C
◗ When batteries are fully charged, the word
“Full” scrolls across the display.After a few
hours the word “FULL” stops appearing and
the display shows the remaining shaving time
in minutes along with the plug symbol.
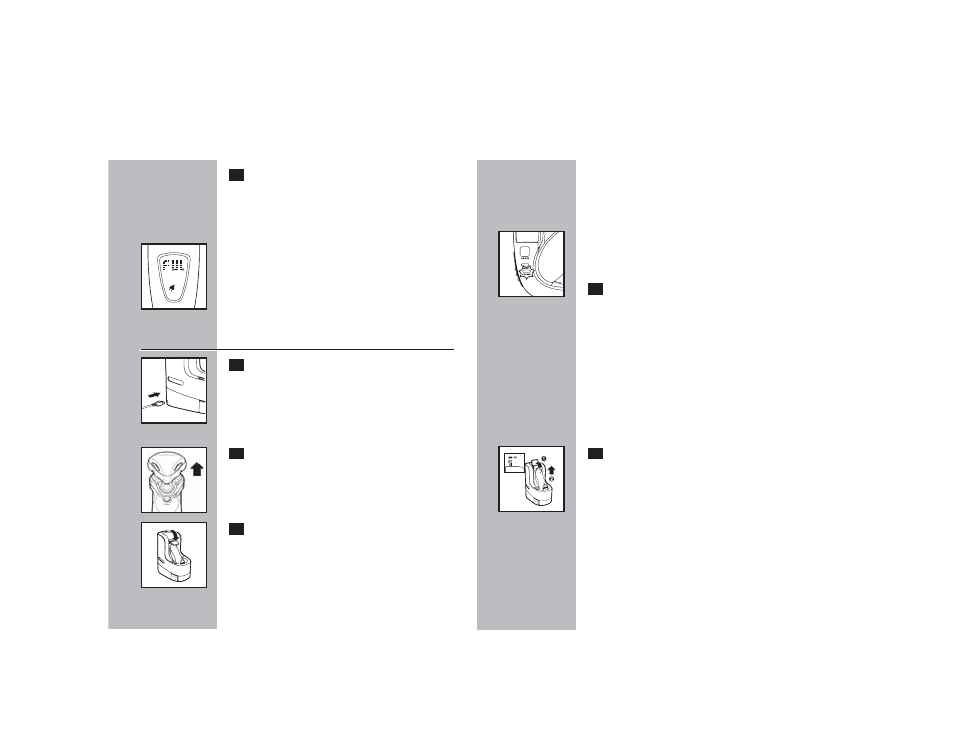
Charging Razor with Jet Clean
System
C
1
Connect the small plug to the Jet Clean
System. Connect the charging plug into any
100V to 240VAC outlet. Use only the
charging plug provided.
The razor holder automatically moves up to the
highest position.
C
2
Remove protective razor head cap from
razor.
C
3
Place the razor head side down in the razor
holder so that the razor head fits into the
configuration shown inside the Jet Clean
System. Gently press the base of the razor
towards the back of the Jet Clean System
so that the razor base fits snugly in place.
Lock the razor into place by pushing the
lever down completely.The lever will not
lock down unless the razor has been
properly placed in the holder. Do not force
lever.
C
◗ The charging light blinks to indicate the razor is
being automatically (re)charged and will light up
continuously when fully charged.
4
First time charging and recharging after
non-use for 1 month or more requires a full
4 hours. After initial charge, recharging
requires 1 hour. A fully charged razor has a
cordless shaving time of up to 30 days.
When batteries are fully charged, the charging light
on the Jet Clean System will light up continuously.
◗ You may store your razor in the Jet Clean
System. Unplug from outlet when
charging/cleaning is complete.
C
5
Raise the lever holding the razor to the
highest position (1) and carefully remove
razor from the Jet Clean System (2).
When razor is removed from the Jet Clean
System, the charging light will turn off.