Premier Mounts Victory XUA-1330L User Manual
Page 2
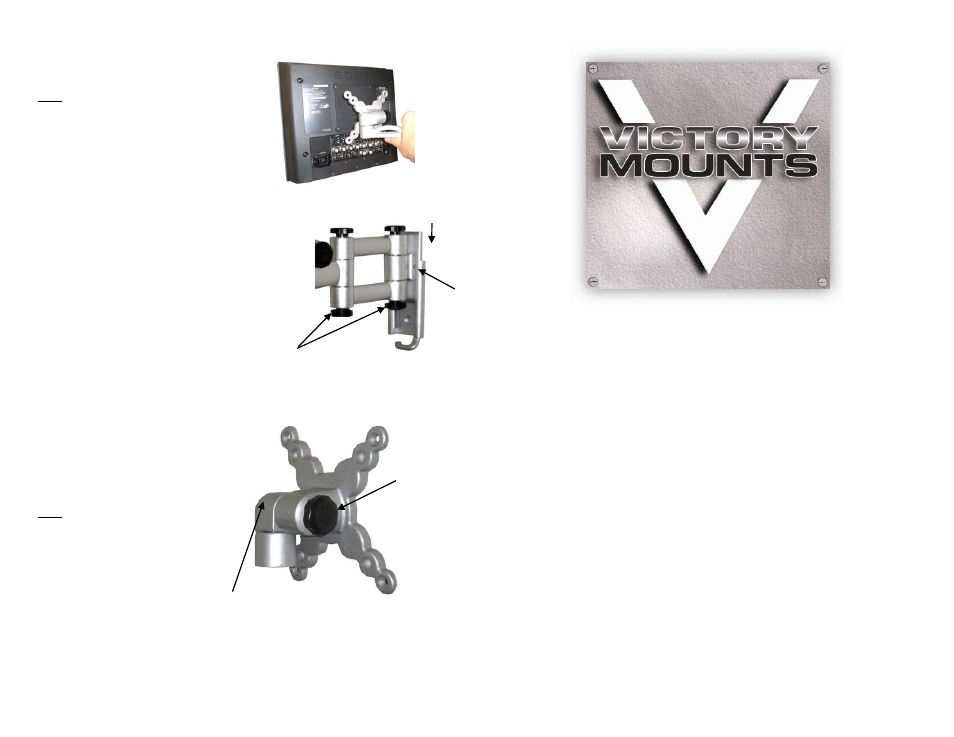
LCD Installation
1. Determine the mounting hardware that is to be
used.
2. If your LCD has a flat back, use the M4x12mm
Phillips Head Screws.
NOTE: If your LCD has a recessed back, use the
longer M4x30mm Phillips Head Screws
and 3/4” Spacers.
3. After you have determined the appropriate screws,
use them to attach the mounting plate to the back
of your LCD.
4. Do not over-tighten the screws.
Final Installation
1. To complete the installation, simply slide the arm
piece onto the back plate.
2. The plastic tab on the top of the back plate should
click, indicating that the arm piece is secure.
3. If you need to remove the arm piece, push in on
the tab and slide the arm up.
4. For additional security and stability, insert the
hex set screw into the hole located on the side of
the arm piece and tighten using the supplied Allen
Wrench.
Operation and Adjustment
1. Tilt angle can be adjusted by first loosening the
adjustment
knob.
2. Adjust the tilt to the desired level and re-tighten
the
knob.
3.
Other viewing adjustments can be made by
simply moving the arm into the desired position.
NOTE: If you find that a joint is too difficult to move
or does not hold the LCD in place, you can
adjust the tightness of the joint. This can be
done by either tightening the adjustment
knob, or by using the supplied Allen wrench
and tightening the elbow joint.
SWINGOUT LCD TV WALL MOUNT
INSTALLATION GUIDE: XUA-1330L
Produced By:
Progressive Marketing Products, Inc.
3130 E. Miraloma Ave.
Anaheim, CA 92806
800-368-9700
Slide Arm Down
Adjustment
Knobs
Adjustment Knob
Set Screw
Elbow Joint