Connecting additional devices, Navigation in the screen menu – Philips TV-Video Combi 14PV235/07 User Manual
Page 5
5
EN
4.
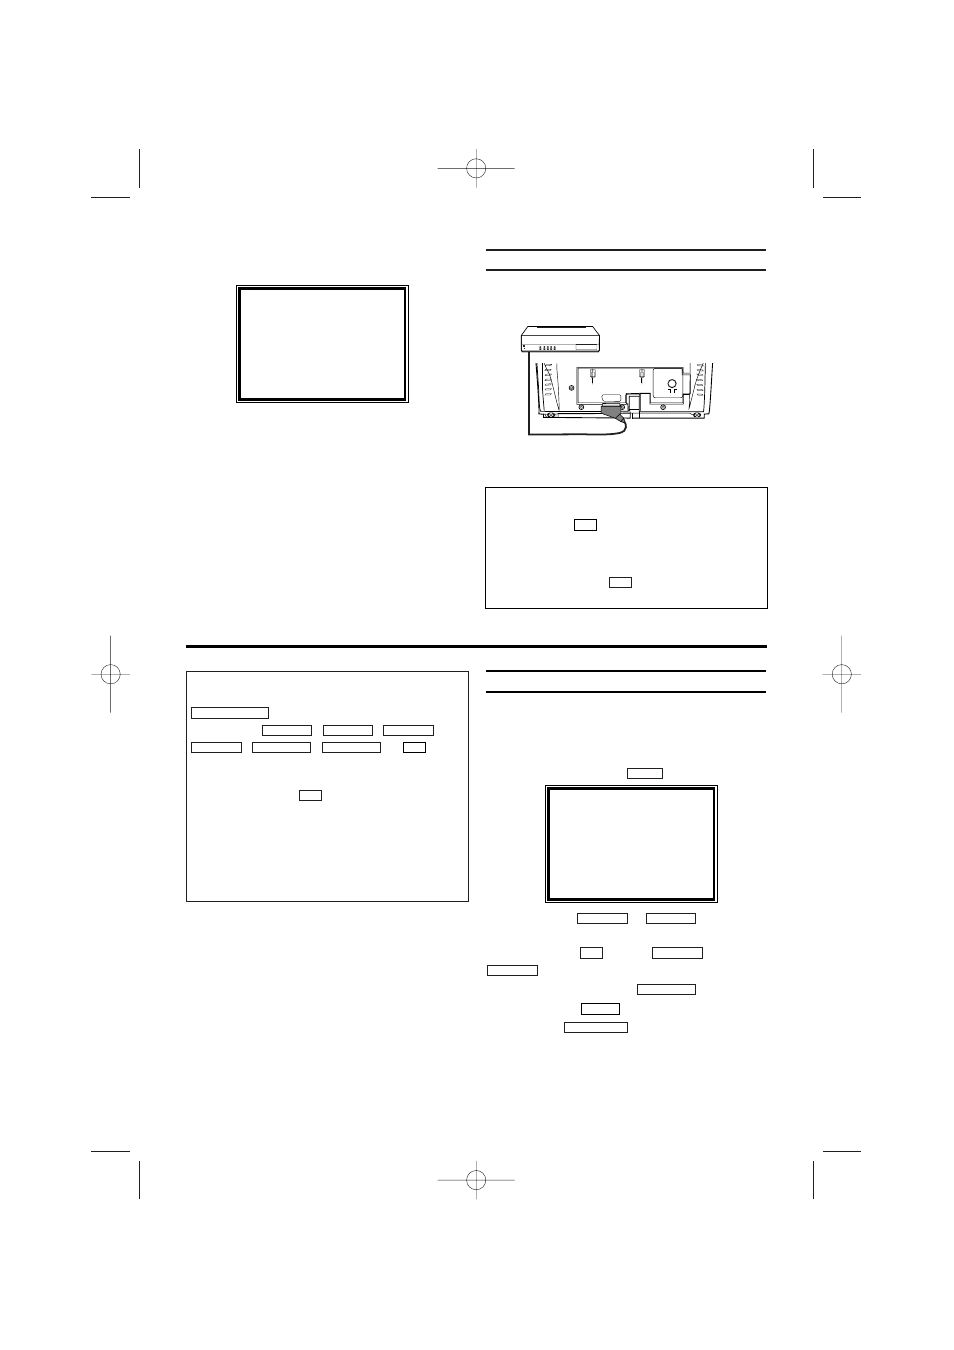
4.The following screen will appear on the TV.
You can find more details in chapter 'Preparation
for use'.
Connecting additional devices
You can connect additional devices such as
decoders, satellite receivers, camcorders, etc. to
the EXT1/AV1 socket.
PLEASE CONNECT AERIAL OR
CABLE TO THE TVCR
THEN...
PUSH P+ KEY
OR...
FOR PLAY ONLY PUSH PLAY
Selection of the scart socket
• To select the Scart socket, please enter 0,0,1,
with the keys
on the remote control. AV1
appears on the screen.
Selection of the front A/V sockets
• To select the front A/V sockets, please enter
0,0,2, with the keys
on the remote control.
'AV2' appears on the screen.
0..9
0..9
Navigation in the screen menu
You can check/change many functions and set-
tings of your TV-Video Combi via on-screen
menu. The individual functions are selected, via
the remote control as follows:
Call up the menu: with .
To select: with
or
.
To enter or change your selection: with the
number buttons
or with
or
.
To save or confirm: with .
To cancel: with .
To end: with .
STATUS/EXIT
CLEAR
FWD
1
- B
STOP C-L
PLAY B-K
0..9
STOP C-L
PLAY B-K
MENU
2. Important notes for operation
Switching on
You can switch on the TV-Video Combi with
.
If
you
press , , ,
,
, or
while
the set is in Stand-by, the power will be auto-
matically turned on.
Note that the keys
will be inactive for
about 5 seconds just after having switched the
TV-Video combi off.
Power outage/no power
Channel information remains saved for up to 1
year, the time and timer information is saved for
up to 1 minute.
0..9
0..9
REW
0
- s
FWD 1- B
PROG P–
PROG P+
STOP C-L
PLAY B-K
STANDBY/ON y
y
SELECT K L CHOOSE B
→TIMER
PICTURE CONTROL
RECORD SET UP
VCR SET UP
TUNER SET UP
GENERAL SET UP
END=EXIT
The respective scart socket is usually marked 'AV'
or 'TV' on the decoder or satellite receiver.
T6460EZ(EN)_UK.qx3 04.1.28 1:19 PM Page 5