Warning, Caution – Pentair D.E. Cartridge Style Filter User Manual
Page 7
READ AND FOLLOW ALL SAFETY INSTRUCTIONS
Rev. F 6/15/06
7
P/N 99101200
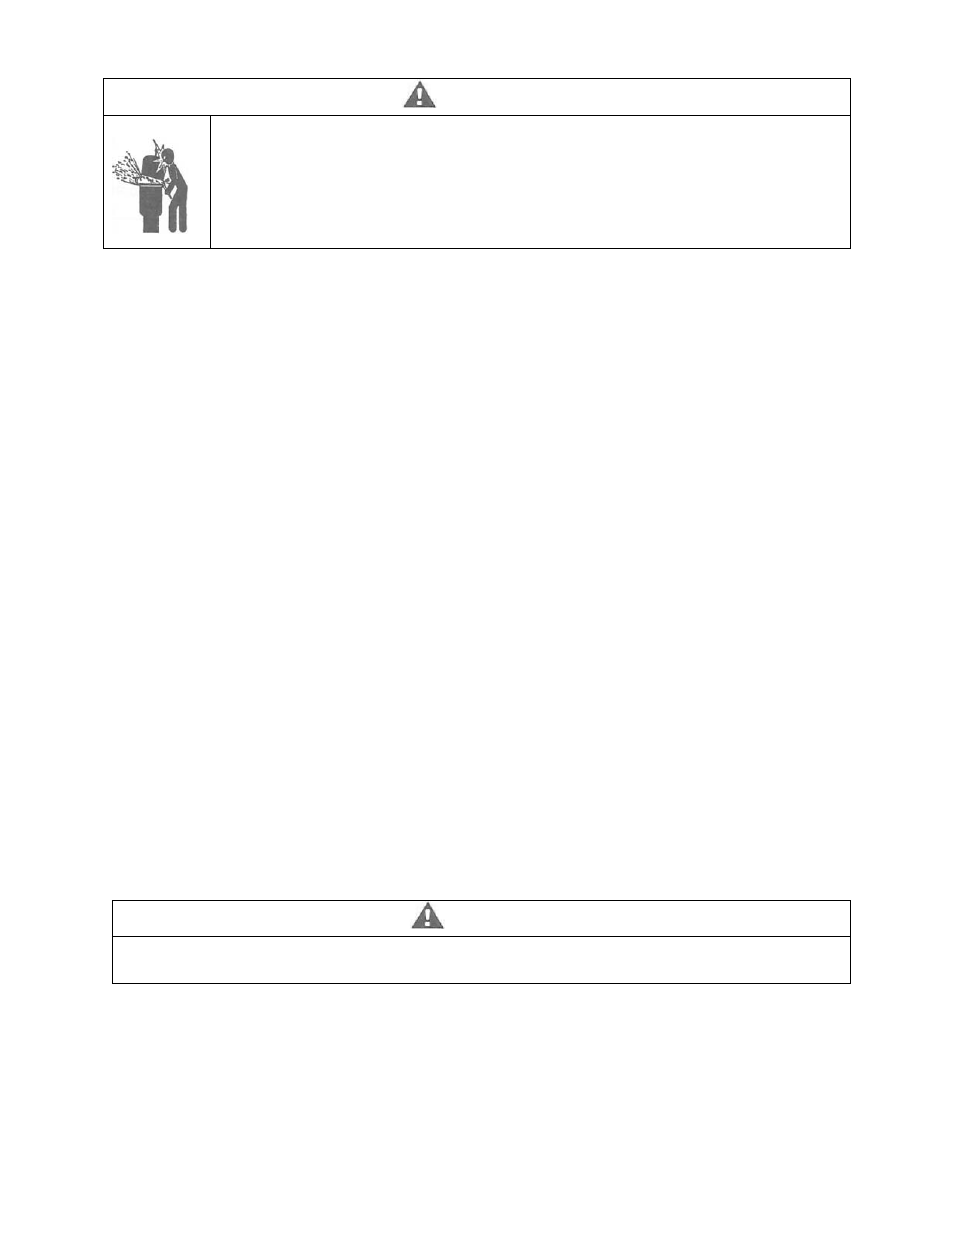
WARNING
THIS FILTER OPERATES UNDER HIGH PRESSURE. WHEN ANY PART OF THE
CIRCULATING SYSTEM (e.g. LOCK RING, PUMP, FILTER, VALVES, ETC.) IS
SERVICED, AIR CAN ENTER THE SYSTEM AND BECOME PRESSURIZED.
PRESSURIZED AIR CAN CAUSE THE LID TO BE BLOWN OFF WHICH CAN RESULT
IN SEVERE INJURY, DEATH, OR PROPERTY DAMAGE.
SECTION V. CLEANING THE FILTER
1. Cleaning frequency will vary from pool to pool and with other factors such as weather
conditions, heavy rains, dust pollen, bather load and water chemistry.
a. Check the pressure gauge reading on a regular basis and when the pressure gauge
reading increases 8 to 10 PSI over the initial clean filter reading, it is time to clean
your ELEMENT GRIDS.
2. Turn the pump off, shut off any automatic controls to assure that the system is not
inadvertently started during servicing.
3. Plug the skimmer port with a rag. This will prevent pool water from running out during
servicing.
4. Open the High Flow
TM
manual air relief valve, and the filter drain plug.
5. Remove the hair and lint strainer pot lid and clean the basket. Replace the basket and
secure the lid.
6. Remove the filter lock ring by depressing the two (2) spring loaded locking blocks and
rotating the ring counter-clockwise until the ring is free from the filter body.
7. Remove the filter lid using the lifting handles on the lid.
8. Remove the ELEMENT GRID assembly from the filter body by using the lifting handles
and pulling straight up.
9. Using a garden hose, direct water spray at the ELEMENT GRID to dislodge and wash
away any accumulated foreign matter and Diatomaceous Earth. Thoroughly clean the
elements.
CAUTION
Do not operate filter for more than two minutes without a pre-coat of D.E. on the grids.
10. Clean and remove debris from the inside of the filter tank.
11. Replace the ELEMENT GRID ASSEMBLY into the filter tank body making sure the
arrow on the top of the center core is aligned with the filter inlet port. You will be able to
feel the assemble drop into and lock into place when in the proper position.
Rev. F 6/15/06
7
P/N 99101200