Figure 2 – ParaBody GS8 User Manual
Page 5
0
1
2
3
4
5
6
1/2
1/2
1/2
1/2
1/2
1/2
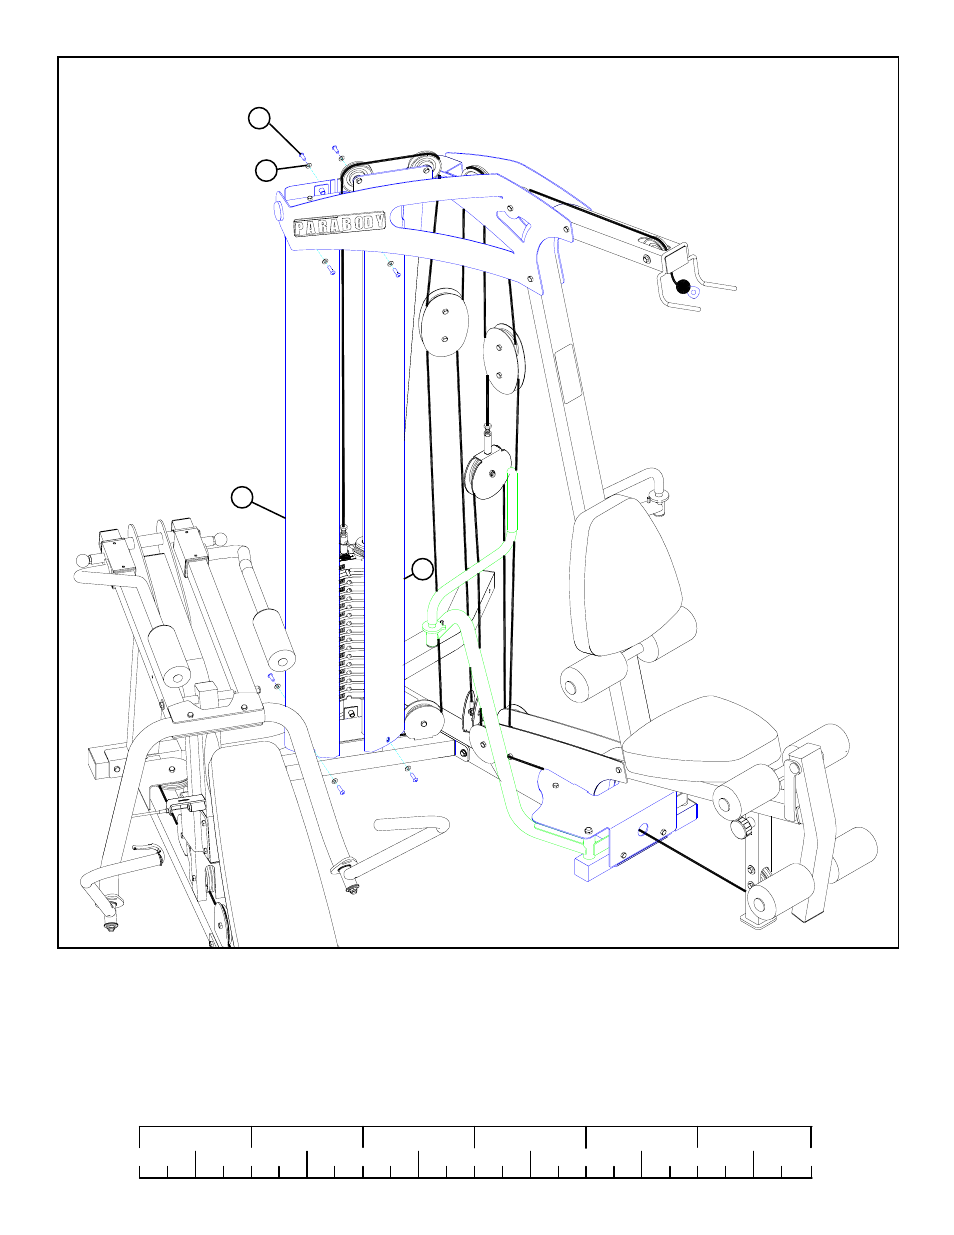
FIGURE 2
5
STEP 2:
• This completes the assembly of the WT. STACK SHROUD FOR GS6/GS8.
3/8 X 1” 5
BUTTON
HEAD
2
6
1
• SECURELY assemble the LEFT SHROUD (1) and RIGHT SHROUD (2) to the TOP (3) and BOTTOM (4) SHROUD BRACKETS
using eight 3/8 X 1” BUTTON HEAD BOLTS (5) and eight 3/8” BLACK SAE WASHERS (6) as shown in FIGURE 2. (NOTE:
Assemble LEFT SHROUD (1) by inserting top of shroud first, then lift up and swing the bottom of shroud into place.)
• If the GS8 SECOND STACK OPTION was purchased, repeat STEPS 1 & 2 to assemble the SHROUDS (1 & 2) to the
SECOND STACK.
This manual is related to the following products: