Installation instructions, Figure 7-column installation – Procom AL500HYLA User Manual
Page 4
4 AL058-01
7. Attach the four columns to the burner plate with
M4
10 screws provided. Do not tighten at this
time. (See FIG.7)
INSTALLATION INSTRUCTIONS
Continued
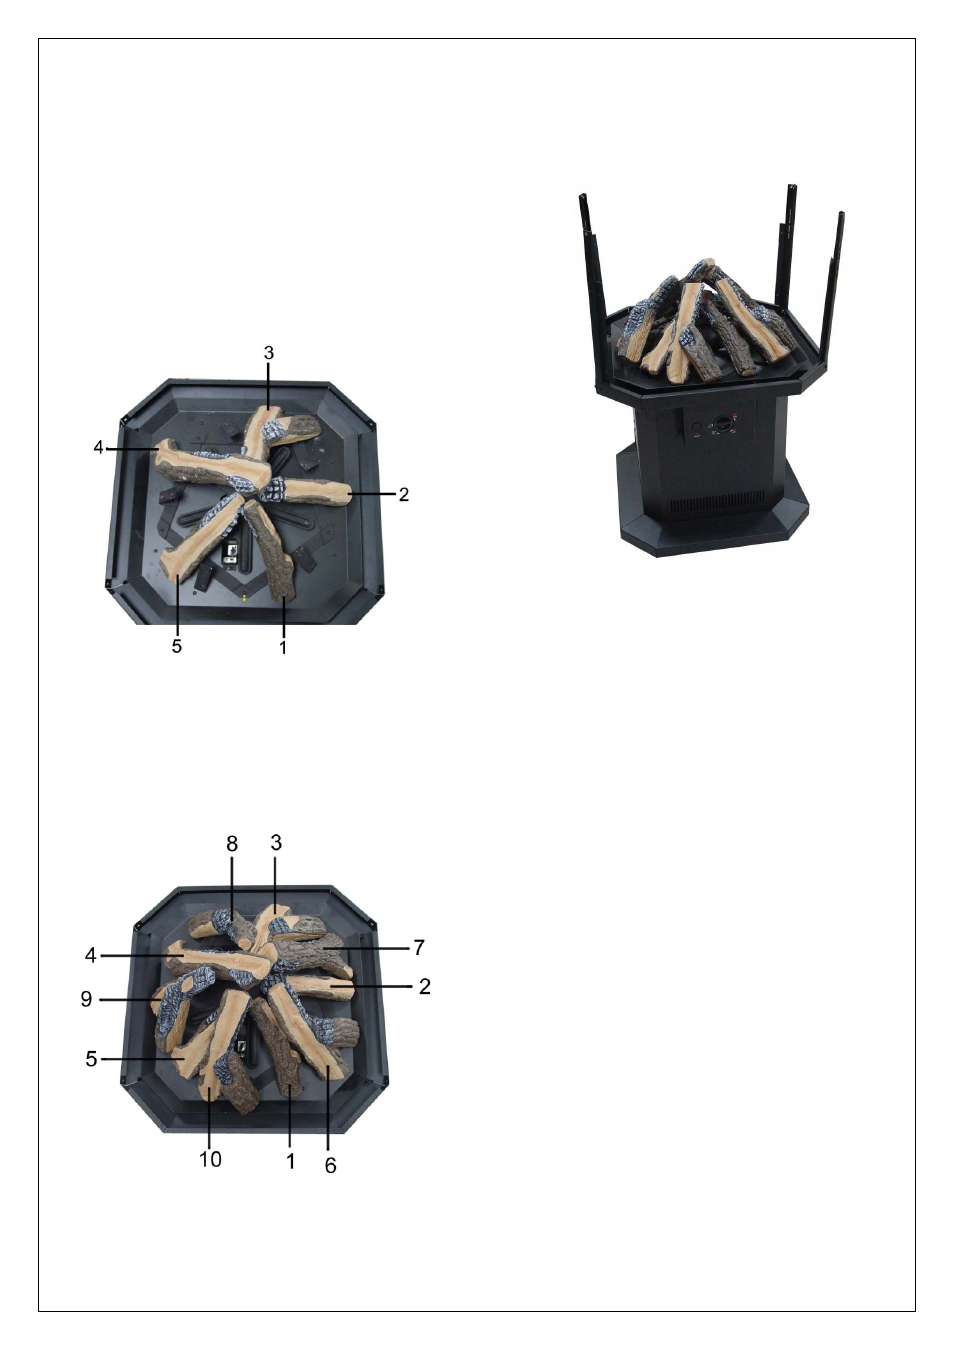
Figure 7-Column installation
5. Install logs 1,2,3,4,5 by inserting each log
screw into holes of corresponding grate
branch . Make sure each log is placed in
proper sequence.(See FIG 5.)
Note: If the log is too loose or the screw can’t be
pulled down after inserting the log screw, screw the
nuts to adjust the clearance between nuts and
logs.
6. Install logs 6,7,8,9,10 as step 5.(See FIG.6)
Figure 5-Installing log 1.2.3.4.5
Figure 6-Installing log 6.7.8.9.10