Functions and settings, Switching the input signal detection setting, Reset (factory settings) – Panasonic SC-ZT2 User Manual
Page 24
VQT2R70
24
Functions and settings
Switching the input signal detection setting
Most sources can be played with “
AUTO ” (factory setting).
However, in the following cases, change the input signal detection setting.
• When the beginning of the song is cut during playback of CD, set to “
PCM ” (PCM FIX).
• When the signal is not detected during playback of DTS sources, set to “
DTS ” (DTS FIX).
• When noise occurs, return the setting to “
AUTO ”.
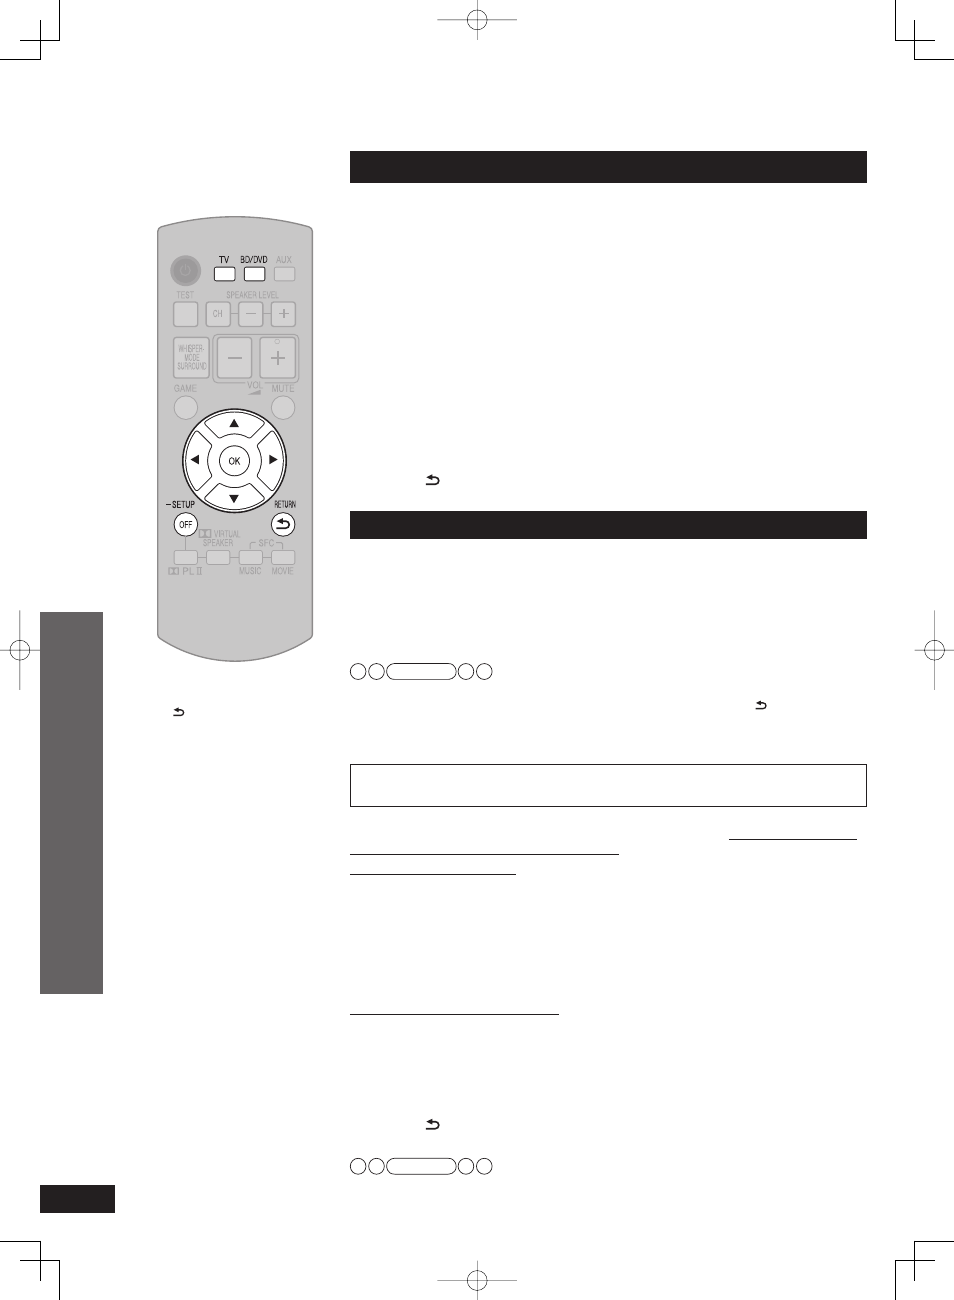
1. Press and hold [–SETUP, OFF] for about 2 seconds.
The setting items are displayed. (➜ page 21)
2. Press [w][q] to select “INPUT MODE ” and press [OK].
3. Press [w][q] to select the input and press [OK].
Input:
TV, DVD, AUX1, AUX2
4. Press [e][r] to select the detection method of input signal
and press [OK].
AUTO : Automatic detection
PCM : PCM (from CDs) digital input fi xed
DTS : DTS digital input fi xed
Factory setting:
AUTO
Repeat steps 3 and 4 to change setting.
5. Press [ RETURN] several times to select “EXIT ” and press
[OK] to fi nish the setting.
Reset (factory settings)
The operation settings for the system will be initialized to the settings made at the time of shipment.
1. Press and hold [–SETUP, OFF] for about 2 seconds.
The setting items are displayed. (➜ page 21)
2. Press [w][q] to select “RESET ” and press [OK].
3. Press [e][r] to select “YES ” and press [OK].
YES : Choice for resetting NO : Choice against resetting
• To cancel, select “
NO ”.
Note
• All the settings are reset when you select “
YES ” and the Input Selector automatically switches to “BD/DVD ”.
• If you select “
NO ”, you will return to step 2. To exit setup mode, press [ RETURN] a few
times to display “
EXIT ”, and then press [OK].
• The contents of the speaker setting are not reset. However, the contents set at “Changing
the number of speakers to 4” (
➜ page 15) are reset.
When using this system’s remote control, other equipment may operate. In this case, switch
this system’s remote control code to “
REMOTE 1 ”. Do the following to set the same code
number for this main unit and remote control.
Setting the main unit
1. Press and hold [–SETUP, OFF] for about 2 seconds.
The setting items are displayed. (➜ page 21)
2. Press [w][q] to select “REMOTE ” and press [OK].
3. Press [e][r] to select “1 ” and press [OK].
Factory setting:
2
• You cannot fi nish the setting mode until the setting on the remote control is changed. Go to step
4.
• To set the remote control code to 2, select “
2 ” in step 3 and press [OK].
Setting the remote control
4. Press and hold [OK], and then press [TV] (more than 2 seconds).
TV: Remote control code 1
BD/DVD: Remote control code 2 (factory setting)
• Select the same number as the code number you have selected in step
3.
• To set the remote control code to 2, press and hold [OK] in step
4, and then press
[BD/DVD] more than 2 seconds.
5. Press [ RETURN] several times to select “EXIT ” and press
[OK] to fi nish the setting.
Note
If different codes are set between the main unit and remote control, the error message
“
REMOTE 2 ” or “REMOTE 1 ” is displayed.
Play
Functions and settings
To return to the previous display/
To cancel during setting operation:
Press [ RETURN].
When other equipment (mini component system, AV amp, etc.) manufactured
by Panasonic operates with the remote control operations of this system
5%<6228364'PKPFF
5%<6228364'PKPFF
ඦ೨
ඦ೨