Linksys EtherFast BEFCMU10 User Manual
Page 7
9
8
EtherFast
®
Cable Modem with USB and Ethernet Connection
Instant Broadband
TM
Series
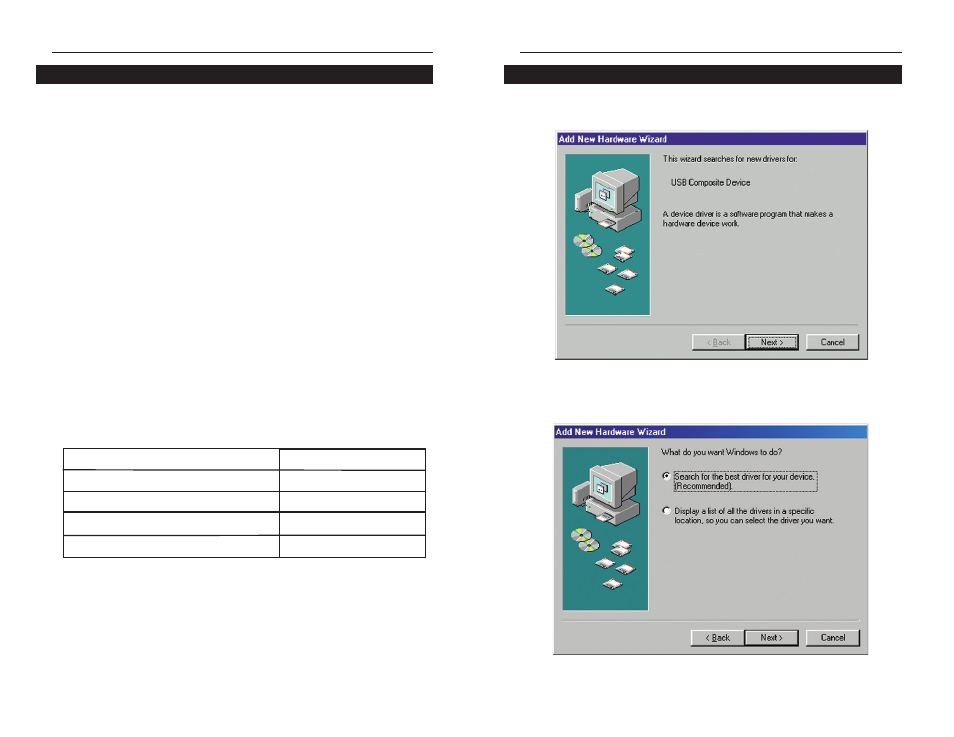
1. When the Add New Hardware Wizard window appears, insert the Setup CD
into your CD-ROM drive and click Next.
2. Select Search for the best driver for your device and click the Next but-
ton.
Installing the USB Driver for Windows 98
1. Make sure that you have TCP/IP installed on your computer. If you don’t
know what TCP/IP is or you don’t have it installed, refer to the section in the
“Appendix B: Installing the TCP/IP Protocol.”
2. If you have an existing cable modem that you are replacing, disconnect it at
this time.
3. Connect the coaxial cable from your ISP/Cable Company to the Cable Port
on the back of the Cable Modem. The other end of the coaxial cable should
be connected in the manner proscribed by your ISP/Cable Company.
4. With your PC turned off, connect the power adapter included in your pack-
age to the Power Port on the back of the Cable Modem. Plug the other end
of the adapter into a standard electrical wall socket. The Power LED on the
front of the Cable Modem should light up and remain on.
5. Plug the rectangular end of the USB cable into your PC’s USB port. Connect
the square end of the USB cable into the Cable Modem’s USB port.
6. Turn on your PC. During the boot up process, your computer should recog-
nize the device and ask for driver installation. Refer to the chart below to
locate the driver installation for your operating system. Once the driver
installation is completed, return here for instructions on setting up your
account.
7. Contact your Cable ISP to activate your account. Usually, your Cable ISP
will need what is called a MAC Address for your Cable Modem in order to
set up your account. The 12-digit MAC address is printed on a bar code label
on the bottom of the Cable Modem. Once you have given them this number,
your Cable ISP should be able to activate your account.
Connecting Using the USB Port
If you are installing drivers for
Windows 98
Windows Millennium
Windows 2000
Windows XP
then turn to page
9
12
14
17
Figure 3-1
Figure 3-2