How to... install the lifelink upgrade kit – Life Fitness 9500HRT User Manual
Page 3
Life Fitness Model 9500HR & 9500HRT (REV 1 & 2) Stairclimber
How To... INSTALL THE LIFELINK UPGRADE KIT
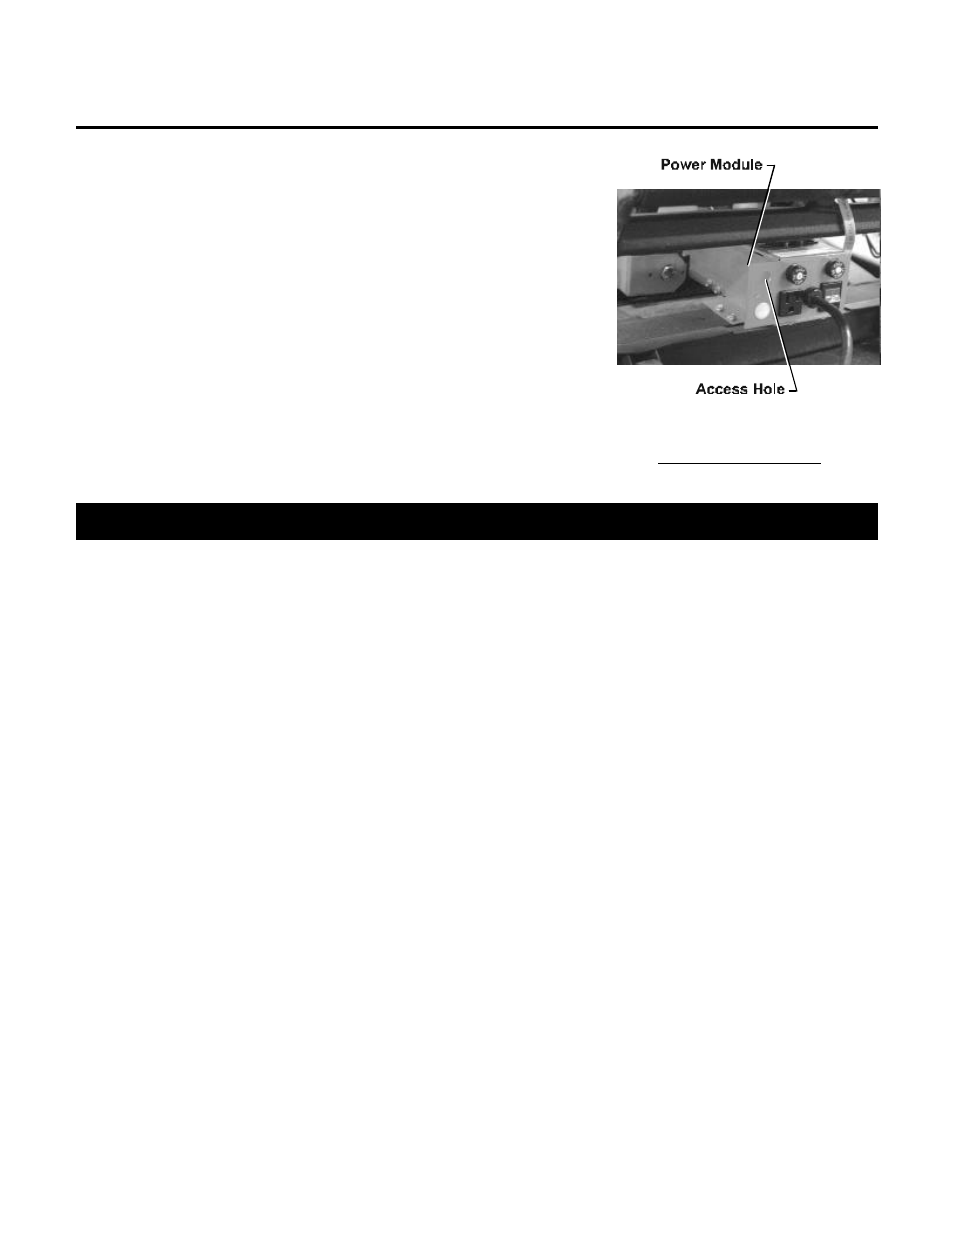
STEP 7:
Using the hex key wrench supplied in the upgrade kit and a pair of pliers,
remove the small metal cover to the left of the power module located in the
lower rear portion of the unit.
STEP 8:
Connect the STUB CABLE supplied in the upgrade kit to the NETWORK
BOARD and route it through the access hole created in Step 7. Place the
grommet supplied in the upgrade kit into the hole to prevent the STUB
CABLE from being pinched. Strain relief the cable to the FRAME away from
moving parts. Connect the other end of the STUB CABLE into the t-connector
on the backbone. Place the plastic plug supplied in the upgrade kit into the
remaining, unused hole.
STEP 9:
Reverse Steps 1 and 2 to return all remaining parts to their proper positions. Replace the power cord into the wall
outlet and turn the unit on at the ON/OFF switch. A blue box will appear on the LIFECENTER SCREEN stating
“INSTALLING NODE” and will disappear in approximately 30 seconds.
NOTE: DO NOT TURN OFF THE POWER OR DISCONNECT THE NETWORK DURING THIS TIME. DOING SO
BEFORE THE “INSTALLING NODE” MESSAGE DISAPPEARS MAY DEACTIVATE THE NETWORK BOARD.