Linksys USB100TX User Manual
Page 2
11. When the Add New Hardware Wizard indicates that it has finished
installing the software, click Finish.
12. When asked if you want to restart your computer, remove any
floppy disks from your floppy drive and click Yes.
13. When Windows has rebooted, it may ask you to provide a User
Name and Password. If this happens, enter them now.
At this point, your Linksys 10/100 USB Network Adapter has
been successfully installed. The following steps address configur-
ing network components.
14. When you are back on the Windows desktop, you can make the
necessary changes to your system’s network settings by clicking
on the Start button, then Settings, then Control Panel, then double-
click the Network icon.
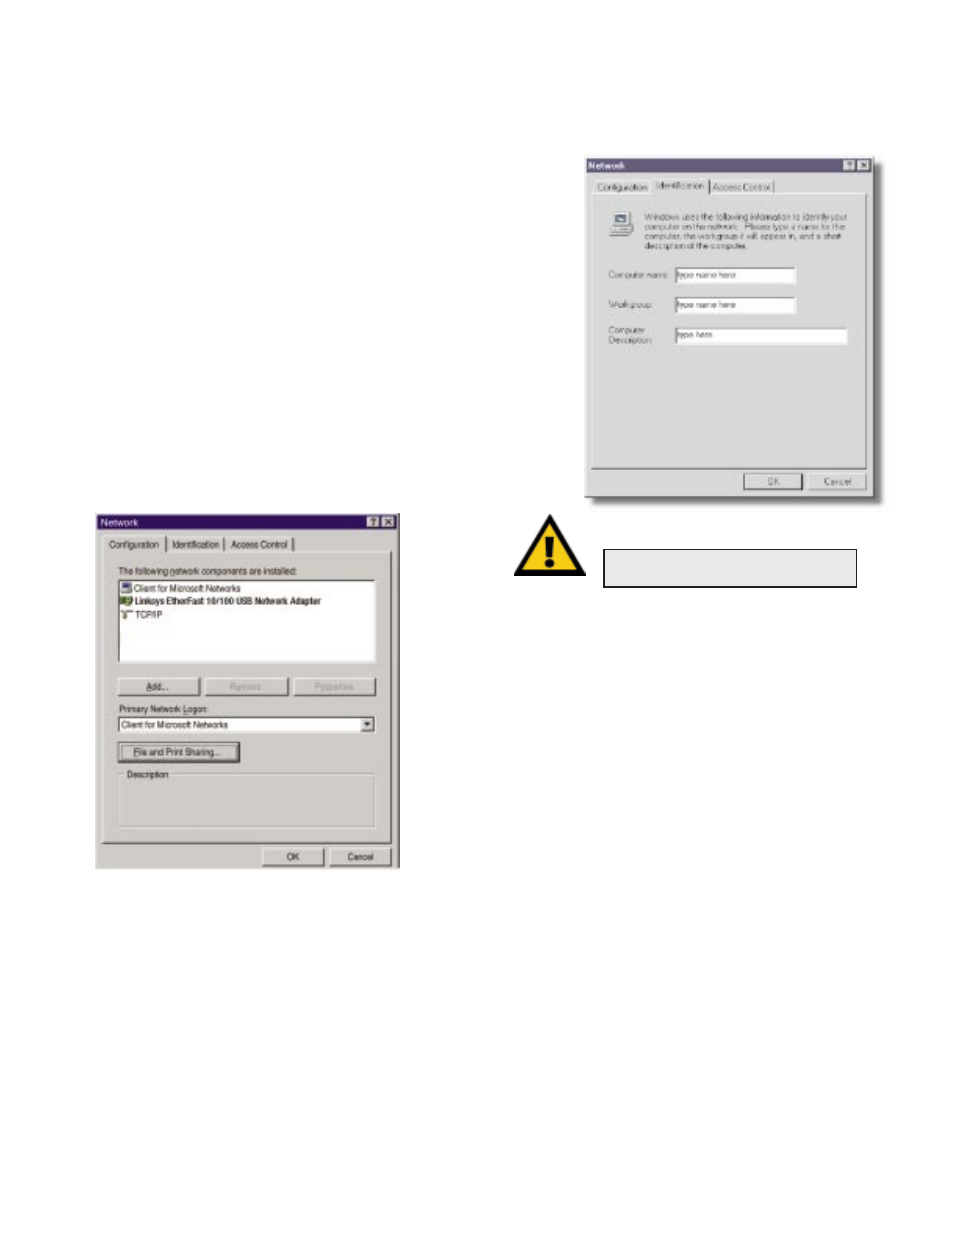
15. In the Configuration tab, confirm that at least the following net-
work components are installed:
•Client for Microsoft Networks
•Linksys EtherFast 10/100 USB Network Adapter (USB100TX)
•TCP/IP
You need not be concerned if you see other clients, equipment or
protocols listed.
For setup and configuration of the protocols, refer to the section in the
User Guide entitled Manually Installing Network Components.
16. Click on the Identification tab. Enter a Computer Name that is
unique (e.g., Dino, Alpha, etc.). Your Workgroup Name should be
the exact same name that is in use by all other computers in your
workgroup. The Computer Description is optional.
File and Printer Sharing
In order for your computer to be visible on the network, you need
to set up File and Printer Sharing. Refer to the User Guide for
more information on sharing drives and printers.
When you are finished, restart your PC, log into your network,
double-click on the Network Neighborhood icon. You should be
able to see the other computers on your network.
Installation is complete.
Troubleshooting
For basic troubleshooting, refer to the Troubleshooting section of
the User Guide.
N
No
otte
e: The User Name, Password, and
Workgroup Name may be case-sensitive.