Operation using your ice maker – KoldFront KIM202W User Manual
Page 7
KoldFront Portable Ice Maker
4
Operation
Using Your Ice Maker
Before using your ice maker it is strongly recommended to clean it thoroughly.
Read and follow the Cleaning and Maintenance section of the manual before
proceeding.
Follow the steps below to start using your ice maker.
1. Open the top cover and remove any packaging tape that may be holding down
the ice case, ice shovel, ice basket, and ice scoop. Remove the ice scoop.
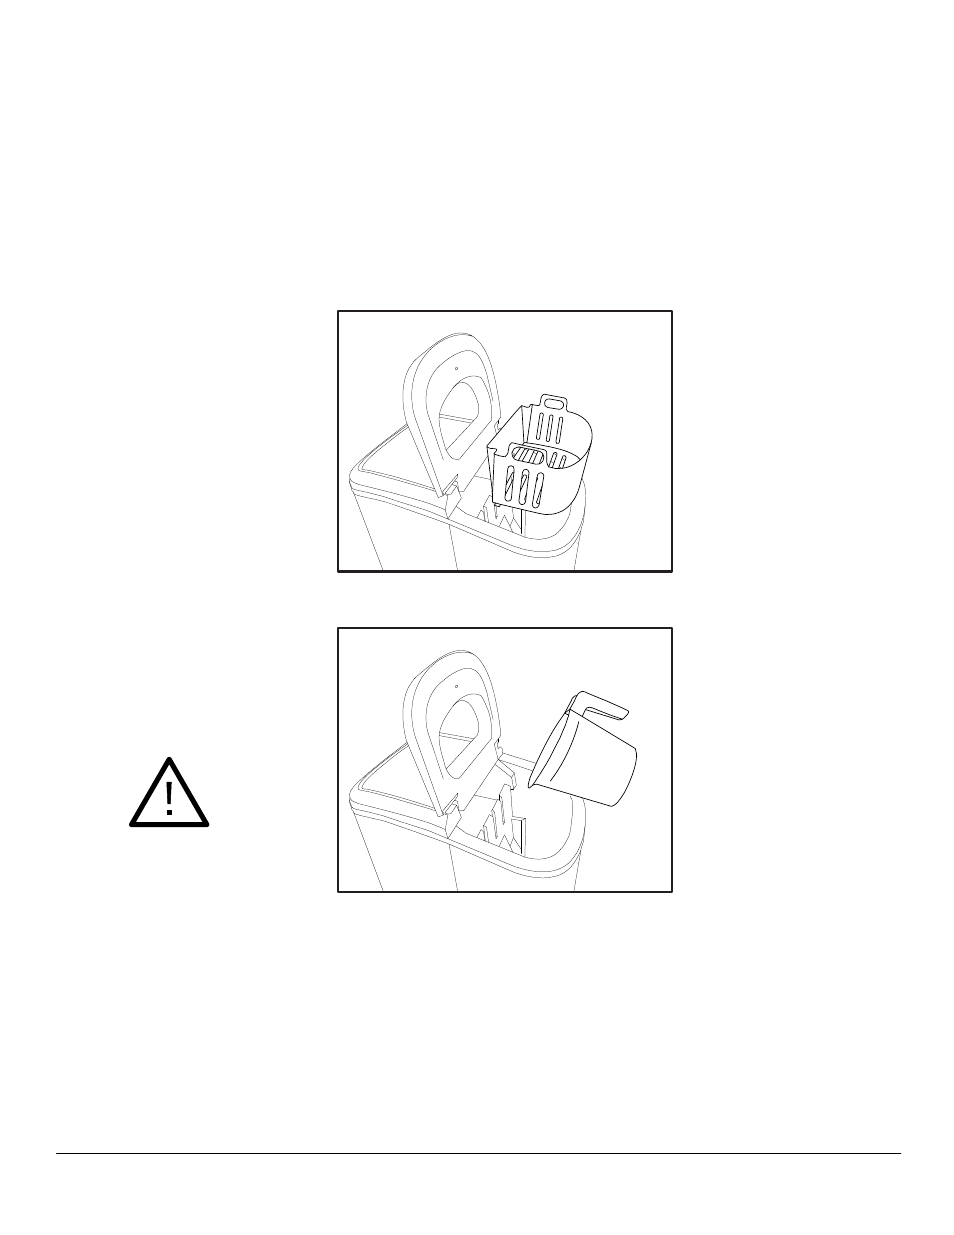
2. Remove the ice basket and clean it.
3. Clean the water reservoir.
4. Pour water into the water reservoir. Keep the water level below the “MAX”
water mark.
5. Insert the ice basket into the water reservoir.
6. Close the lid.
7. Plug the ice maker’s power plug in to a grounded outlet.
8. Press the On/Off button on the Control Panel.
9. Press the Select button on the Control Panel to choose between small and
large sized cubes. If the room temperature is lower than 60°F, it is best to select
the small size setting; otherwise, the ice cubes may stick together. The ice
making cycle may take up to thirteen minutes for a single batch of ice.
Notes: If the water pump is unable to detect or pump water, the unit will stop
automatically, and the “Add Water” indicator will be lit. Add water to the unit and
restart the unit by pressing the On/Off button twice.
The ice maker will continue making ice until the ice basket is full. When the ice
basket is full “Ice Full” indicator will be lit.
CAUTION: Direct sunlight may
cause the ice full infrared sensor to
malfunction. If the unit continues to
produce ice even though the basket
is full, you may need to move the
unit away from the sunlight.
IMPORTANT: Discard the first
batch of ice produced by the
portable ice maker.