SVAT Electronics Compact 8" LCD Screen CLEARVU8 User Manual
Page 8
SVAT ELECTRONICS
now you can see
CLEARVU8
5
4. If the camera supports audio, ensure that the RCA audio cable of
the camera (red or white) is connected to one of the audio inputs
(red or white) on the “3.5mm to RCA (female) wire.”
5. Ensure that the cameras are plugged in.
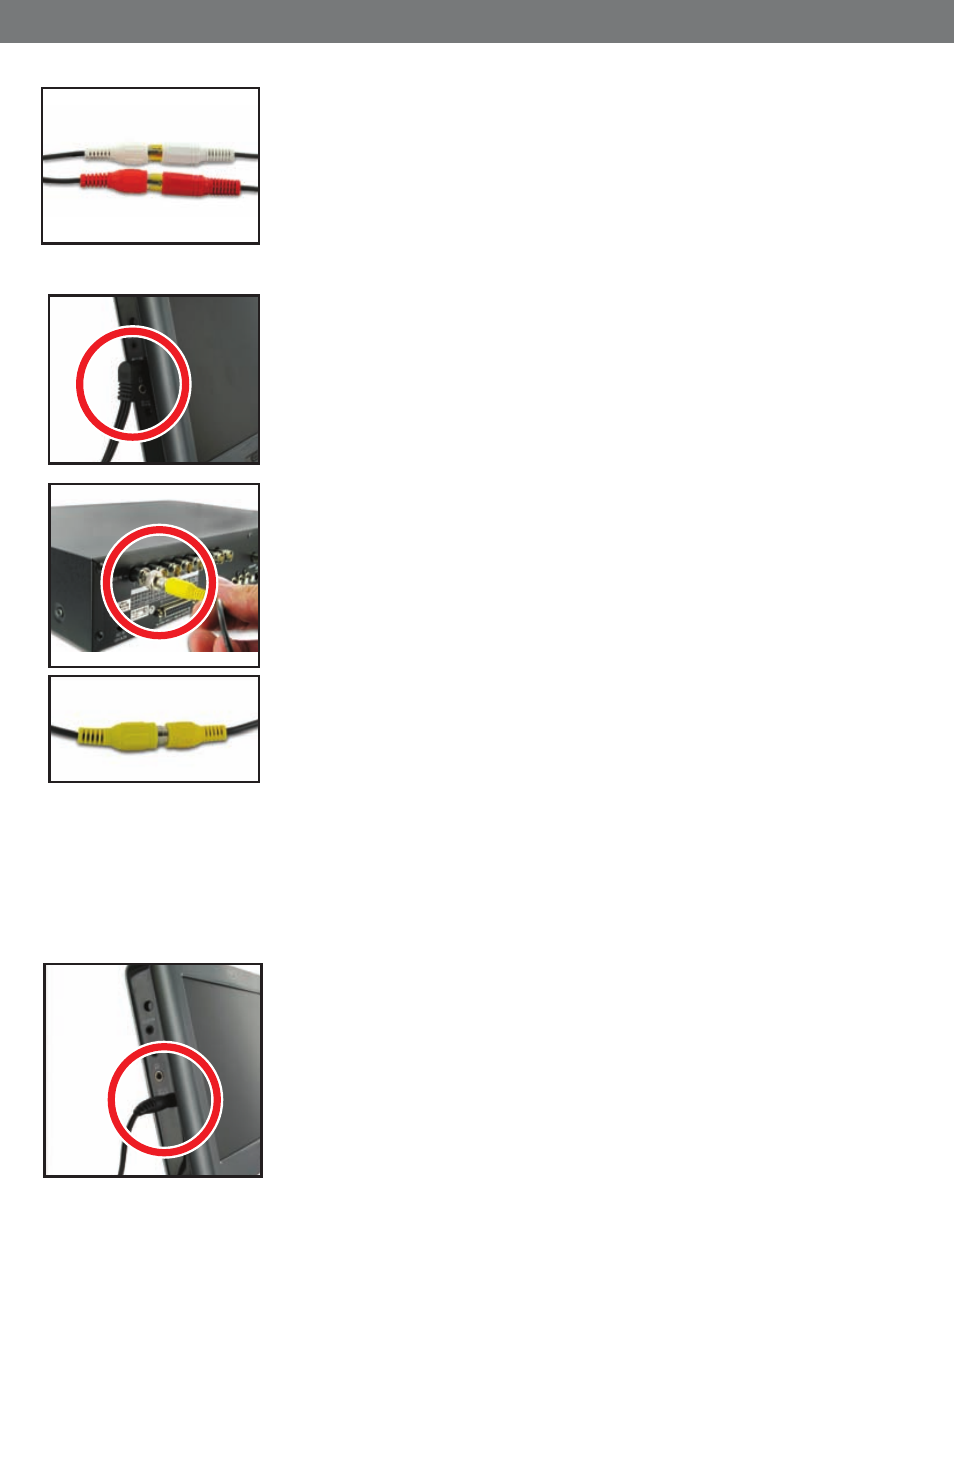
3.3 OPTION 2: CONNECTING TO A DVR
1. Plug the “3.5mm to RCA (female) wire” into the AV1/IN port on
the monitor.
2. Plug one end of an RCA wire (not included) into the DVR’s
VIDEO OUT port.
Plug the other end of the RCA wire (not included) into the female end
of the “3.5mm to RCA (female) wire.” If your VIDEO IN port is a
BNC connection (which is common in DVR units), you will need to
attach a BNC Connector (not included) before connecting the camera.
3. If the DVR supports audio, ensure that an RCA audio cable is
connected to the DVR’s AUDIO OUT, and that the other end (red
or white) is connected to one of the audio inputs (red or white) on
the “3.5mm to RCA (female) wire.” Make sure that audio is
enabled on the DVR.
4. Ensure that the DVR is plugged in and powered on.
3.4 POWERING ON
1. Plug the monitor’s power adapter into a wall outlet.
2. Plug the other end of the power adapter into the DC IN port
on the monitor.
3. Press the POWER button on the front of the unit.
4. Your cameras/DVR should now be displayed on the LCD