29 multi-z, Multi-zone – Sherbourn Technologies PT-7000 User Manual
Page 29
28
O a A d
Owner’s Manual
Model PT-7000 7.1 Channel Preamp/Processor/Tuner
Owner’s Manual
4. Use the < and > buttons to select between On and Off.
When this setting is On, Pro Logic II’s Panorama circuits will blend
an amount of the front channel information into the side speakers so
that the soundfield appears to wrap around the front and sides of the
soundstage. Experiment with a variety of program sources to see if this
effect is one you prefer.
5 . Press the button to select the Dimension menu.
6. Use the < and > buttons to cycle through the Dimension options.
The Dimension settings appear as follows as you scroll through them:
STEP 0STEP 1STEP 2STEP 3STEP-3STEP-2
STEP-1
You can scroll in either direction using the < and > buttons .
The Dimension Control uses special circuitry to give the impression
that the “center” of the soundfield is moving towards the front or rear
of the room. Experiment with a variety of program sources to see if
this effect is one you prefer. Use as much or as little Dimension as you
feel is needed.
7. Press the button to select the C Width menu.
8. Use the < and > buttons to cycle through the C Width options.
The C Width settings appear as follows as you scroll through them:
STEP 0STEP 1STEP 2STEP 3STEP 4STEP 5
STEP 6STEP 7
You can scroll in either direction using the < and > buttons .
Depending on how the Center Width control is set, you may adjust the
apparent placement of the center channel image so that it is heard
only from the center speaker, so that it is blended into the left and right
speakers as a phantom image, or that it is blended among the front
left, center and right speakers in varying amounts. As with the other
Pro Logic II controls, the use of this setting and the degree to which it
is used is a matter of personal preference.
9. Press the button to select the Return to Main Menu option.
10. Press the MENU button to return to the Main Menu, or press the
MENU button twice to exit.
Multi-zone
This menu controls the setting for your second zone and the output from the
ZONE OUT jacks on the rear of the PT-7000.
This function can be accessed in two ways. You can press the MULTI button on
the remote control, or you can access this feature through the MAIN MENU.
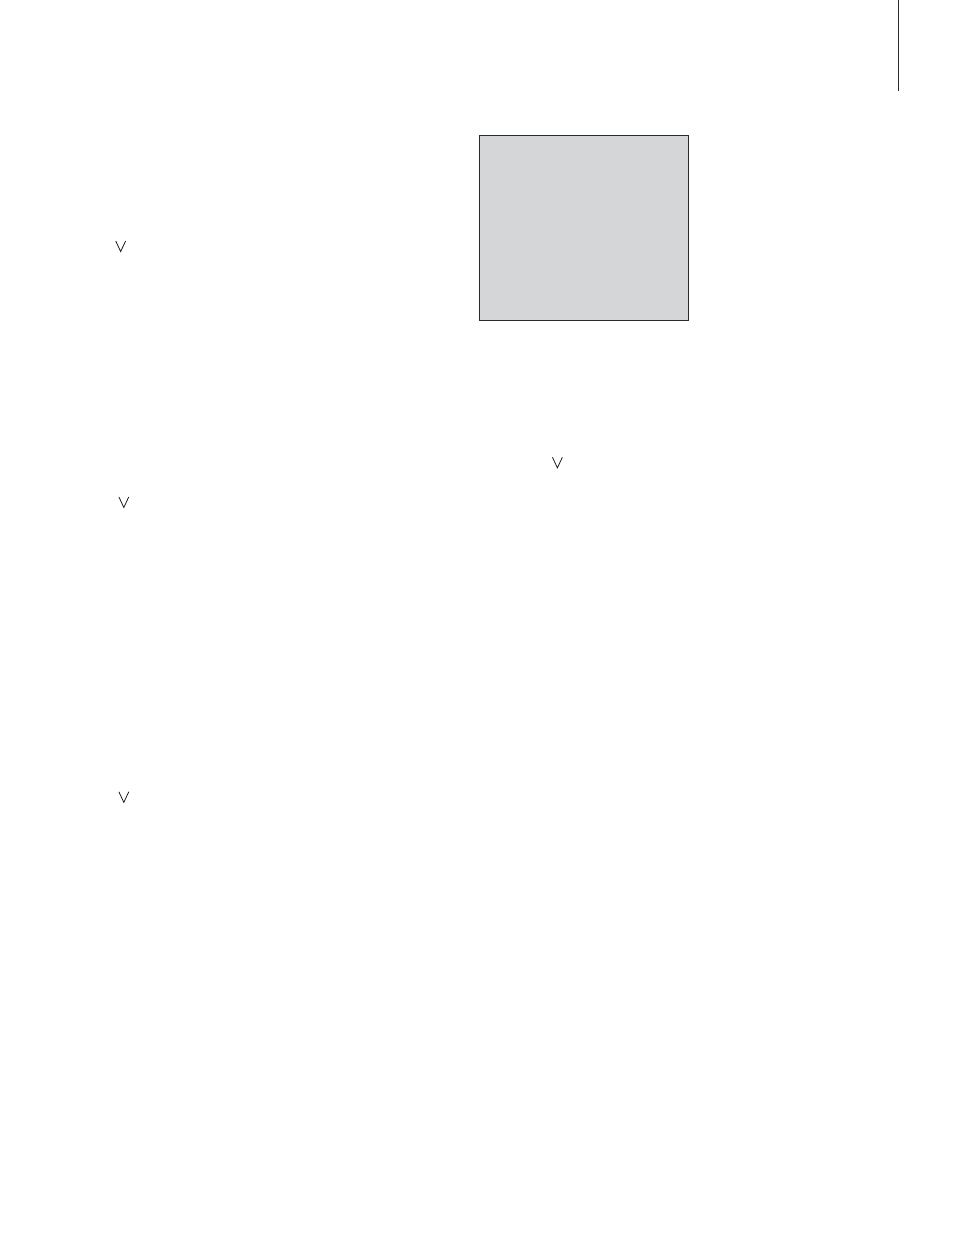
The Multi-zone menu is shown below>
Figure 6
MULTI-ZONE
> MULTI-ZONE :OFF
INPUT :DVD
MUTE :OFF
VOLUME : 0dB
RETURN TO MAIN MENU
To adjust the Multi-zone settings:
1. Press the MENU button to enter the Main Menu.
The Main Menu appears on the Front Panel Display and the OSD. The
cursor on the OSD should be pointing to the Input Configuration menu
and
INPUT CONFIG
appears on the Front Panel Display.
2. Press the button until the Multi-zone menu is selected.
The cursor on the OSD should be pointing to the Multi-zone menu and
MULTI-ZONE
appears on the Front Panel Display.
3. Press SELECT to enter the Multi-zone menu.
The Multi-zone menu appears on the Front Panel Display and the OSD
(see figure 6). The selected menu item should be
MULTI-ZONE
.
4. Use the < and > buttons to select whether you want the Multi-zone
feature On or Off.
If ON is selected, the yellow LED below the word MULTI on the front panel
will illuminate indicating activation of the second stereo zone.
5 . Press the