Adjusting or replacing the mounting rails, Figure 24 – SharkRack 45U User Manual
Page 24
SharkRack Enclosure Installation Guide
ID-00210-000
REV D, ECO2773
Page 24 of 46
Adjusting or Replacing the Mounting Rails
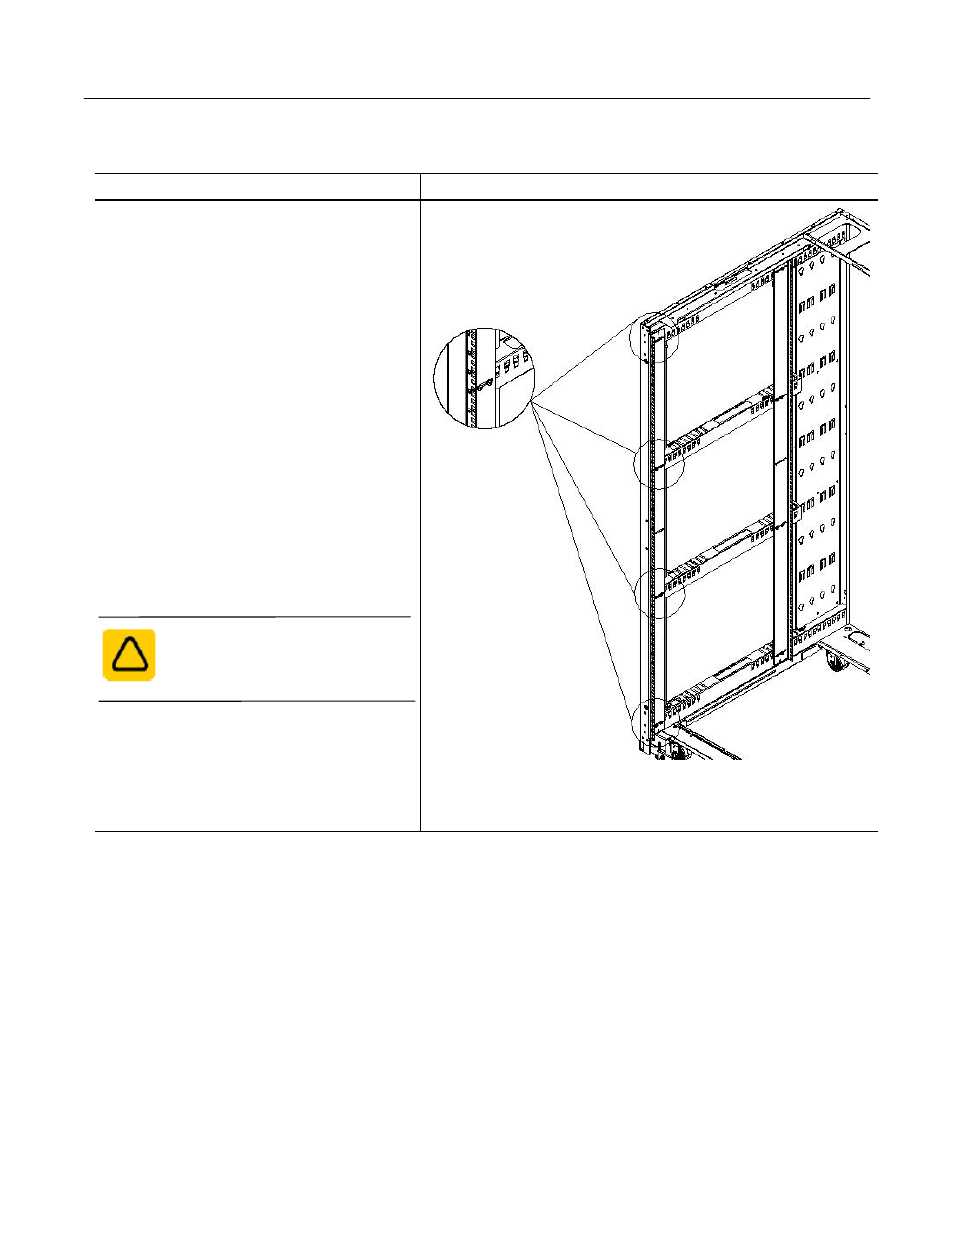
Step Detail
Adjusting the mounting rails:
The mounting rails are factory set at 29.12 inches
apart. However, both the front and rear mounting
rails are adjustable to any depth within the
cabinet.
1. Loosen the screws securing each mounting
rail using a Phillips screwdriver.
2. Adjust the mounting rail to the desired location.
Make sure each mounting rail is adjusted
parallel and square inside the cabinet.
3. Tighten the screws.
4. Repeat steps for any other rail to be adjusted.
Replacing the mounting rails:
To replace any of the mounting rails you must:
1. Loosen the screws securing the mounting rail.
CAUTION: Remove bottom screws
first to help eliminate the possibility of
the rail falling on your head.
2. Remove the rail and replace with another style
rail available from SharkRack.
3. Secure the mounting rail with the screws that
were previously removed.
Figure 24
Section view of 42U X 37DP Cabinet