Installation of the 4:3 mask, Bvm-d20f1u/d20f1e/d20f1a only) – Sony BVM-D20F1U User Manual
Page 27
21
Chapter 1 Overview
Installation of the 4:3 Mask
(BVM-D20F1U/D20F1E/D20F1A only)
When the BVM-D20F1U/D20F1E/D20F1A aspect
ratio is switched from 16:9 to 4:3, replace the 16:9
mask with the supplied 4:3 mask.
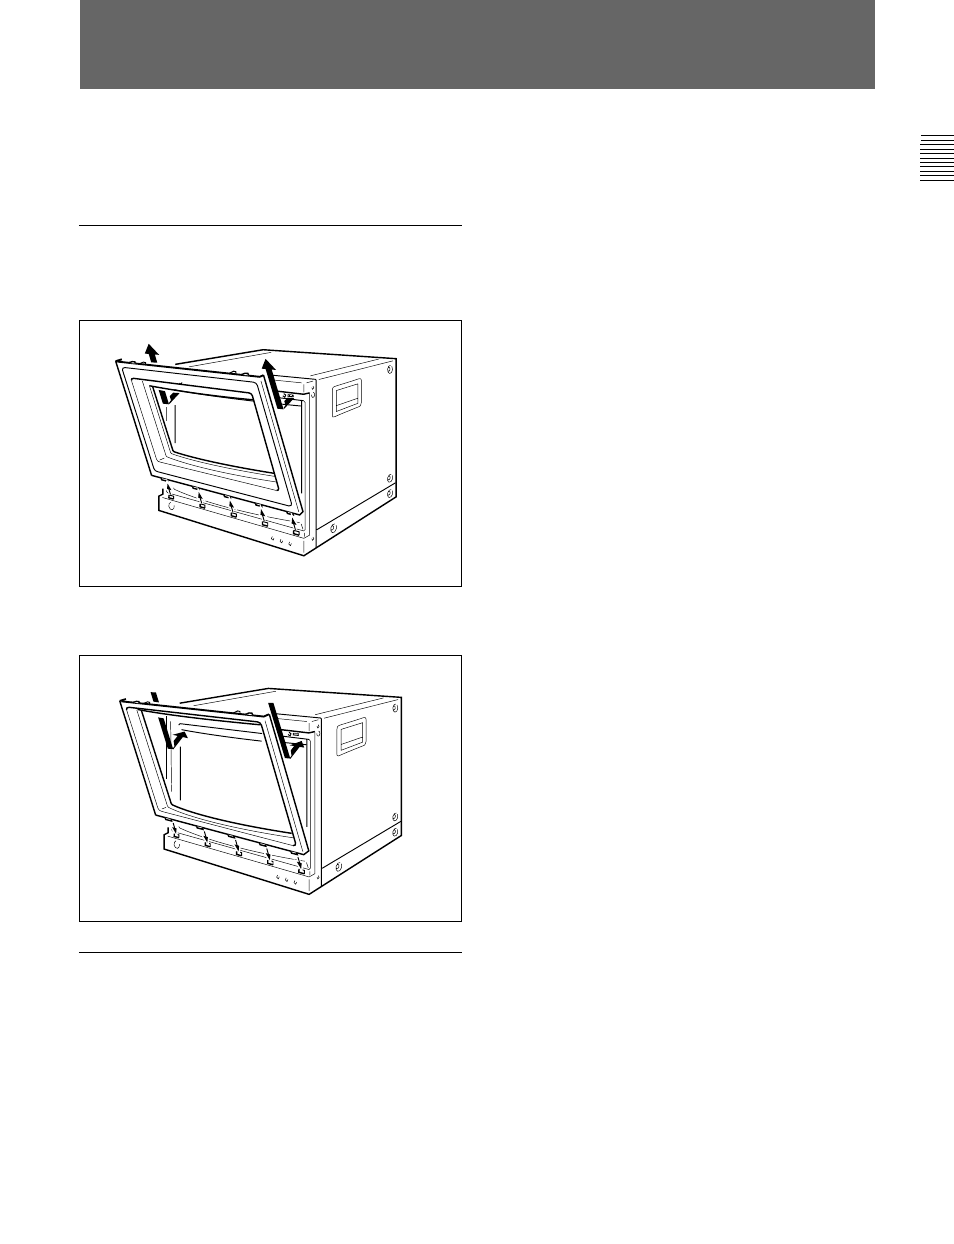
Installing the 4:3 mask
1
Remove the 16:9 mask by pulling the top side out
and then lifting up from the bottom side.
2
Install the 4:3 mask (supplied) by inserting the
bottom side and then pressing the top side in.
Replacing the 16:9 mask
Remove the 4:3 mask and replace the 16:9 mask using
the same procedures as those for installing the 4:3
mask.
This manual is related to the following products: