Adding a frame, Making layout panels, Adding a frame making layout panels – Sony S-Frame DPF-V1000N User Manual
Page 50
C:\#WORK\@DPF\DPF-V1000N\Writer-OP\06_FinalDelivery\4155758111\4155758111DPFX1000NCEK\01GB-
DPFX1000NCEK\050C03.fm
Master: Left
DPF-X1000N, DPF-V1000N 4-155-758-11 (1)
50
GB
1
From the CreativeEdit menu
(page 43), press
B/b/v/V to select
(Frame) and then press
.
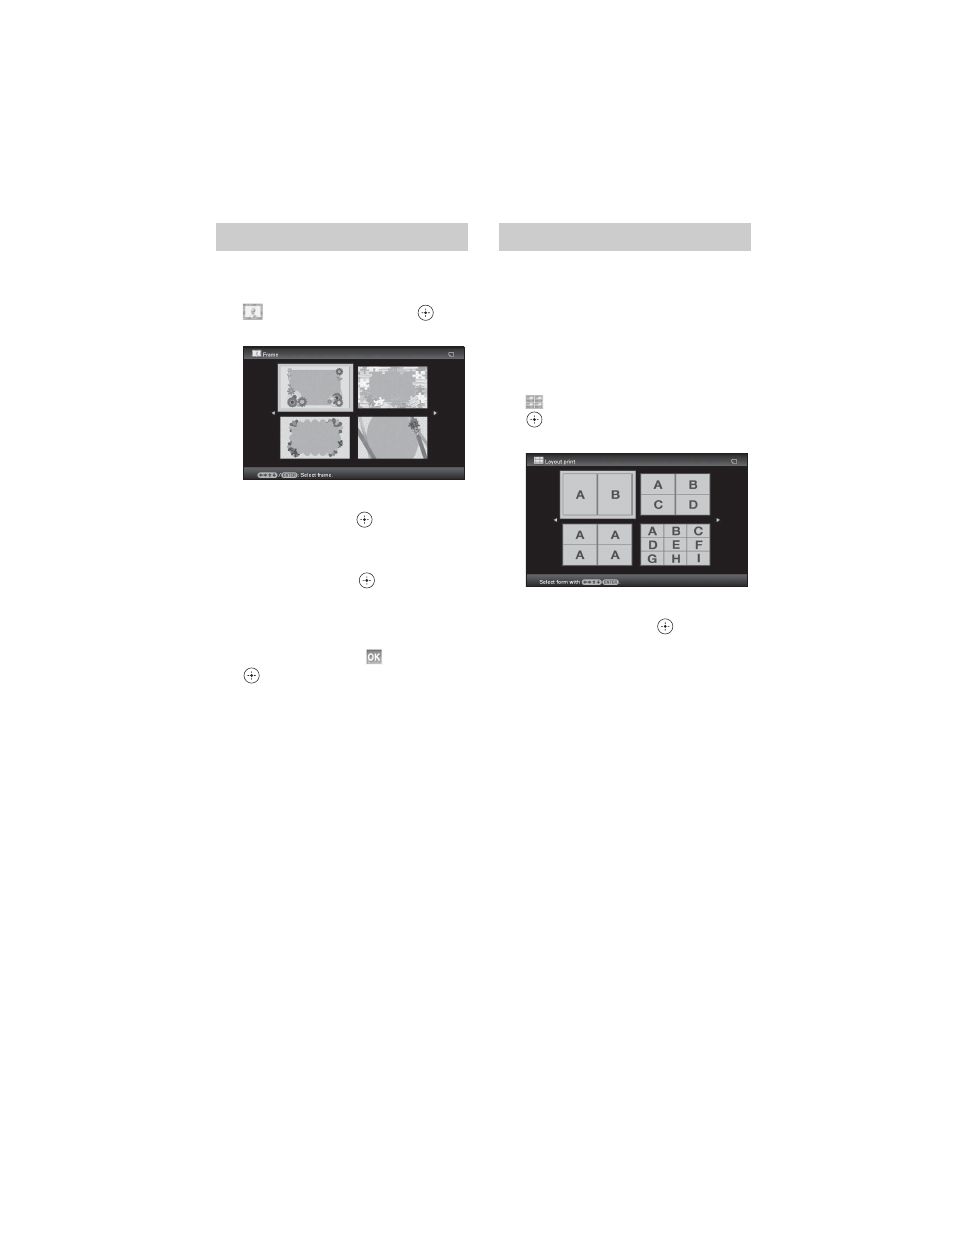
The Frame templates are displayed.
2
Press
B/b/v/V to select the desired
frame, then press
.
The index view is displayed.
3
Press
B/b/v/V to select the desired
image, then press
.
The image adjustment window is
displayed. For how to adjust an image, see
step 5 on page 44.
4
Press
B/b to select
and press
.
The selected image is displayed with the
selected frame.
You can select the layout of the photo
displaying as follows.
• 2 panels, 4 panels, 9 panels, 13 panels, 16
panels
1
From the CreativeEdit menu
(page 43), press
B/b/v/V to select
(Layout Print) and then press
.
The Layout Print templates are displayed.
2
Press
B/b/v/V to select the desired
template, then press
.
A preview of the selected template is
displayed
3
Select an image.
When you select a template with multiple
images, select an image for each area. For
how to select an image, see step 4 on
page 44. When you select image(s), the
window used for adjusting the image is
displayed.
4
Adjust the image.
For how to adjust an image, see step 5 on
page 44. When you adjust an image, the
image is added to the image area.
To add a stamp, see “Superimposing a
stamp” on page 44.
Adding a frame
Making layout panels