Access main menu screen, Access function set screen, Access audio select screen – JVC HR-DD740U User Manual
Page 38: Access timescan audio screen, Select mode, Return to normal screen, Playback and recording features (cont.), Timescan audio
38
EN
3
4
¢
7
8
1
¡
1
2
3
4
5
6
7
8
0
9
q
¢
¢
2
2
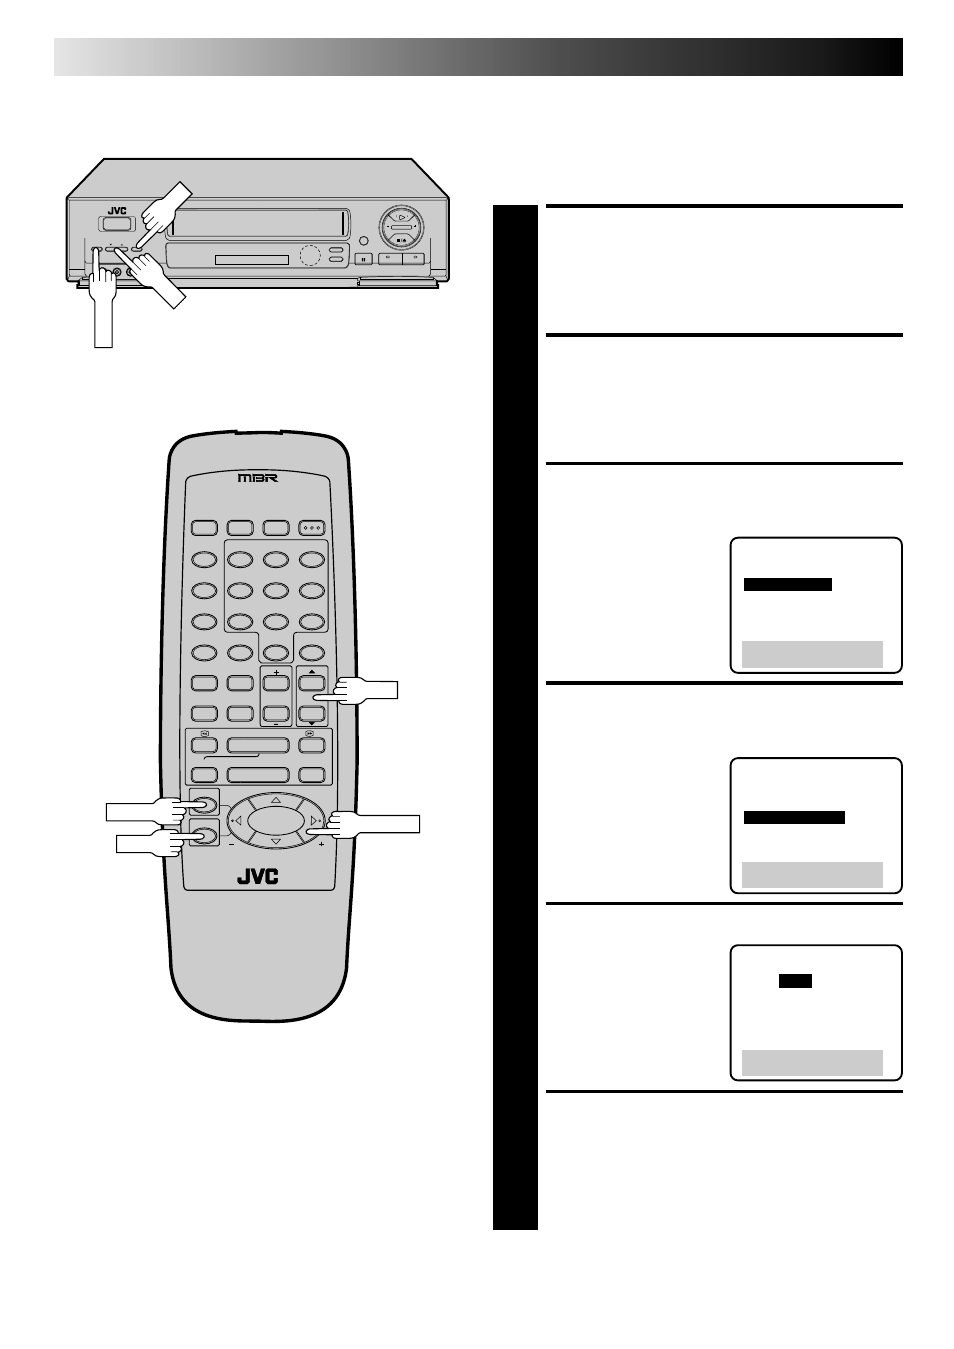
PLAYBACK AND RECORDING FEATURES (cont.)
TimeScan Audio
The audio output can be set ON/OFF during TimeScan. Select
ON/OFF as required.
*The default setting is "ON".
ACCESS MAIN MENU
SCREEN
1
Press MENU as many times as necessary.
ACCESS FUNCTION SET
SCREEN
2
Move the highlight bar (arrow) to "FUNCTION SET" by
pressingCH
5∞ or TIME SCAN%fi, then press OK.
ACCESS AUDIO SELECT
SCREEN
3
Move the highlight bar
(arrow) to "AUDIO
SELECT" by pressing
CH
5∞ or TIME SCAN%fi,
then press OK.
ACCESS TIMESCAN
AUDIO SCREEN
4
Move the highlight bar
(arrow) to "TIMESCAN
AUDIO" by pressing
CH
5∞ or TIME SCAN%fi,
then press OK.
SELECT MODE
5
Move the highlight bar
(arrow) to "ON" or "OFF"
by pressing CH
5∞ or
TIME SCAN
%fi.
RETURN TO NORMAL
SCREEN
6
Press MENU as many times as necessary.
TIMESCAN AUDIO
=ON
OFF
PRESS (
5,∞) TO SELECT
PRESS (MENU) TO END
FUNCTION
AUTO TIMER
SUPERIMPOSE
=AUDIO SELECT
AUX INPUT
SPECIAL FUNCTION
PRESS (
5,∞), THEN (OK)
PRESS (MENU) TO END
AUDIO SELECT
2ND AUDIO
AUDIO MONITOR
=TIMESCAN AUDIO
PRESS (
5,∞), THEN (OK)
PRESS (MENU) TO END
CH
MENU
OK
CH
MENU
OK
TIME SCAN