JVC HR-A237E User Manual
Page 23
23
SELECT NEW POSITION
2
Press PUSH JOG
%fi to move the station to the new
channel position, then press OK.
Example: If you moved the station in position 3 to
position 7, the stations originally in positions 4–7 each
move up one position.
● Repeat steps 1 and 2 as necessary.
RETURN TO NORMAL
DISPLAY
3
Press CH SET.
Perform steps 1 and 2 of "Storing Channels Manually" on
page 22 to access the Confirmation display before continuing.
Set Stations (A)
SELECT ITEM
1
Press PUSH JOG
%fi until the item you want is
displayed. Then press OK twice and the station’s name
(or "– –") begins blinking.
SELECT NEW STATION
2
Press PUSH JOG
%fi until the new station’s name you
want to store begins blinking.
Registered station names (
੬
pg. 24) appear as you
press PUSH JOG
%fi.
SWITCH STATIONS
3
Press OK.
● Repeat steps 1 through 3 as necessary.
RETURN TO NORMAL
DISPLAY
4
Press CH SET.
Set Stations (B)
NOTE:
First perform step 1 of the above procedure.
SELECT STATION NAME
CHARACTER
2
Press PUSH JOG and the first letter of the station
name (or "–") begins blinking.
ENTER NEW CHARACTER
3
Press PUSH JOG
%fi to cycle through the characters
(A–Z, 0–9, –,
*
, +, (space)) and stop when the
desired one is indicated, then press PUSH JOG to
enter. Enter the remaining characters the same way
(maximum of 4).
After entering all characters, press OK.
● Repeat steps 1 through 3 as necessary.
● If you make a mistake, press PUSH JOG until the
incorrect character begins blinking. Then enter the
correct character by pressing PUSH JOG
%fi.
RETURN TO NORMAL
DISPLAY
4
Press CH SET.
]
%
%
%
%
Fine-Tuning Channels
Already Stored
SELECT CHANNEL TO
FINE-TUNE
1
Press PUSH JOG
%fi until the channel you want to tune
is displayed.
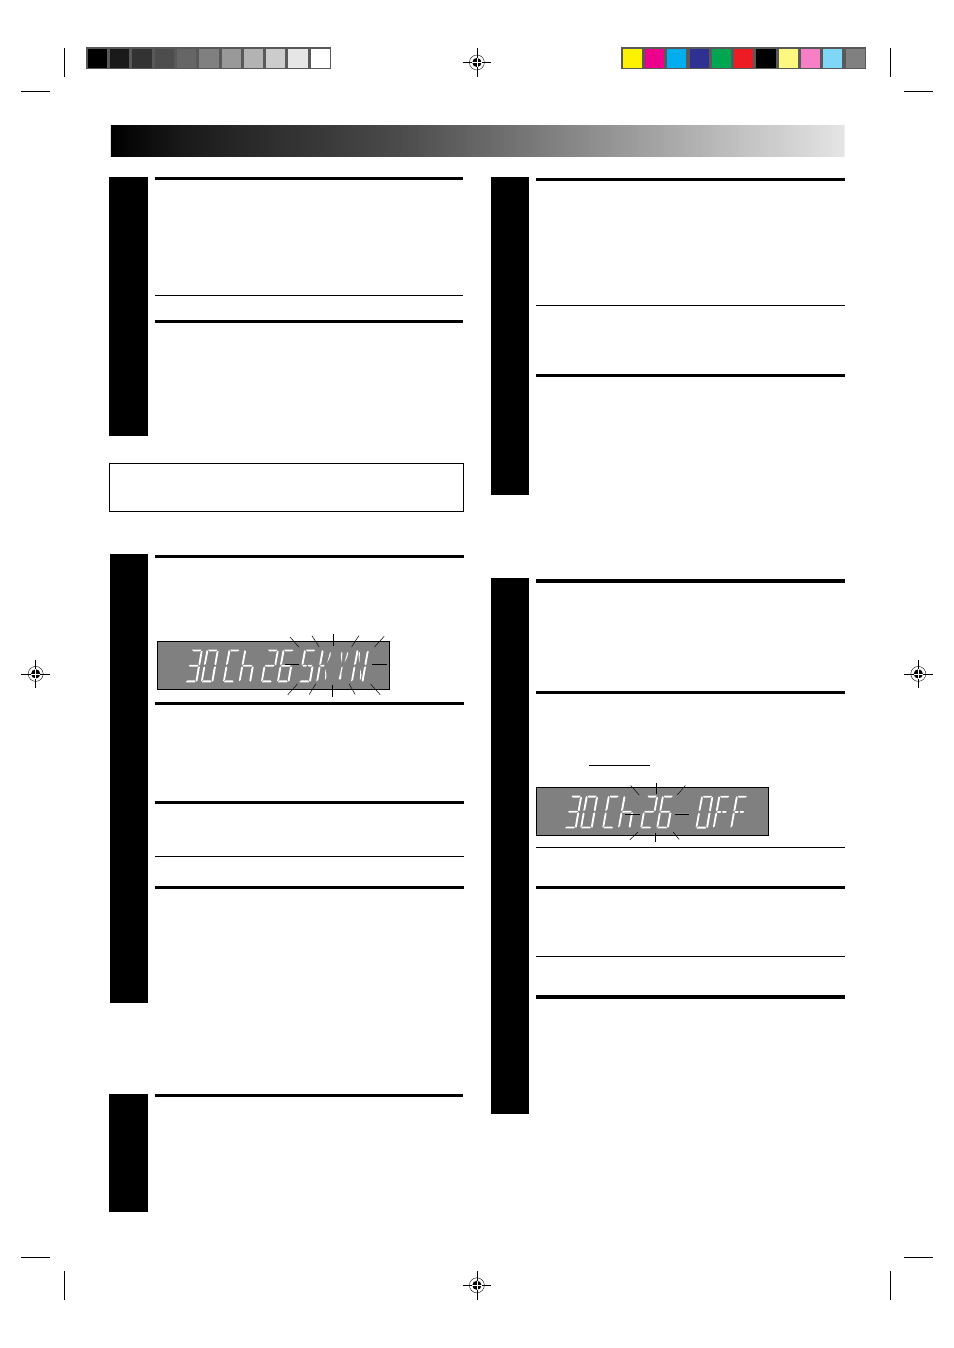
ACCESS MANUAL CH. SET
DISPLAY
2
Press OK three times. The Manual Ch. Set display
appears.
● "OFF" (decoder setting) appears only with A233E or
A433E.
PERFORM TUNING
3
Press PUSH JOG
%fi until the picture is its clearest.
Then press OK.
● The Confirmation display appears.
● Repeat steps 1 through 3 as necessary.
RETURN TO NORMAL
DISPLAY
4
Press CH SET.