Jensen Tools MCD4030 User Manual
Mcd4030, Owner’s manual
SHIFT
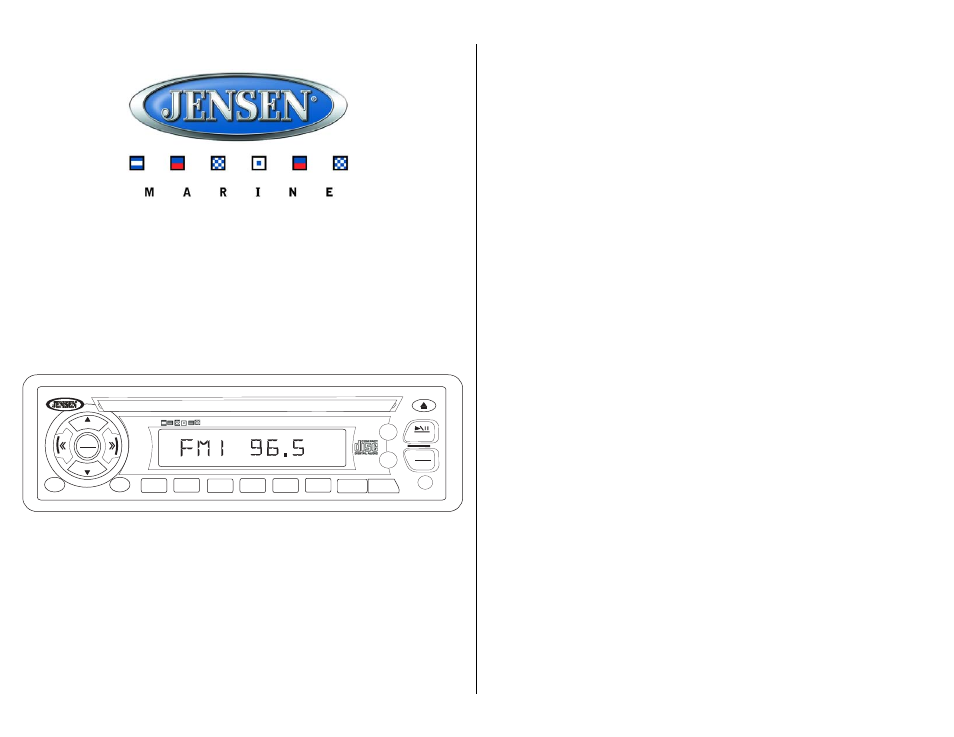
MCD4030
4 X 30W
BAND
MUTE
VOL
VOL
MODE
1
2
3
4
5
6
RPT
SHF
SCN
AMS
DISP
SCAN
EQ
MONO
PWR
SEL
MENU
AUX IN
LOUD
MCD4030
Thank You!
Thank you for choosing a Jensen product. We hope you will find the instructions in this owner’s
manual clear and easy to follow. If you take a few minutes to look through it, you’ll learn how to
use all the features of your new Jensen receiver for maximum enjoyment.
System Features . . . . . . . . . . . . . . . . . . . . . . . . . . . . . . . . . . . . . . . . . . . . . . . . . . . . . . . . . . 1
Preparation . . . . . . . . . . . . . . . . . . . . . . . . . . . . . . . . . . . . . . . . . . . . . . . . . . . . . . . . . . . . . . 3
Installation . . . . . . . . . . . . . . . . . . . . . . . . . . . . . . . . . . . . . . . . . . . . . . . . . . . . . . . . . . . . . . . 4
Wiring . . . . . . . . . . . . . . . . . . . . . . . . . . . . . . . . . . . . . . . . . . . . . . . . . . . . . . . . . . . . . . . . . . . 5
Basic Operation. . . . . . . . . . . . . . . . . . . . . . . . . . . . . . . . . . . . . . . . . . . . . . . . . . . . . . . . . . . 6
Radio Operation . . . . . . . . . . . . . . . . . . . . . . . . . . . . . . . . . . . . . . . . . . . . . . . . . . . . . . . . . . 9
CD Player Operation . . . . . . . . . . . . . . . . . . . . . . . . . . . . . . . . . . . . . . . . . . . . . . . . . . . . . . . 11
Troubleshooting . . . . . . . . . . . . . . . . . . . . . . . . . . . . . . . . . . . . . . . . . . . . . . . . . . . . . . . . . . 13
Specifications . . . . . . . . . . . . . . . . . . . . . . . . . . . . . . . . . . . . . . . . . . . . . . . . . . . . . . . . . . . . 13
System Features
Features of the Jensen MCD4030 mobile audio system include:
•
Electronic AM/FM tuner with US/Euro selection
•
LED backlit controls, silicone rubber keypad
•
Marine-specific features, including corrosion resistant hardware, coated circuit boards and
uV stable plastics
•
4x30W power with two wire power connection (switched 12V and ground)
•
Digital compact disc player plays CD, CD-R and CD-R/W
•
Front panel auxiliary input
ASA Electronics Corporation
www.asaelectronics.com
© 2005 ASA Electronics Corporation
v.122705
Owner’s Manual
Document Outline
- Preparation
- Preparación
- Basic Operation
- Operación Básica
- Opération de base
- 1. Alimentation
- 2. Mode
- 3. Mise en Sourdine
- 4. Volume / Contrôleur Audio
- 5. Ajustement de son
- 6. Opération menu
- 1. Appuyez sur SEL/MENU (6) pendant plus de 3 secondes pour accéder à la fonction menu.
- 2. Lorsque cette fonction est activée, appuyez sur VOL p ou VOL q pour traverser les options menu disponibles.
- 3. Lorsque l'option souhaitée apparaît sur l'afffichage, appuyez sur SEL/MENU pendant plus de 3 secondes pour accéder au sous-menu correspondant et utilisez les boutonsVOL p ou VOL q pour changer la configuration.
- Radio Operation
- Operación de la radio
- Radio Operation (continued)
- Operación de la radio (continuado)
- CD Player Operation
- Operación del Reproductor de CD
- Fonctionnement du lecteur CD
- Instalación
- Installation
- Débrancher la pile
- Enlever les écrous
- Enlevez les deux écrous du dessus de l'appareil et boucher les trous avec du film en plastique fourni pour assurer que l'eau n'entre pas dans l'appareil.
- Installation du demi-manchon
- Installation finale
- Enlever l'appareil
- Elección del Lugar para la Instalación
- Antes de completar la instalación de la unidad, conecte el cableado de manera provisoria para asegurarse de que la unidad opere adecuadamente en la ubicación seleccionada.
- Préparation
- Installation
- Disconnect Battery
- Remove Screws
- Install Half-Sleeve
- 1. Remove outer trim ring, and insert the supplied removal keys as far as they will go (notches facing up) into the slots at the middle left and right sides of the unit. Slide the sleeve off carefully.
- 2. Install half-sleeve into a 182 mm. by 53 mm. opening in the dashboard.
- 3. Push tabs out to secure half- sleeve in the radio opening.
- 4. Install support strap to improve stability.
- Final Installation
- Removing the Unit
- 1. Turn the ignition off, and disconnect the cable from the battery's negative (-) terminal.
- 2. Remove the metal strap attached the back of the unit (if attached).
- 3. Lift the top of the outer trim ring and pull to remove.
- 4. Insert both of the supplied keys into the slots at the middle left and right sides of the unit, and pull the unit out of the dashboard.
- Wiring
- Cableado
- Câblage
- Basic Operation (continued)
- 6. Menu Operation
- Operación Básica (continuado)
- 6. Operación del Menú
- 1. Presione SEL/MENU (6) por más de tres segundos para acceder las funciones de menú.
- 2. Una vez que se activa esta función, presione VOL p o VOL q para seguir las opciones de menú disponibles.
- 3. Cuando la opción deseada aparece en pantalla, presione SEL/MENU por más de tres segundos para acceder al submenú correspondiente, y utilice los botones VOL p o VOL q para cambiar la configuración si así lo desea.
- CD Player Operation (continued)
- Operación del Reproductor de CD (continuado)
- Fonctionnement du lecteur CD
- Basic Operation (continued)
- Operación Básica (continuado)
- Troubleshooting