English – JVC RX-630RBK User Manual
Page 37
Page 32
English
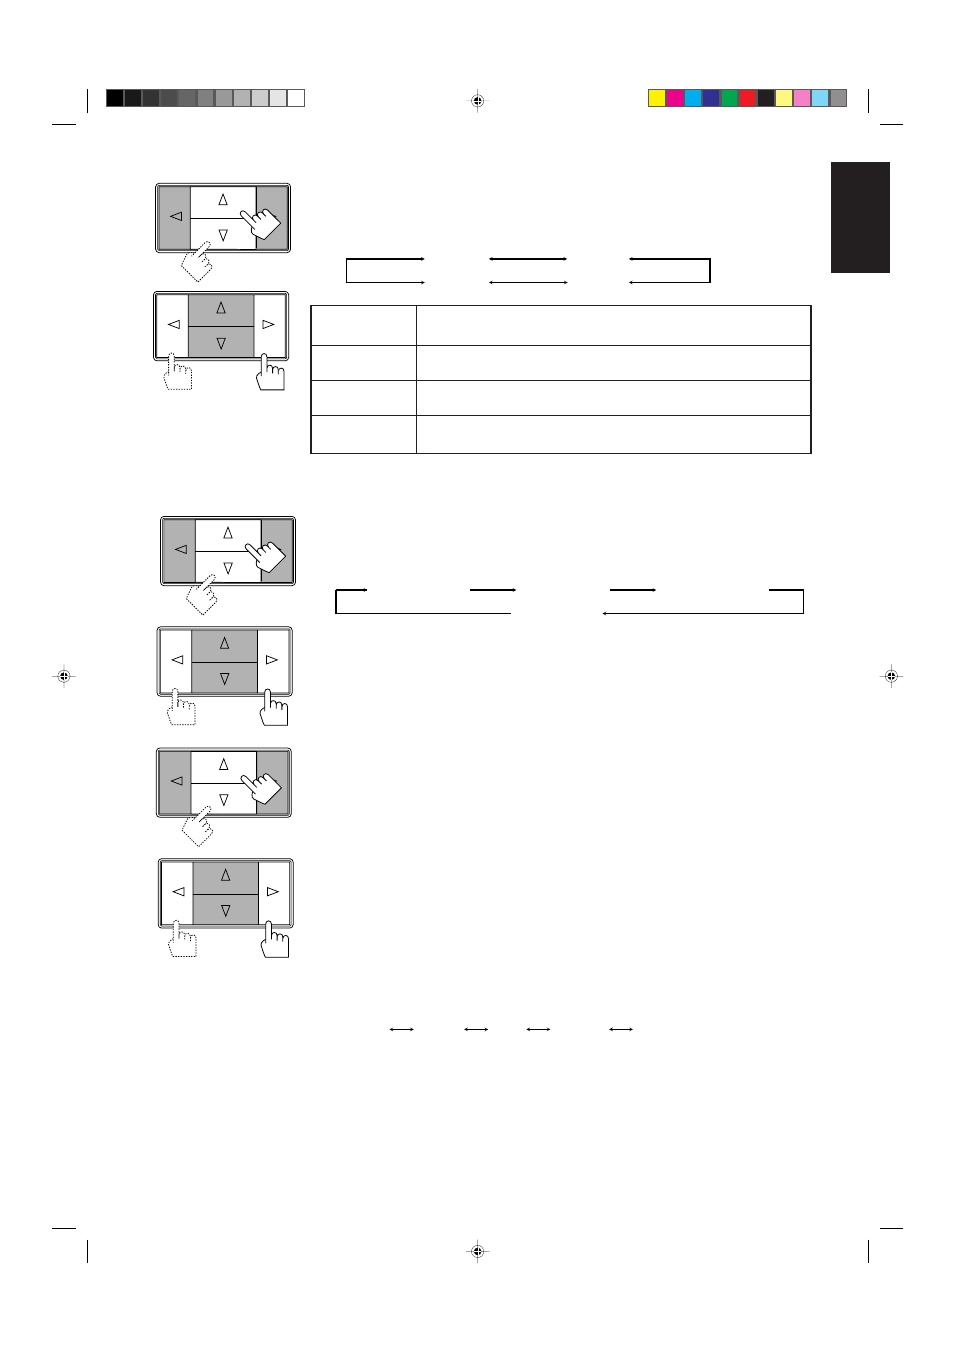
6. Press Control
%
%
%
%
% / fi
fi
fi
fi
fi until “–DELAY +” appears on the display.
7. Press Control
@
@
@
@
@ / #
#
#
#
# to adjust the delay time of the rear speaker output.
Each time you press the button, the delay time changes as follows:
DELAY 1:
Select this when the distance from you to your rear speakers is greater than that
to the front speakers.
DELAY 2:
Select this when the distance from you to your rear speakers is almost equal to
that to the front speakers.
DELAY 3:
Select this when the distance from you to your rear speakers is a little less than
that to the front speakers.
DELAY 4:
Select this when the distance from you to your rear speakers is much less than
that to the front speakers.
Note:
When you have selected “3CHLOGIC,” you cannot adjust the delay time.
8. Press Control
%
%
%
%
% / fi
fi
fi
fi
fi until “TEST” appears on the display, then press Control @
@
@
@
@ / #
#
#
#
# to start
checking the speaker output balance.
“TEST” starts flashing on the display, and a test tone comes out of the speakers in the following
order:
Notes:
• No test tone comes out of the rear speakers when you have selected “3CHLOGIC.”
• No test tone comes out of the center speaker when you select “PHANTOM” or “OFF” for the center
mode.
9. If necessary, adjust the speaker output level as follows:
• To adjust the rear speaker output level, press Control
% / fi until “– REAR +” appears on the
display, then press Control
@ / #.
• To adjust the center speaker output level, press Control
% / fi until “–CENTER+” appears on the
display, then press Control
@ / #.
Notes:
• You cannot adjust the left and right rear speaker output level separately.
• You cannot adjust the rear speaker output level when you have selected “3CHLOGIC.”
• You cannot adjust the center speaker output level when you select “PHANTOM” or “OFF” for the
center mode.
10. Press Control
%
%
%
%
% / fi
fi
fi
fi
fi until “TEST” appears on the display, then press Control @
@
@
@
@ / #
#
#
#
# to stop the
test tone.
11. Press Control
%
%
%
%
% / fi
fi
fi
fi
fi until “CNT TONE” (Center Tone) appears on the display.
12. Press Control
@
@
@
@
@ / #
#
#
#
# to select the center tone you want.
The center tone adjustment affects the mid-frequency range, which the human voice is mostly made
up of.
Each time you press the button, the display changes to show the following:
To make the dialogue clearer, select “SHARP1” (little) or “SHARP2” (much).
To make the dialogue softer, select “SOFT1” (little) or “SOFT2” (much).
When “FLAT” is selected, no adjustment is applied.
Note:
The center tone cannot be adjusted when sounds do not come out of the center speaker.
DELAY 1
DELAY 2
DELAY 4
DELAY 3
Left front speaker
Center speaker
Rear speakers
Right front speaker
Front panel
SHARP1
SHARP2
FLAT
SOFT2
SOFT1
RX-630RBK[EF]0055-001A.En.28-34
97.7.25, 5:51 PM
32