Access main nenu screen, Access function set screen, Select picture control set mode – JVC HR-J461MS User Manual
Page 15: Return to normal screen, Tape position indicator, Picture control
EN
15
Next Function Memory
The Next Function Memory "tells" the recorder what to do after
rewinding. Before continuing, ensure that the recorder is in the
Stop mode.
a– For Automatic Start Of Playback After Tape Rewind...
...press REW, then press PLAY within 2 seconds.
b– For Automatic Power Off After Tape Rewind...
...press REW, then press
within 2 seconds.
c– For Automatic Timer Standby After Tape Rewind...
...press REW, then press TIMER within 2 seconds.
NOTE:
It is not possible to select the Automatic Timer functions if the
cassette's record safety tab is removed.
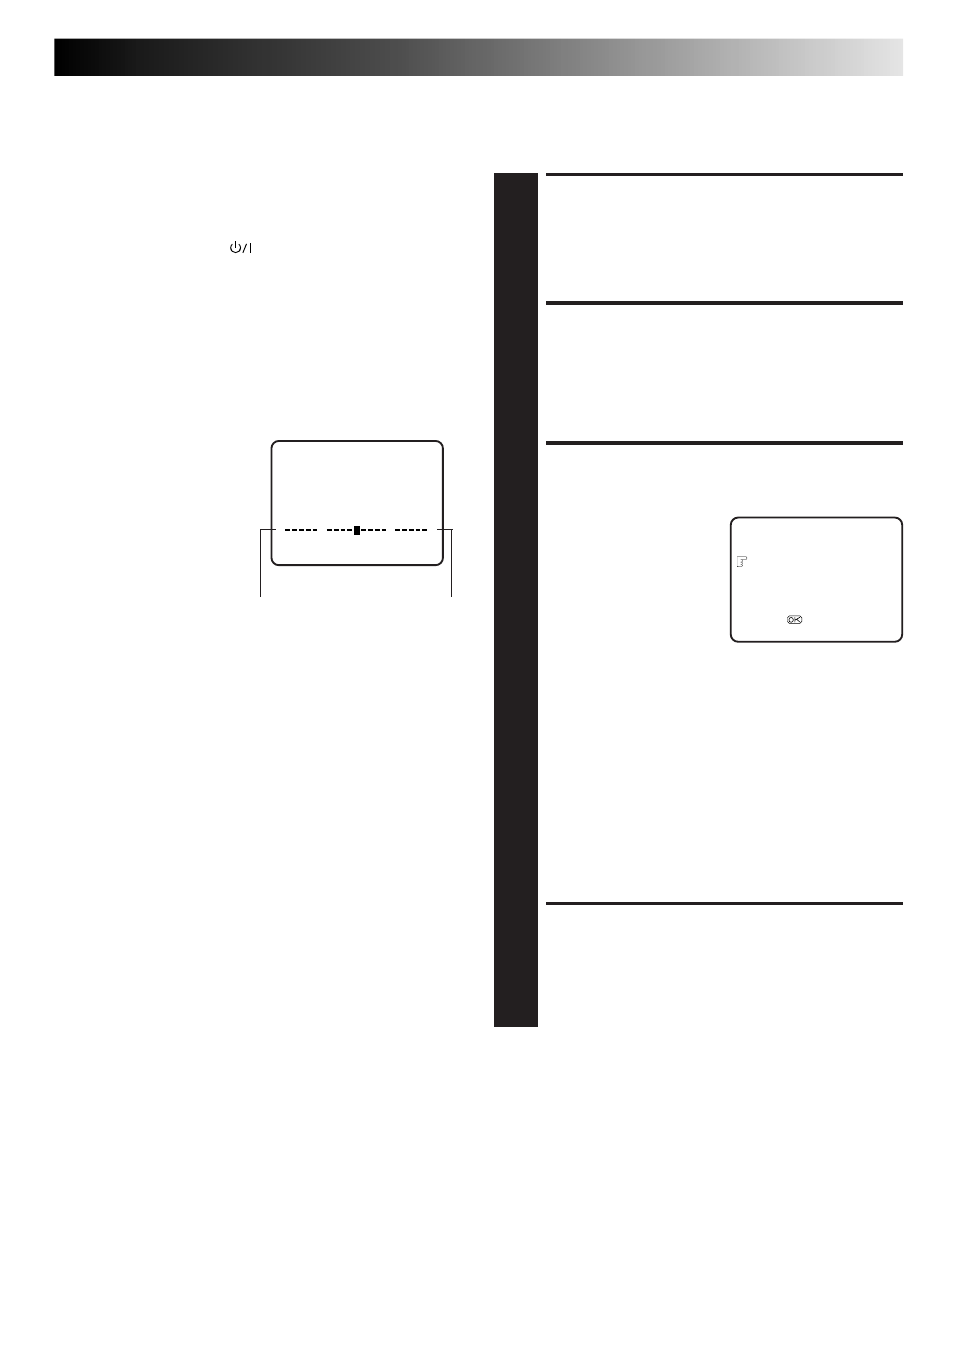
Tape Position Indicator
The tape position indicator
appears on screen when, from
the Stop mode, you press FF,
REW or perform an Index
Search. The position of "5" in
relation to "0" (beginning) or "+"
(end) shows you where you are
on the tape.
"O.S.D." (
੬
pg. 8) must be
set to "ON", or the indicator
will not appear.
NOTE:
Depending on the type of tape used, there may be times when
the indication is not correct.
3
1:23:45
0
+
+
+
Beginning
End
Picture Control
This feature helps you to adjust the playback picture quality
according to your preference. *The default setting is "AUTO."
ACCESS MAIN NENU
SCREEN
1
Press MENU.
ACCESS FUNCTION SET
SCREEN
2
Place the pointer next to "FUNCTION SET" by pressing
PUSH JOG
%fi, then press OK or PUSH JOG .
SELECT PICTURE CONTROL
SET MODE
3
Place the pointer next to
"PICTURE CONTROL" by
pressing PUSH JOG
%fi,
then press OK or PUSH
JOG to select the
desired mode.
AUTO*: Normally select
"AUTO."
It automatically adjusts the picture quality.
* When the B.E.S.T. function is set to "OFF" (
੬
pg. 18), you can only select "NORM" instead
of "AUTO."
EDIT:
Select when you dub tapes.
SOFT:
Select when you want to soften the picture.
SHARP: Select when you want to sharpen the picture.
NOTES:
●
When you select "EDIT", "SHARP" or "SOFT", the
selected mode will not change until you select again.
●
When you select "EDIT" to dub tapes, be sure to
select "AUTO" (or "NORM" when the B.E.S.T. function
is set to "OFF") after you finish dubbing the tapes.
RETURN TO NORMAL
SCREEN
4
Press MENU.
NOTE:
Select "EDIT" when you are dubbing tapes. Refer to page 26, 27.
fi
fi
FUNCTION SET
B.E.S.T.
ON
PICTURE CONTROL
AUTO
AUTO TIMER
OFF
O.S.D.
ON
AUTO SP
=LP TIMER
OFF
[
5/∞] =
[MENU] : EXIT