Chapter 2. setting up the projector, Starting and shutting down the projector, Chapter – IBM Partner Pavilion PROJECTOR E400 User Manual
Page 21: Setting, Projector, Starting, Shutting, Down
Chapter
2.
Setting
up
the
projector
This
chapter
provides
information
on
starting
and
shutting
down
the
projector,
adjusting
the
projector
height
and
level,
adjusting
the
zoom,
focus,
and
keystone,
and
adjusting
the
volume.
Attention:
Before
moving
the
projector,
be
sure
to
power
down
the
projector
normally
and
disconnect
the
projector
from
the
main
power
source.
Starting
and
shutting
down
the
projector
Please
follow
the
steps
below
to
start
the
projector
and
to
shut
down
the
projector.
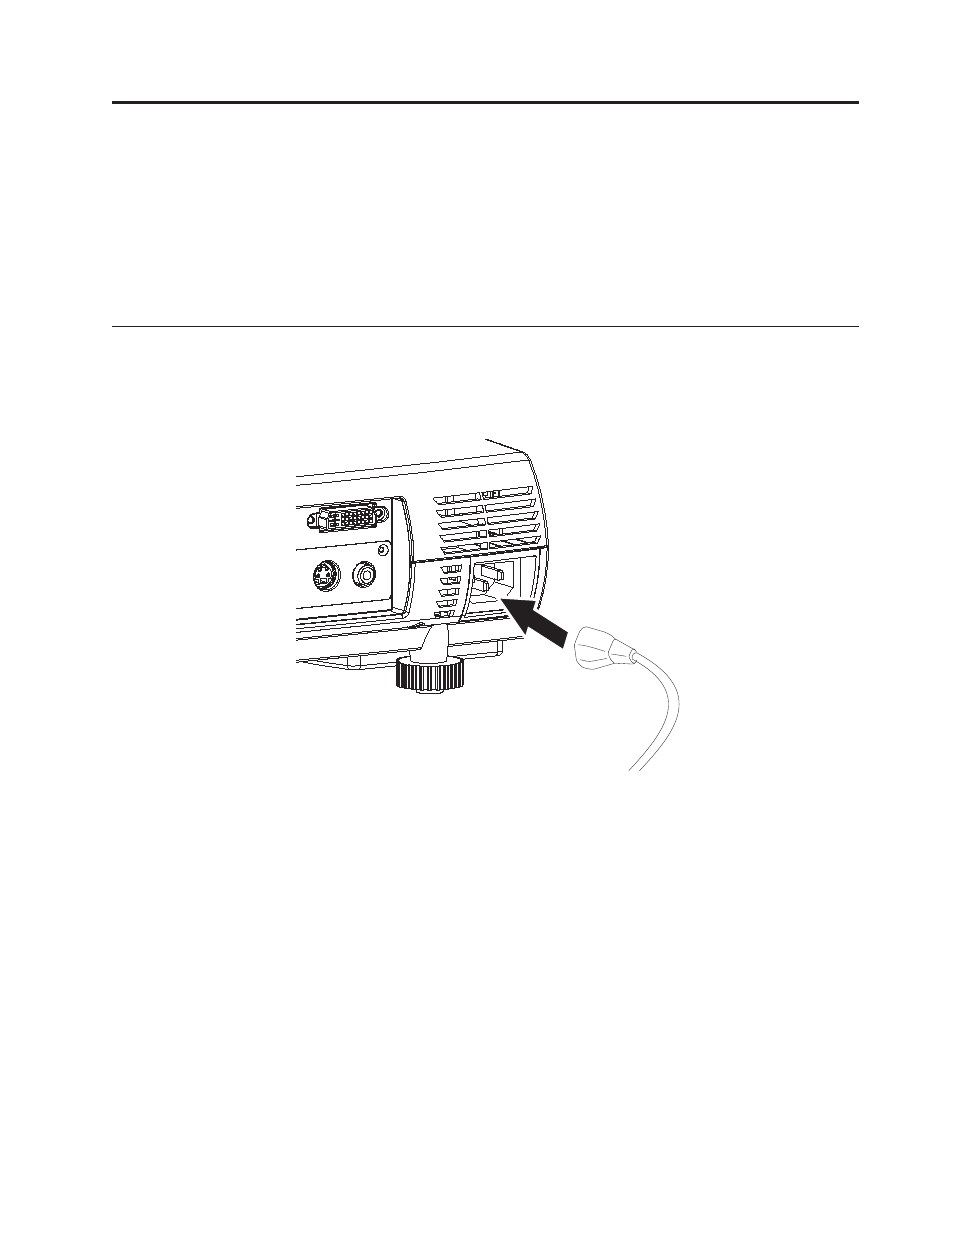
1.
Connect
the
power
cord
to
the
projector
as
shown
below.
Connect
the
other
end
to
a
wall
outlet.
The
Power
LED
and
Lamp-ready
LED
turn
on.
2.
Remove
the
lens
cover.
3.
Connect
to
an
input
device.
4.
Turn
on
the
connected
devices.
5.
Ensure
that
the
Lamp-ready
LED
is
on
a
steady
amber,
then
press
the
Power
button
to
turn
on
the
projector.
The
projector
splash
screen
displays
and
connected
devices
are
detected.
If
the
connected
device
is
an
IBM
ThinkPad,
press
Fn
+
F7
on
the
computer
keyboard
to
switch
the
display
output
to
the
projector.
Check
the
user’s
manual
of
non-IBM
PCs
to
determine
the
appropriate
Fn
hot
keys
to
change
display
output.
Attention:
Do
not
look
directly
into
the
projection
lens
when
the
lamp
is
turned
on.
The
bright
light
may
harm
your
eyes.
6.
If
more
than
one
input
devices
is
connected,
press
the
Source
button
repeatedly
to
switch
among
devices.
7.
To
turn
off
the
projector,
press
the
Power
button.
The
projector
prepares
for
shutdown,
and
a
″Wait
a
moment
please...
″
message
appears.
©
Copyright
IBM
Corp.
2004
2-1