Cooking with the turbo steamer, Assembling the turbo steamer – Morphy Richards Electric Steamer User Manual
Page 4
Cooking with the
turbo steamer
See steaming guide for suggested cooking
times and techniques.
Before using your turbo steamer for
the first time, wash all the parts except
the main unit
and
.
Assembling the
turbo steamer
1 Remove the water reservoir
by lifting it
upwards from the reservoir base
.
Remove the water fill cap
(located
underneath the reservoir), by turning in an
anti-clockwise direction and pulling out .
2 Fill the water reservoir to its maximum
indicated by the
symbol.
Do not use broth or other liquids. Do not
add anything to water in the reservoir.
(The steaming system is designed for
use with cold water only). Do not add
boiling water to the reservoir.
3 Replace the water fill cap
and turn in
a clockwise direction until it locks in
place.
4 Replace the water reservoir
on to
the water reservoir base
.
5 Hold the drip tray
by the handles and
place it into the container base
by
lining up the cut-out in the drip tray
with the matching shape inside the base.
Ensure that it sits flat.
Tip : The drip tray is used to collect juices so
they can be used for gravies, sauces, soup,
stock, etc.
6 You can now place the food into the
steaming bowls provided. To your
convenience you can either use one, two
or three tier (on some models) as they
stack up on the top of one another.
7 Place the lid
on the upper steaming
bowl.
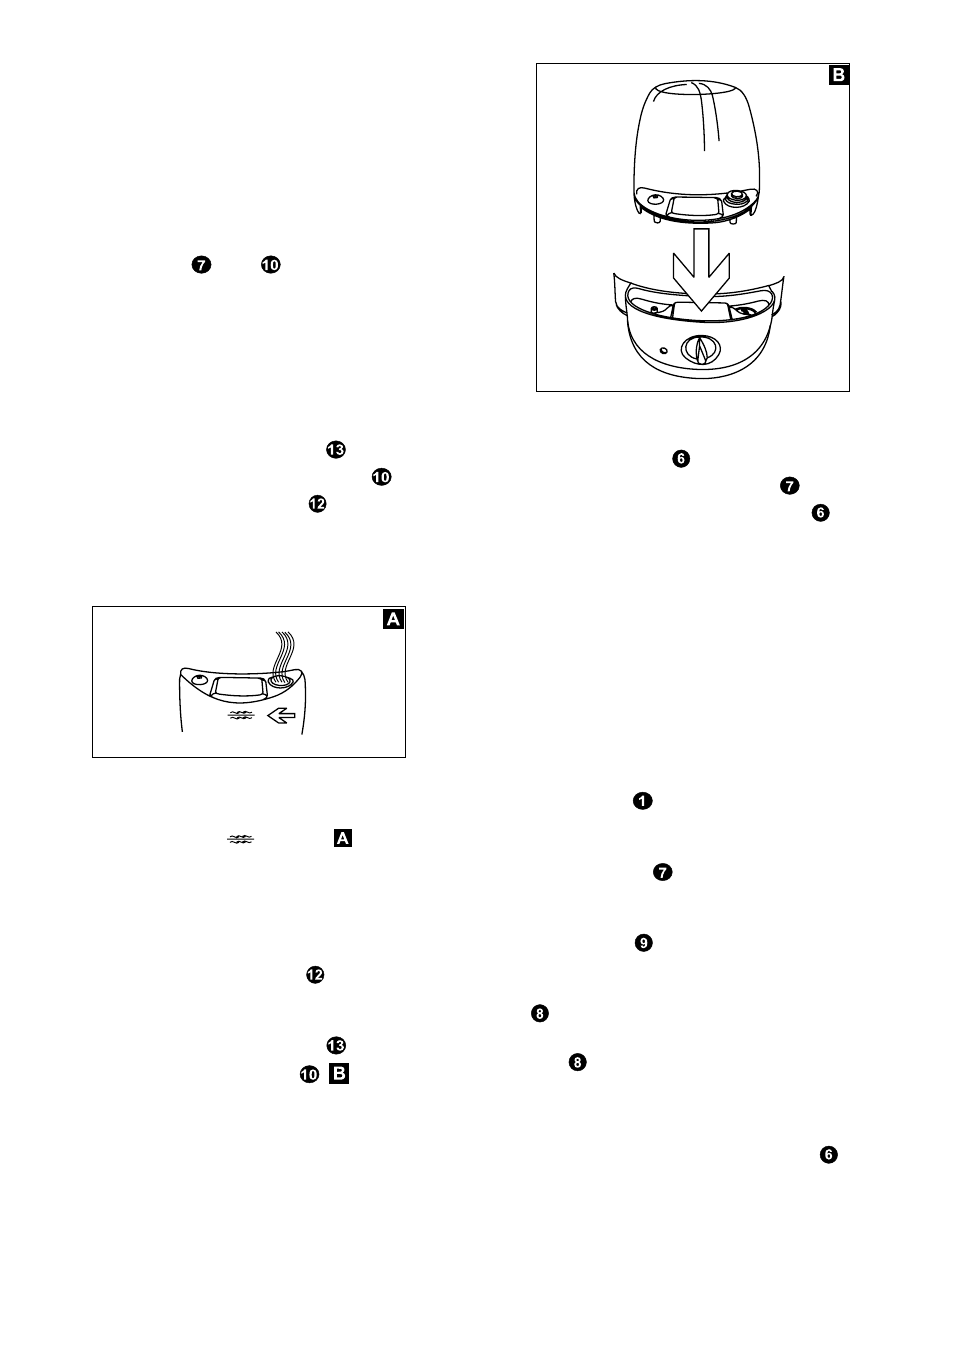
8 Put the steaming bowl(s) onto the
container base
.
9 Plug the cord into the electrical socket.
10 Refer to the cooking guide page 7 and
set the timer
for the desired cooking
time. Steaming will begin almost
instantly. Make sure that the on/off light
is lit.
11 When the cooking time is up the on/off
light
will go off and the turbo steamer
will shut off automatically. Using oven
gloves or a cloth promptly remove the
steaming bowls.
12 DO NOT REM0VE THE DRIP TRAY
UNTIL IT HAS COOLED COMPLETELY.
4