McIntosh C500 User Manual
Page 32
32
Figure 87
Figure 85
Figure 89
Figure 91
Figure 88
Figure 90
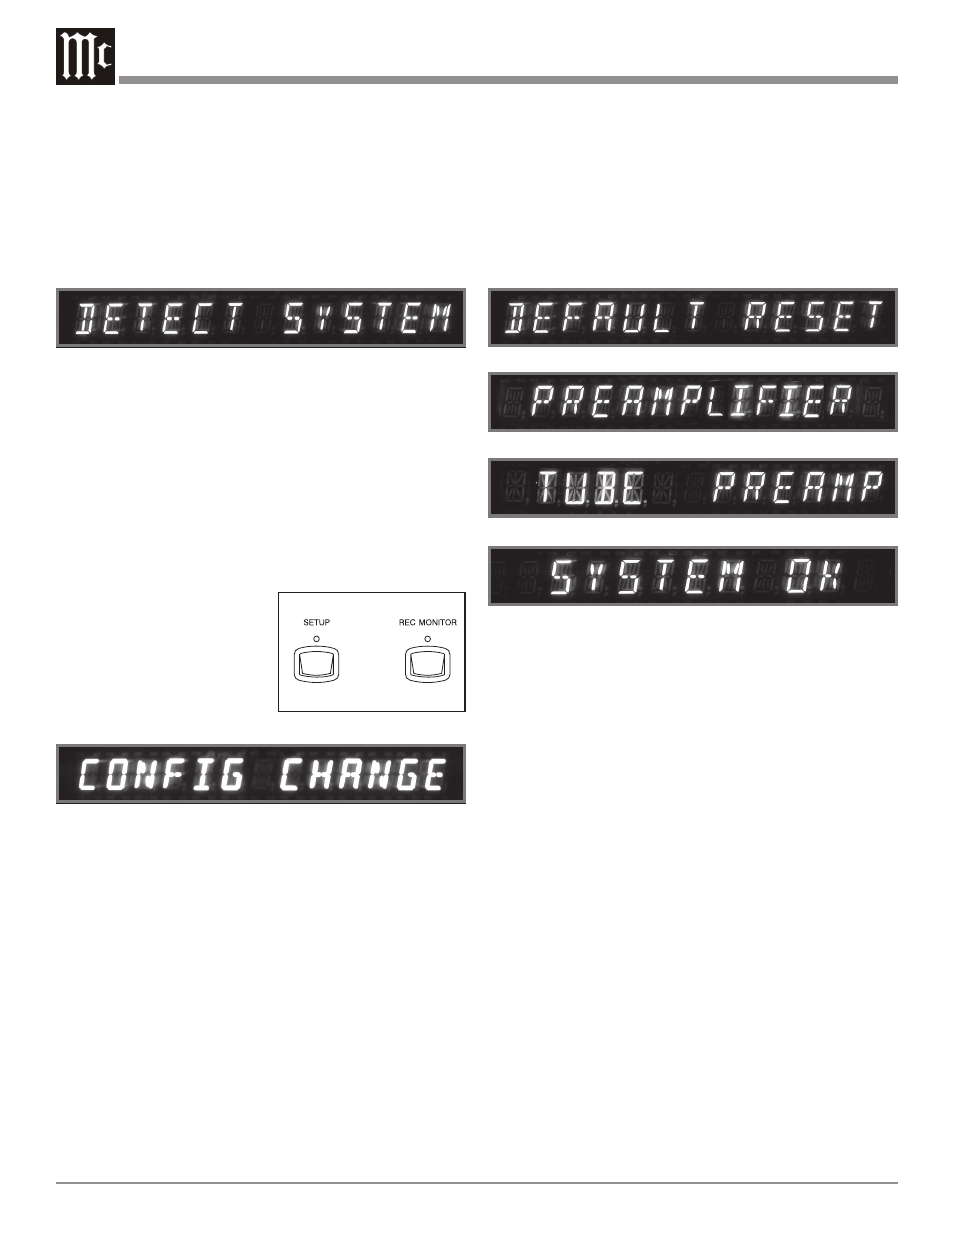
Reset of Microprocessors
In the event that the controls of the C500 stop functioning
press and hold the STANDBY/ON Push-button. Three to
four seconds later the Front Panel Alphanumeric Display
will indicate “DETECT SYSTEM”; at this point release
the STANDBY/ON Push-button. This will reset the C500
microprocessors. Refer to figure 85.
Note: The above condition is usually caused by either
interruptions in AC power and/or major changes in
voltage.
Configuration Change
When a change is made to a C500 System (Controller and
Preamplifier) by changing the current Preamplifier type
(C500P or C500T) , the Front Panel Alphanumeric Display
will indicate “CONFIG CHANGE” and the LED indicators
above the SETUP and REC MONITOR Push-buttons will
be flashing. Refer to figures 86
and 87. If there is not to be any
changes to the C500 System,
but rather reconnecting a
Preamplifier that was previ-
ously connected to the C500
Controller perform the follow-
ing:
1. Remove the AC Power Cord from the Rear Panel of the
C500 Controller.
2. Reconnect the previously connected Preamplifier.
3. Reattach the AC Power Cord.
4. The C500 System will automatically reset itself and will
retain any changes that where previously made in the
SETUP Mode.
If the change to the C500 System is a result of changing
Preamplifier Types (C500P or C500T) then perform the fol-
lowing steps:
1. Remove the AC Power Cord from the Rear Panel of
C500 Controller.
2. Connected the Preamplifier(s) to the C500 Controller.
3. Reteach the AC Power Cord.
4. Press and hold the SETUP and REC MONITOR Front
Panel Push-buttons until the Alphanumeric Display in-
dicates “DETECT SYSTEM”, then release the two
Push-buttons. At this point several messages will ap-
pear on the Alphanumeric Display depending on the
C500 System makeup. Refer to figures 88 thru 91.
5. For any changes from the default settings that are de-
sired go to page 16 SETUP to perform them at this
time.
Figure 86